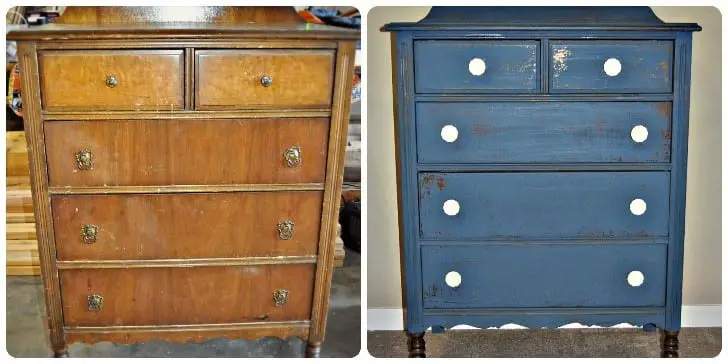
Ah, the unique beauty of weathered wood! The very picture of rustic wood makes we fall into a dreamy, happy state of pure bliss.
Do you also feel your senses celebrating every time you admire the looks of aged wood?
Do you have a passion for easy, inexpensive and creative DIY project and ideas?
Do you want to learn how to make wood look rustic with paint?
Then you are exactly where you should be right now!
Follow the step by step instructions we are revealing below and embrace our team’s top favorite tutorial on making wood look rustic (with paint).
What You Will Need To Follow This Tutorial
- Milk paint (2 colors)
- Chip brush (mind that natural bristle brushes will do better, though)
- Fine-grit sandpaper (optional)
- Water
- Rag
- Burnishing paste (or Polycrylic finish)
Pro Tips
1 – Consider the rustic look you want to achieve
As this technique requires the application of two colors, you need to decide how to match these tones best. For a more stylish, subtle effect, go for 2 similar tones such as light gray and dim gray.
If you want to create some more impressive and eye-grabbing, experiment with contrasting colors. For example, basil green and pink salmon can make a spectacular combo. Just keep in mind that the underlying coat will be the less visible one, as it will show off only on the “worn out” areas.
2 – Choose a suitable finish to complement the rustic effect you’re looking for
On the one hand, you have burnishing paste. Burnishing paste creates a no-gloss effect on the surface of the wood. Although there are low-sheen burnishing pastes available, the gloss is very minimal; in fact, it’s only a slight luster imparted. On the other hand, you have a Polycrylic finish. Go for this type of finish if your aim is to get a satin-like or high gloss, durable protective coat.
Step by Step Instruction for Making Wood Look Rustic With Paint
Step 1 – Apply the basic coat of milk paint
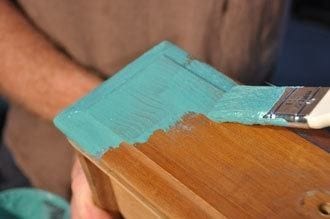
Image Credit: realmilkpaint.com
As mentioned above, the basic (aka underlying) coat of milk paint will show off only once you sand the surface of the wood after applying the second coat (aka the top coat) of paint. Using a paintbrush, proceed with the application of the basic coat following the grain of the wood.
Let it dry for approximately 2 hours but make sure you first read the instructions on the type of paint you are working with. Once the first layer has dried out thoroughly, you can lightly sand the whole surface with fine-grit sandpaper.
Don’t be aggressive, though; just smooth out any uneven patches gently.
Next, apply a second coat of the underlying color. Now, you want to let it dry overnight until it hardens completely.
Step 2 – Apply the top coat of milk paint
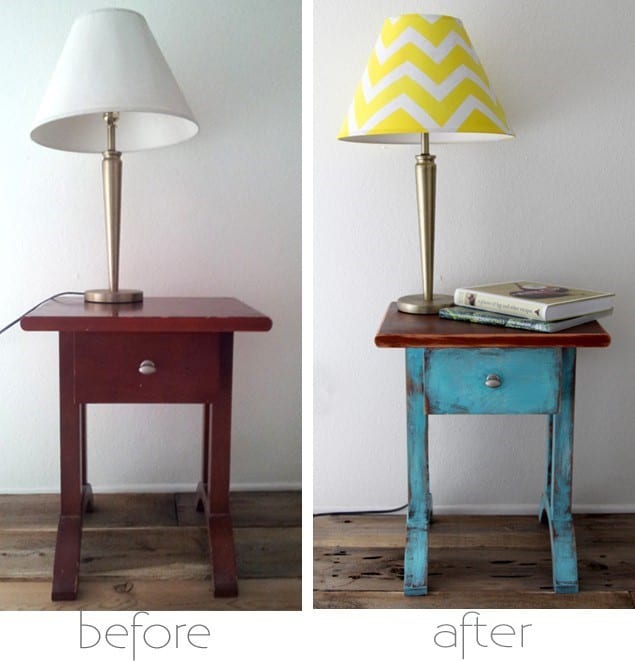
Image Credit: apieceofrainbow.com
After the 2 basic coats are thoroughly dry, it’s time to proceed with applying the top coat. It is crucial not to hurry to apply the top coat. If you don’t let the underlying coat harden overnight, the colors can get mudded.
Apply a single layer of top coat, making sure you follow the grain of the wood. Let the top coat rest and dry overnight.
Step 3 – Distress the wood and add the final touches
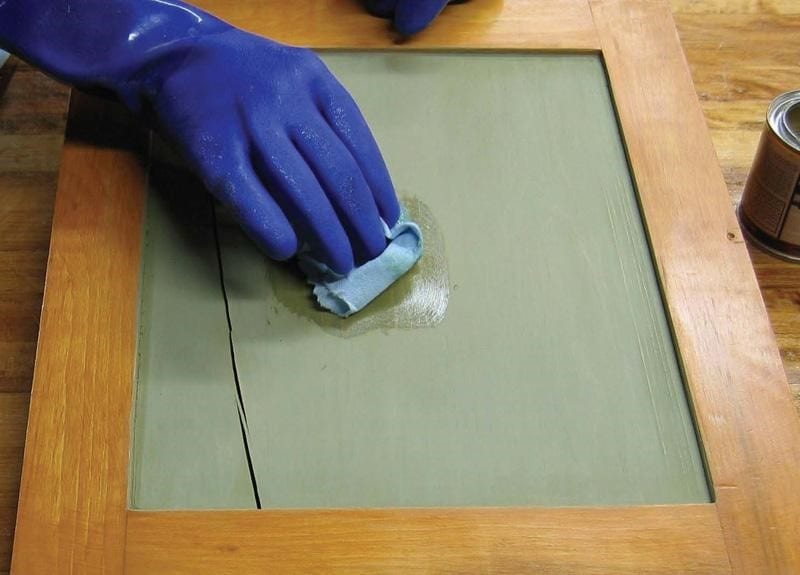
Image Credit: canadianwoodworking.com
Rise up and shine! You can start distressing the wood. Go over the areas you want to distress with a damp rag (make sure it’s only damp and not soaking wet!).
Rub until you get the rustic effect you are looking for. If you want a more dramatic weathered effect, you can also go over the areas you want to “wear out” with sandpaper. Finish the piece with burnishing paste or a Polycrylic topcoat.
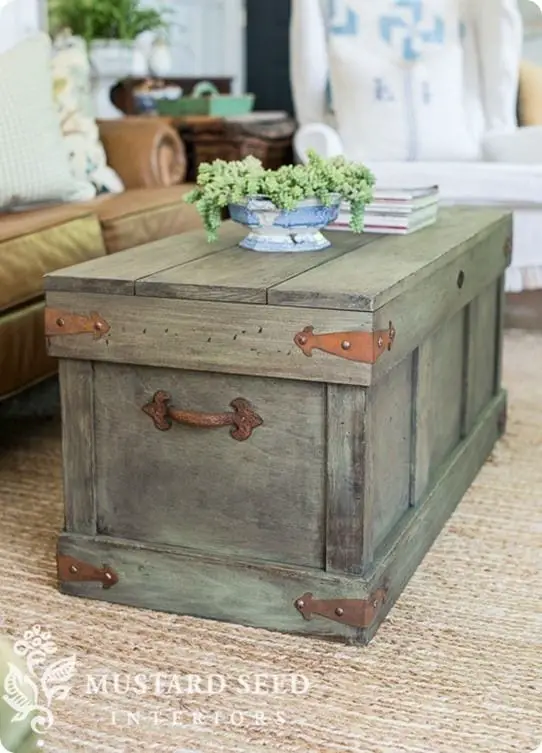
Image Credit: mustardseedinteriorcraftsmanship.com
Did we manage to inspire you to try out the awesome two-tone technique for making wood look rustic? I dare to say that this is, by far, one of the most fantastic methods I have tried out. And I have been through multiple experiments for getting those lovely rustic looks through painting on top of a wood surface.
Will you follow the tutorial for your next DIY project? If you enjoyed this article, don’t just pass by. Like and share this content to help us reach out to more of our fellows DIYers. We’d love to hear more from you in the comment section below.
