How to… WHAT?! Oxidize, you say? Maybe I need to call Mrs. McGregory to give me an idea of what am I supposed to do with wood by oxidizing it? By the way, Mrs. McGregory used to be my chemistry teacher back in school. But let’s get to the point. How to oxidize wood? And why should you oxidize wood at all?
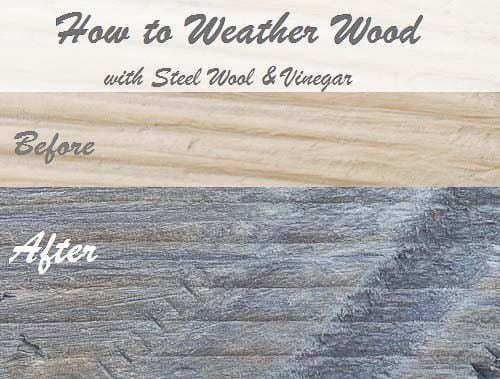
Oxidizing wood refers to the process of making wood look weathered. In fact, you can hear somebody mention the term oxidized wood, and it doesn’t only apply to wood which has been made to look old; it also applies to wood which naturally possesses an aged appearance.
If you love working with reclaimed wood, then learning how to oxidize it is (almost) a MUST. Although you can oxidize any type of wood, as long as you strip the upper layer of coating such as polyurethane and/or paint, different wood will get a different effect after oxidization.
Don’t you think it’s time we get down to work? Learn all you need to know about oxidizing wood with the easy-peasy tutorial below.
What You Will Need To Follow This Tutorial
- # 0000-grade steel wool
- White vinegar
- A glass mason jar with a metal lid (plastic lids don’t work well!)
- Synthetic paint brush
- Rag
- 220-grit sandpaper
- Finish wax (optional)
Pro Tips
1 – No steel wool? No problem!
If you have a few galvanized nails or screws handy, then you can use these instead of steel wool. However, keep in mind that steel wool remains the best option.
As both steel wool and galvanized nails soaked in white vinegar will give off a slightly different result on the wood surface, it’s a great idea to mix 2 separate oxidizing concoctions and experiment with your DIY projects.
2 – Store your wood oxidizing solution
The more you keep the steel wool (or galvanized nails) intact in the white vinegar mixture, the more concentrated the oxidizing solution. Thus, instead of throwing the concoction away once you get the weathered look on a particular wood surface, store it in your workshop (or basement, or closet, or wherever you prefer to store it). It stores well for up to 1 year.
Before applying the concentrated solution, though, you may need to dilute it in water to get the color effect you want.
3 – Apply the wood oxidizing mixture on cut ends
While working with reclaimed wood, DIYers often stumble across the same scenario: the cut ends of reclaimed wood remain fresh-looking and this counterfeits the uniform appearance of your masterpiece. This is when you can benefit from storing the oxidizing solution. Just apply it to the freshly-looking cut ends. Thus, the cut ends will match the rest of the wood beautifully.
Step by Step Instructions for Oxidizing Wood
Step 1 – Prep the oxidizing solution
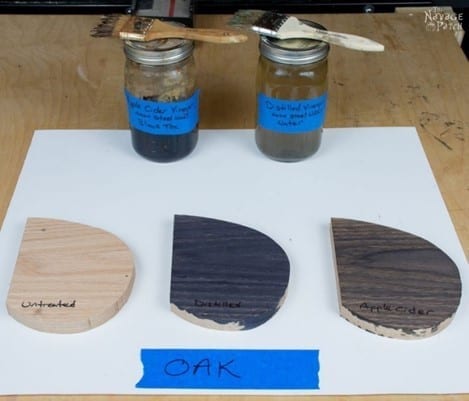
Image Credit: thenavagepatch.com
Tear up the steel wool to help it dissolve faster. Place it in a glass mason jar and cover it with white vinegar. Seal the jar with a metal lid. Shake it occasionally once daily for 2-3 days. Before applying it on the entire surface of the wood, test the solution on a sample piece. You can dilute it by adding up to 2 parts of white vinegar.
Step 2 – Apply the mixture to the wood surface
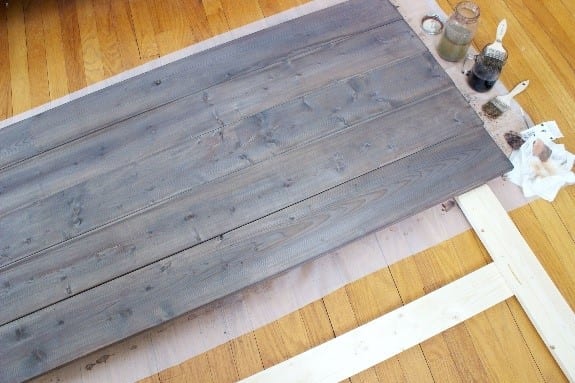
Image Credit: Pinterest
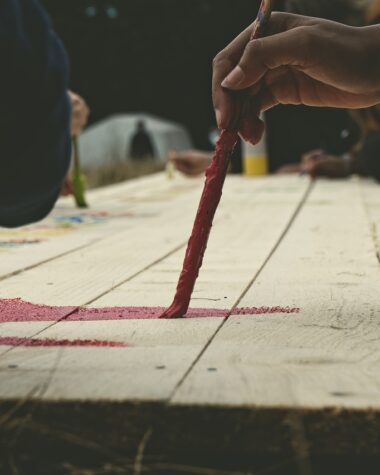
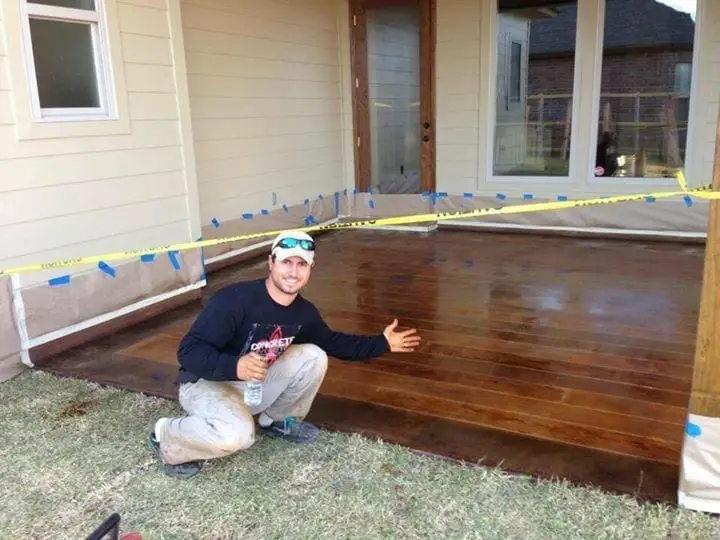
Synthetic bristle brushes work best for applying the mixture. Once you have checked out if you like the oxidizing effect on a sample piece of wood, proceed with covering the entire surface.
If you want a saturated, deep effect, you can also apply a coat of strong black tea and let it dry out before you proceed with the oxidizing solution. It will take only several minutes before the full effect takes place.
Sand lightly with 220-grit sandpaper and finish with a coat of was (my personal favorite).
How to oxidize wood, huh? Although this question might sound like a mouthful at first, the process is pretty straightforward and 100% beginner-friendly! Do you agree?
I must admit, I have become an oxidizing solution addict. Keeping some of the mixture handy has helped me so much with my projects that I can barely imagine my DIY life without it.
Was this article helpful? Give us a thumbs up and share it to help us spread the good vibes. We’ll be happy to hear from you with more tips or personal impressions in the comment section below.
