Wood is a versatile material. It is used to construct homes, build furniture and for making wood accessories and panels. As wood is used for different applications, it needs to be finished before it can be used.
Paint finish, stain or varnish will make wood impervious to the elements. If you are working on any project that involves wood, you need to learn how to apply paint on wood grain. This guide will show you how.
The tools you need are very simple; you can even purchase these from any local hardware store. You need natural wood paint and three brushes. One brush will lay down the wash while the other two brushes will contour the fine details on the wood grain. You can use a liner and an angled brush for this project.
Another important thing to consider is the different wood grain textures. There is a large number of wood species and each one has a different grain texture. There are different shades, shapes and have variation in line and texture. There are wood grains with knots while some have grains that are barely visible.
Things you will need
- Wood you will be painting
- Wood paint
- Water
- Paintbrushes
Instructions
1) Paint the wash
Source: https://angelamariemade.com/2016/11/how-to-create-a-weathered-wood-gray-finish/
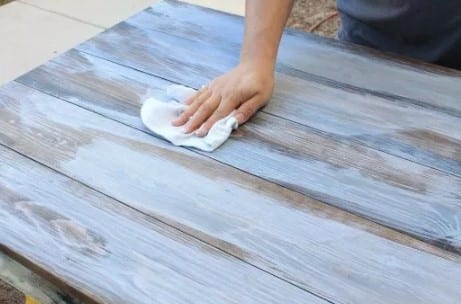
This is the very first step in painting wood grain. This step lets the natural wood grain show especially the small veins that make most wood grains stand out. The first step in painting wood to the grain is laying down your color foundation.
Mix water with wood paint to lighten it up if you are using dark-tinted paint. Dark colored paint will work well. Wood is not all brown. You will find wood that has red, white or black grains. Once your paint is ready, it’s time to apply the wash to your wood.
2) Define the texture of the wood
Source: http://www.92pixels.com/wood-textures/
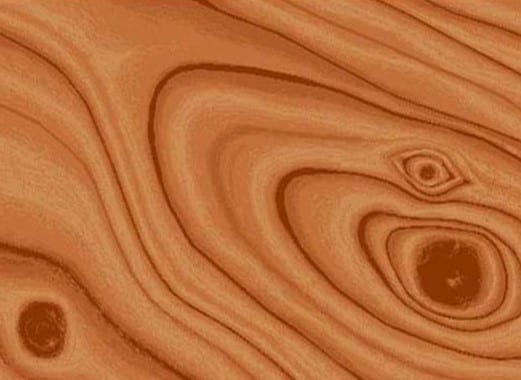
This is possibly the most important part of painting wood grain. This defines the many lovely imperfections of wood. You may check for the grain under a lamp light to inspect wood clearly.
Inspect the wood grain. As you can see each grain is made up of small valleys and these are where you need to start in defining your wood grain. These are etched out of the wood and usually always look a little darker compared to non-etched areas. Draw lines with paint along the grain valleys. Use a liner brush to apply your paint.
3) Painting the grooves of the grain
Source: https://www.pinterest.com/pin/235664992975080664/?lp=true
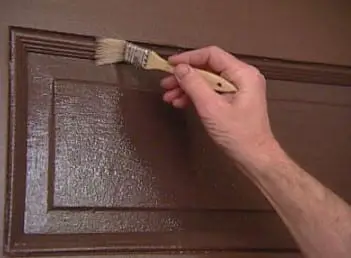
You don’t have to paint the darkest grooves but you can make these dark enough so you can easily see this. You can paint wood grain in a relatively straight line, in a wavy pattern or centered around dark knots. Some grain patterns like look like tiny feathers and usually offshoot a bolder line. Apply a thin amount of paint to define these lovely areas.
Defining wood at this point is like sketching an image on paper. Therefore, any changes you want to make or if you want to alter the pattern, you must do this now.
4) Completely define wood texture
Source: https://heypik.com/hey-graphic/striped-wood-texture-texture_26931024.html
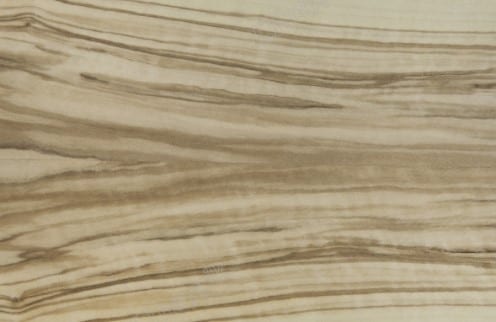
Now that you have your blueprint have been created, it’s time to completely define it. As soon as the first coat of paint used to define wood is dry, you may now apply the final finishing coat of paint.
Define the wood grain by following what was already drawn. Use a super-fine tipped brush to make final definitions. Use a dark pigment to trace over the grains. You don’t need to worry about keeping things perfect or in super order because you don’t want to make your work very realistic. Your lines should vary in thickness, length and therefore don’t match.
5) Add highlights and colors
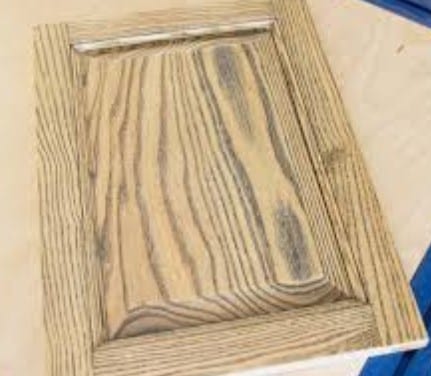
Source: https://www.woodworkerssource.com/blog/woodworking-101/tips-tricks/easy-fantastic-ash-wood-finishing-techniques/
After you’ve painted the dark, defining lines, go back and add highlights and color variation. This step adds color to the wood and if the wood is already painted, this will give a nice variation to the color of the wood as well. Let the project dry completely. Leave this in a dry area in your home so that it can completely dry enough to be used.
Conclusion
Learning to paint wood grain is a good way to appreciate the natural, lovely grains of wood. Painting or varnishing wood grain will also protect wood from the elements which are why it’s crucial to painting into the wood grain when you are finishing wood.
