If you are wondering how to paint wood paneling with grooves, you’re in the right place! Just a mere year ago, I was stuck in the same dilemma.
On the one hand, the wood paneling in our house was in dire need of refreshment. But on the other hand, as my husband was on a business trip around Europe, I reached a point of desperation.
Sure, painting alone didn’t scare me. However, the deep grooves seemed like a lot of work (and possibly trouble). Fortunately, after a quick consultation with my cousin who is one of the most talented DIYers I know, I decided to get down to work and surprise my husband with a brand new interior.
And I am happy I did so! Keep reading to find out all the tiny tips and tricks which will help you paint the old wood paneling (including the grooves) with no fuss involved!
What You Will Need To Follow This Tutorial
- Paint proof drop cloth
- Tape
- Electric palm sander / 150-grit sandpaper
- A rag
- Water
- A scraper
- Drywall Mud
- Stain block primer
Pro Tips
1 – Speed Up the drying of the joint compound (aka drywall mud)
If you are in a hurry (or simply dislike wasting time just like me) – there is a way to speed up the filling of the grooves. You can achieve this by adding the so-called 20-minute mud (also referred to as fast mud) to the ordinary drywall mud compound. This is a pretty straightforward process. All you have to do is to follow the manufacturer’s instructions.
2 – Don’t be afraid of deep grooves
Particular wood paneling may have those super deep grooves. In fact, it is the depth of the grooves on the wood paneling of our family house which intimidated me so much. But, as it turns out, this is nothing to worry about! If you are faced with stubborn grooves like mine, you simply need to re-apply another coat of drywall mud. Just keep re-filling the gaps until you achieve the desired results.
Step By Step Instructions For Painting Wood Paneling With Grooves
Step 1 – Clean the room and start sanding
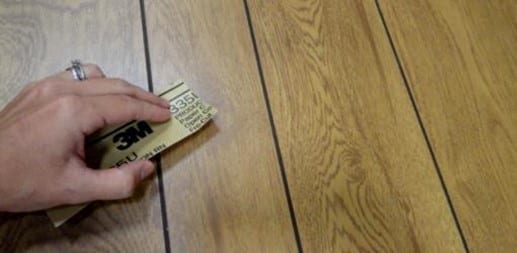
Image Credit: todayshomeowner.com
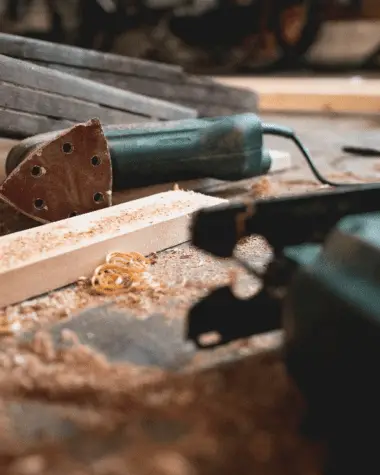
First things first, you need to prep the room before you start sanding and painting. It’s best to move the furniture, as well as your valuable belongings away from the area you are about to treat.
Afterward, cover the floors with a paint-proof drop cloth and use tape to secure the corners. Don’t forget to cover window sills with an old sheet or cheap plastic drop cloths.
Now, you are ready to start sanding! In some cases, you may not need to sand the wood paneling at all. But if the upper layer is uneven, you want to smooth out the surface. You can use an electric palm sander but fine-grit sandpaper can also work just fine.
Step 2 – Fill the Grooves
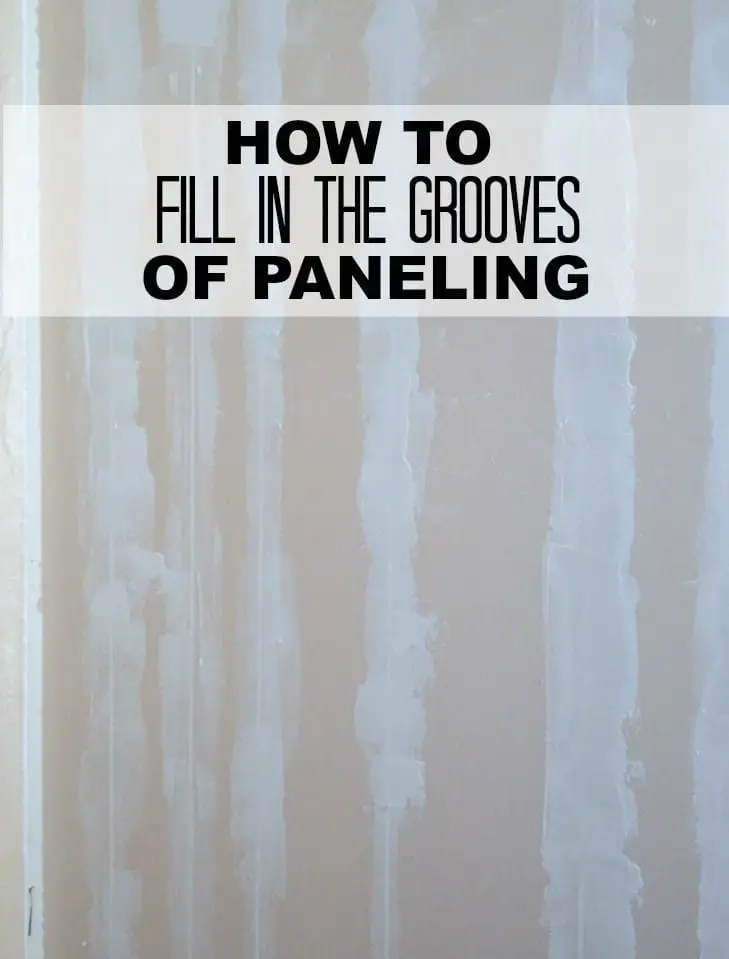
Image Credit: Pinterest
Okay, so here comes one of the most crucial parts of the process – filling those nasty grooves properly. Before you start, though, make sure to wipe off any excess dust or dirt from the wood paneling with a rag, dipped in clean water.
With the help of a scraper, scoop some of the drywall mud paste and let the spackle of the grooves begin. Move your hand downward – top to bottom – and keep it up until you fill all the grooves evenly. Apply an equal amount of paste to all the grooves so that the joint compound can dry out evenly, too. You can add more later on if needed.
Step 3 – Sand, prime, and paint
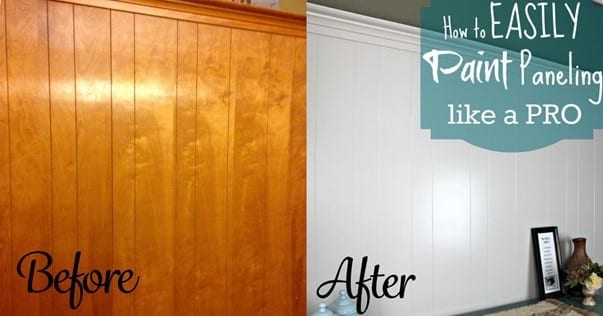
Image Credit: slhonline.org
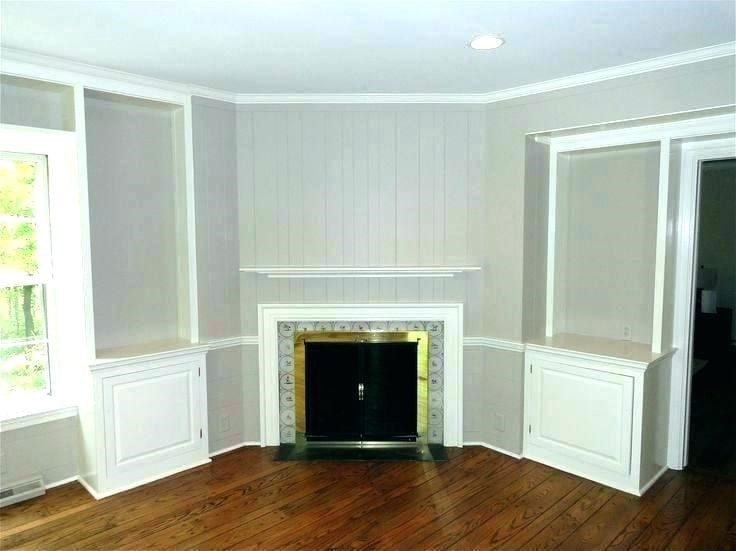
Everything that follows is fairly easy. Once the drywall mud has dried out completely, sand the entire surface of the wood paneling carefully. Doing so will help you flatten the freshly-filled grooves. Wait until the area is completely dry. Good job! Finally, you can apply a stain block primer and proceed with painting.
After all, painting wood paneling with grooves doesn’t hurt, right? Just like we promised you at the very beginning of this tutorial, the process is both easy and straightforward.
Keep in mind that wood paneling sucks up a lot of paint, though. We hope you enjoyed reading these instructions just as much as we enjoyed compiling our quick cheat sheet for you.
If you want to see more articles like this one, don’t forget to hit the like and share buttons. Join us in the comment section below, too!
