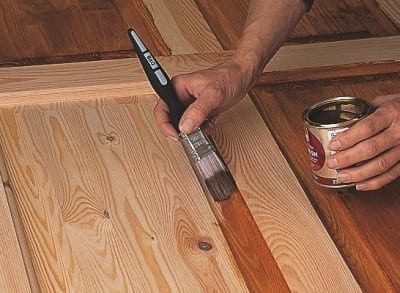
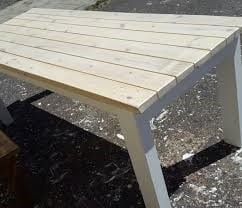
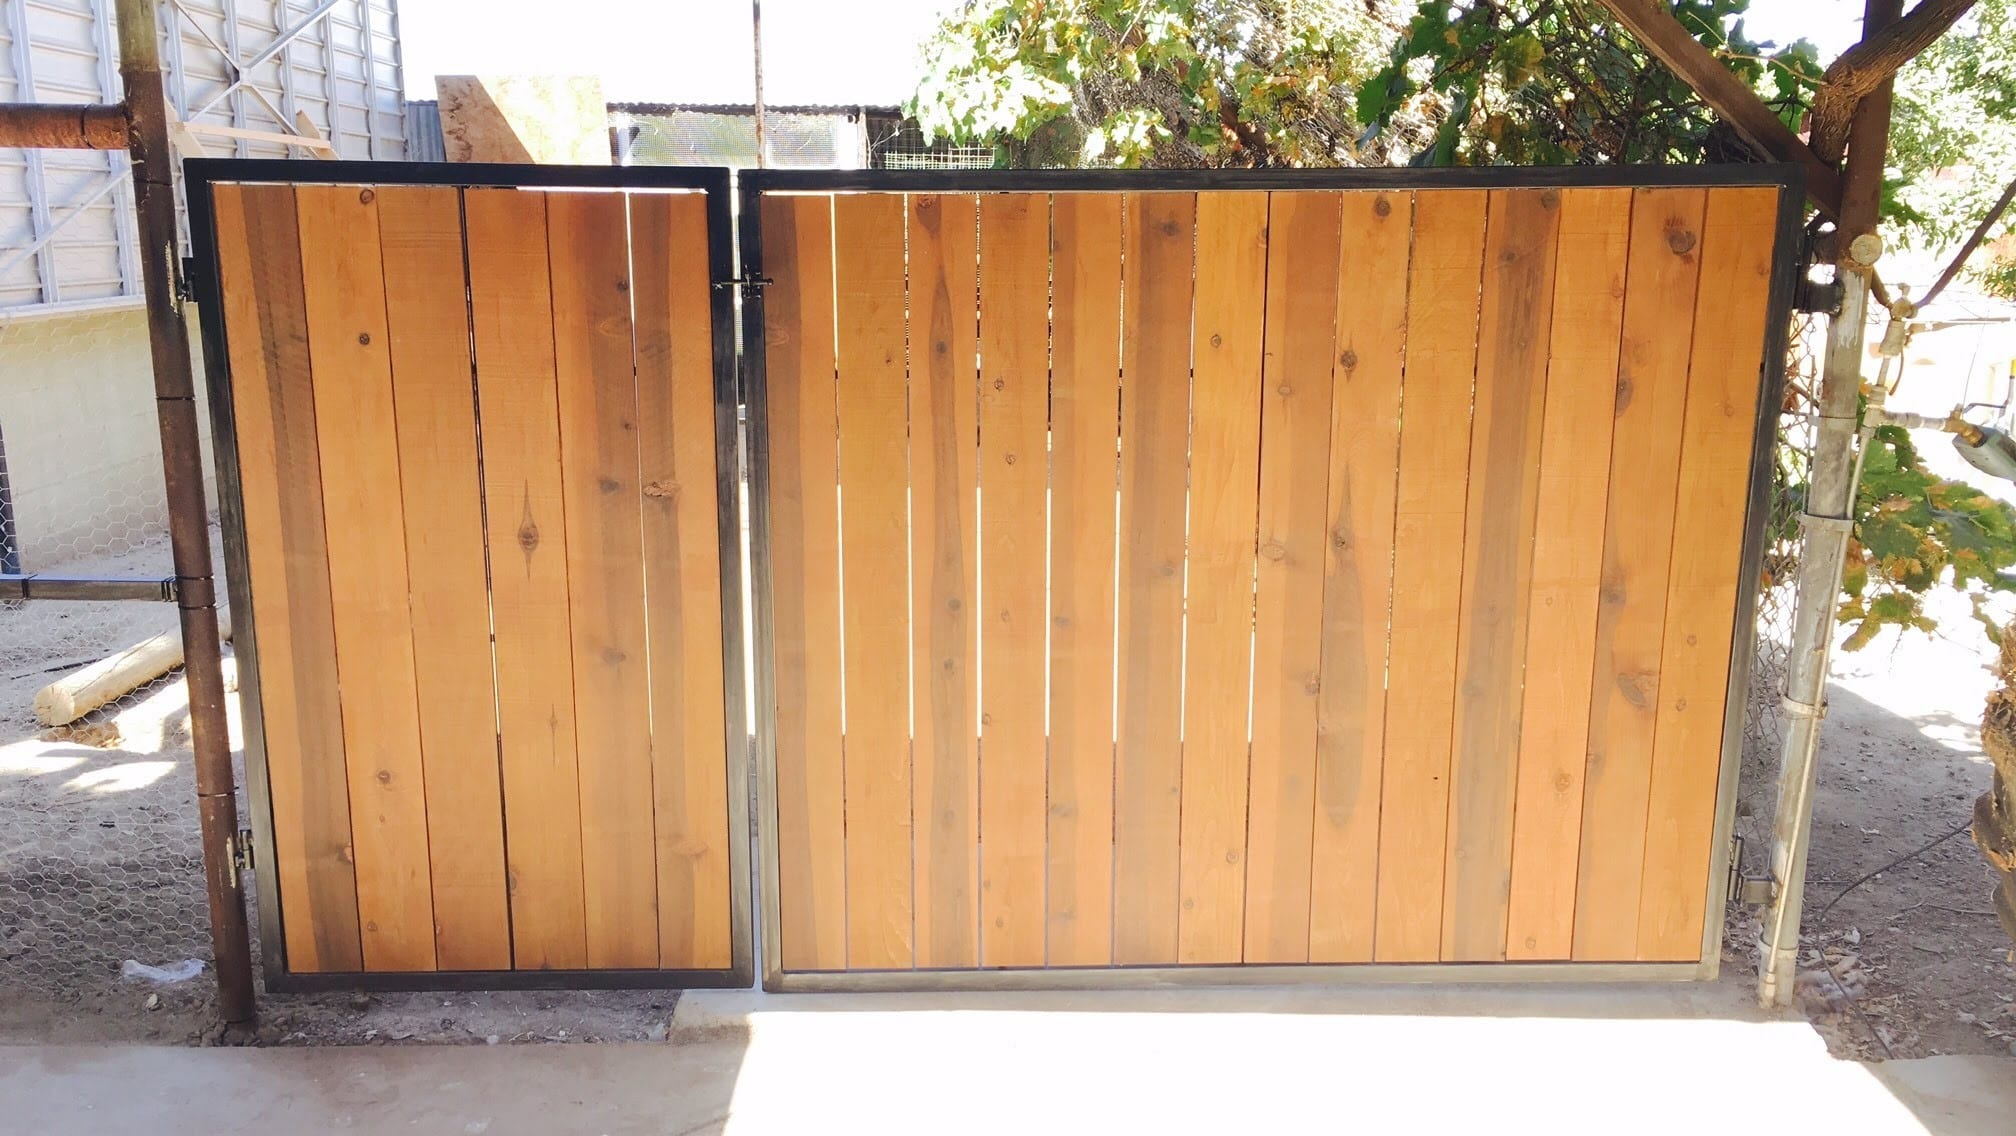
Wood furniture, flooring, and walls are finished with varnish or polish to preserve and protect the wood. Sometimes you just need a single coat but there are times that you go generous and apply several coats to preserve your work. But eventually, you need to refinish and refurbish varnished wood and the very first thing that you need to do is to remove the layers of varnish.
How do you do this without damaging wood?
Removing varnish from wood basics
Removing varnish is essentially the most important thing that you need to do to prep your wood. It’s quite frustrating especially when you need to remove a number of layers. But no doubt that this can be done safely and effectively using the following techniques.
Things you’ll need
- Safety gear (gloves, mask, and goggles)
- 150-grit sandpaper
- 220-grit sandpaper
- Steel wool #0000
- Drop Cloths
- Clean cloth
- Water-based solvents
- Mineral spirits
- Tarp
Instructions
Preparing your working area
Step 1
Maintain good ventilation in the room you will be working on by opening windows and doors. Use a fan to create cross-ventilation. This helps remove toxic air that can accumulate inside the room as you use chemical varnish removal products. If possible, work outdoors.

Source: https://www.glassonequincy.com/residential/replacement-windows/woman-opening-windows/
Step 2
Protect your furniture from splashes and from varnish removal products. Cover furniture and other areas with a tarp or a drop cloth.

Source: https://goto-11.net/plastic-to-cover-furniture.html
Step 3
Wear safety gear like goggles, mask, and gloves to protect yourself.
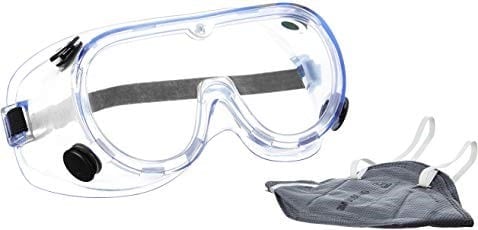
Source: https://www.amazon.com/Safety-Glasses/b?ie=UTF8&node=10290474031
Step 4
Remove hardware if you are removing varnish from furniture and from wooden doors. Keep these properly in separate bags and label them so that you will be able to install these easily when you are done.
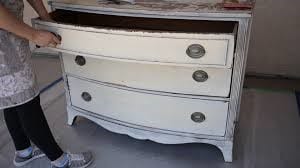
Source: https://themountainviewcottage.net/furniture-painting-prepping-furniture-that-was-previously-painted/
Sanding the varnish
Step 1
Sand the area initially with 150-grit sandpaper or use a sanding block. Always work towards the grain of the wood to prevent splinters or lifting wood. Don’t forget the nooks and crannies of the furniture or flooring. Use a small piece of sandpaper or sanding block for this.
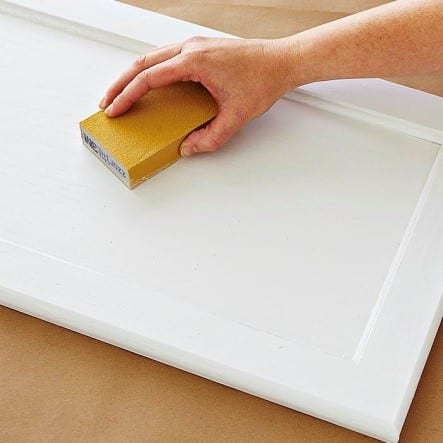
Source: https://www.diynetwork.com/how-to/skills-and-know-how/painting/sanding-and-preparing-wood-before-staining
Step 2
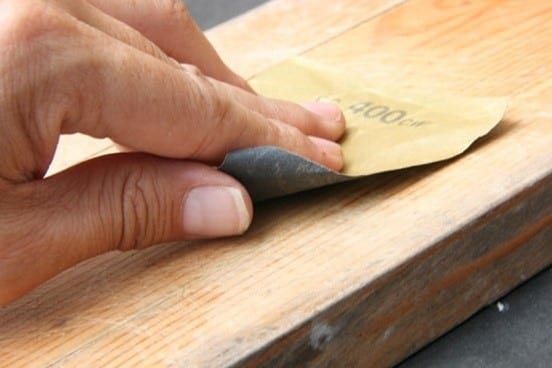
After removing a large portion of the varnish, use 220-grit sandpaper. Go over the whole piece with this sandpaper. You may stop when you have removed most of the varnish.
Source: https://hometriangle.com/articles/60/painting-wood-a-ready-reckoner
Step 3
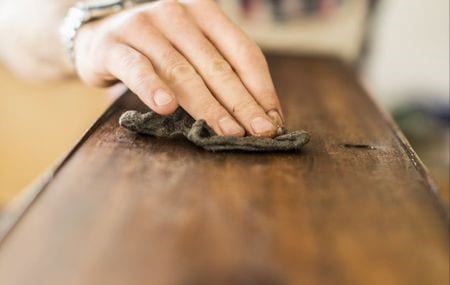
Remove any kind of dust by using a tack cloth to wipe the surface. This is a very important step because you don’t want any dust or residue settling on your varnish later.
Source: https://www.thespruce.com/get-a-flawless-paint-job-with-tack-cloth-1822686
Using solvents
Step 1
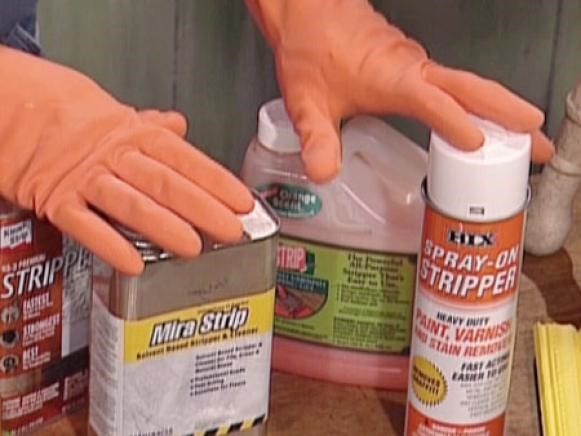
There are water-based solvents and strippers. Use a water-based solvent if you don’t like stripper fumes like Safest Stripper or Citristrip. These are gentle, won’t cause stinging and toxic fumes but it may not work as fast as traditional strippers. But if you can withstand the fumes then traditional brushable solvents or paint strippers may be the best choice.
Source: https://www.diynetwork.com/how-to/skills-and-know-how/painting/how-to-remove-paint-with-chemical-strippers
Step 2
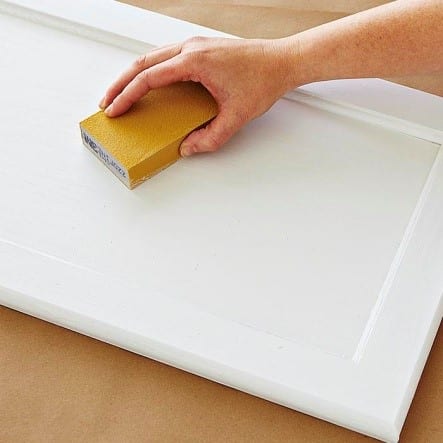
Before applying the type of stripper you chose, sand the area first. Sanding will make the solvent penetrate better.
Source: https://www.diynetwork.com/how-to/skills-and-know-how/painting/sanding-and-preparing-wood-before-staining
Completely clean the area by scrubbing with a soft brush. This will remove even the tiniest residue or dust from the gaps and crevices of wood.
Step 3
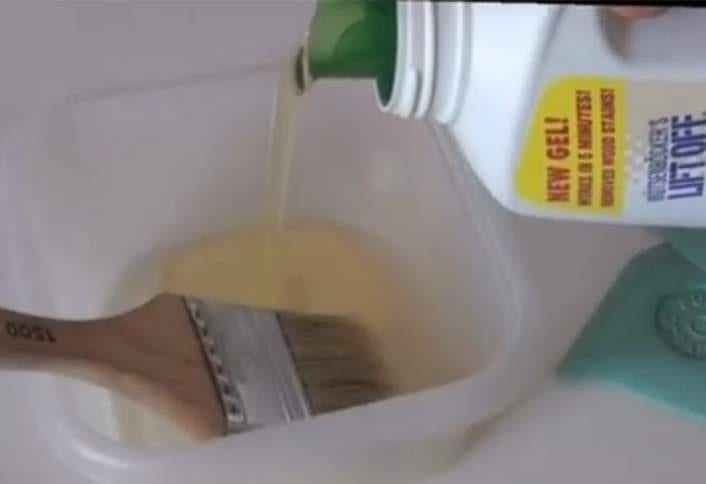
You may now apply the solvent. This will remove varnish thoroughly. Use an old brush to apply the varnish all over the wood. This will remove the varnish even on the nooks and crannies of wood. Let the paint stripper remain on the surface for as long as 2 hours.
Check manufacturer’s instructions on how to use the paint stripping product.
If you need to leave the area for some reason, cover this with a tarp to prevent any dust or debris that can affect the stripping. The tarp also keeps the solvent-wet and working.
Source: https://www.homedepot.com/c/remove_paint_chemical_strippers_HT_PG_PA
Step 4
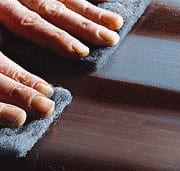
When the area is dry, rub it with steel wool (#0000 grit) to remove the varnish. Move in the direction of grain instead of against it. But if you are dealing with layers of varnish use a metal scraper or brush.
Source: http://www.steelwool.biz/Steel_Wool_Stuff_to_know1.htmc
Step 5
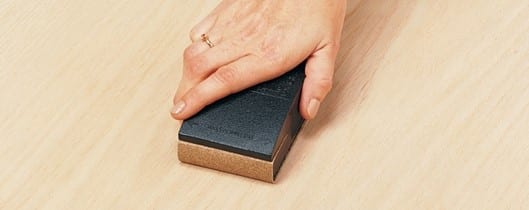
Use 150-grit sandpaper to clean the area and take care of any leftover varnish. This will also smooth out any rough areas. Wipe this with a wet rag to remove any residue. Now you have removed varnish from wood.
Source: https://www.cabotstain.com/do-it-yourself/steps/Staining-Interiors-Surface-Prep.html
Conclusion
Removing varnish is essential to refinishing wood furniture. Which is why you should spend time removing varnish even layers of varnish just to get the best results in the end when you are done refinishing your wood furniture, wall or floor.
