
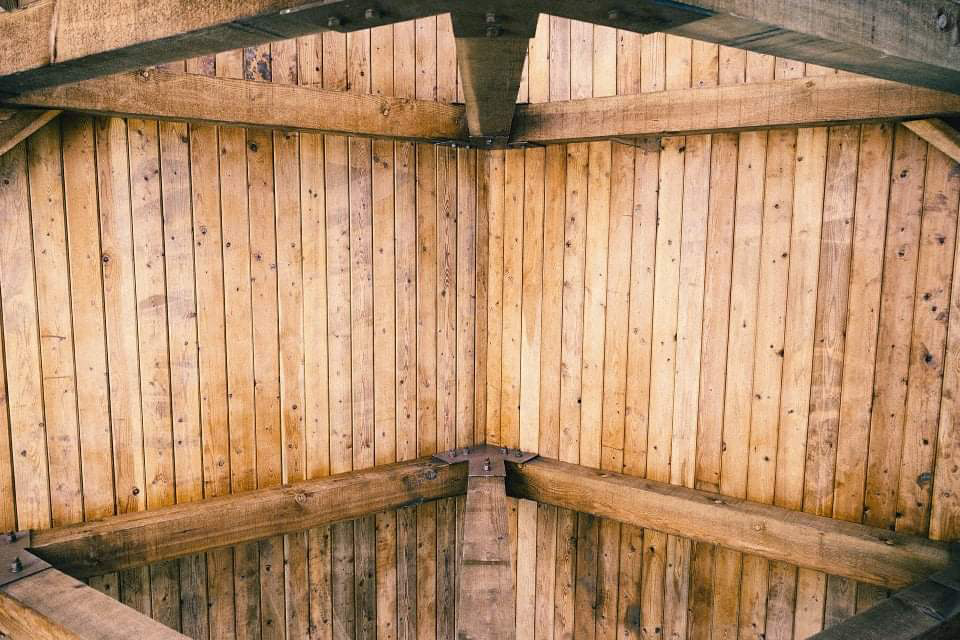
Wooden beams have always been known to add natural charm to the home both inside and outside. They support the home, the terrace, and the various floors. But what if the beams begin to rot? Would the home fall apart? Or, the only solution is to replace them? Let’s seek the answer to the question of how to repair rotted wood beams.
Replacing and repairing can both be the solution to do away with the rotten wood. Replacing the beam may be very expensive at times, while repairing, on the other hand, can be a pocket-friendly and effective solution. The reason why you would need to repair the rotten beams is that it tends to spread.
If you find wooden beams rotting and still ignore them, there is a high possibility that your house might suffer serious problems. You might have to hire a professional to deal with the problem then. And that is going to be pricey without any questions. Hence it is always advised to never overlook rotting wooden beams and start working on how to repair rotted wood beams.
Before we begin with the steps on how to repair rotted wood beams, we need to understand what causes the beams to rot. The prime reason behind the rotting of beams is moisture that lingers on the wood. Moisture creates a conducive environment for the growth of fungi. And it’s the fungi that are the real culprits behind rotted beams.
Let us now begin with a step-by-step guide on how to repair rotted wood beams.
1. Remove the rot

Rots can be witnessed very commonly. Surprisingly, there is not any single kind of rot that the wood can suffer from. There are majorly three types of rots. White rot, Brown rot, and soft rot. But no matter what kind of rot it is, you have to begin with these steps when it comes to repairing rotted wood beams.
- The first step to repairing rotted wood is to be able to recognize the dry rot that is weakening the beam areas. The condition of dry rot looks very much like decaying wood. If you touch it, you can feel damp and saggy sensations. Besides, if you decide to poke it with a screwdriver, you are going to tear it apart pretty easily.
- You can remove the rot using a screwdriver or any other equipment that can be used to scratch away the rot. Diligently dig away all the fungi-affected areas, just be sure that you do not end up damaging the unaffected areas.
- After you are done digging out the rot, create a wood filler solution or use putty. Though both wood filler and putty have got their pros and cons. Like, if you want something that dries faster, then wood-filler is the thing. But if you seek a cost-effective option, then go for putty.
2. Fill in the wood with wood filler/putty

Deciding which filler to go with might be a little tricky. Putty which is also referred to as plastic wood is one of the most commonly used wood fillers. It can be easily used after staining and varnishing have been done. Putty has got adhesive properties and that is the reason one does not need to apply a seal after using it.
When it comes to a wood filler, then the factor of versatility comes in. It can not only be easily available in the market but can also be used for various purposes. Also, the wood filler does not take more than 24 hours to get dried.
Once you have picked one for your wood beams, follow these steps to proceed further.
- Stir the wood filler solution well and let it act as a filler.
- Take the filler and fill it in the areas of the beams that you have dug.
- Make sure that you are pressing the putty forcibly into the spaces so that each space is sealed.
- Now let the putty be seated there for a while to let it harden. You can ensure the hardening of the putty by pressing a nail against it.
Important Note
If you are working outdoors, then try not to go for a wood filler because it does not have the property of expansion. And hence, there exists a chance that it breaks when the wood expands. But if that’s the only option for you, you need not worry! Just use a seal after working with the filler, and your wood beams would be good.
3. Smoothen the repaired area
While being varnished vertically, polyester shows the proclivity to sag. And that is the reason, you need to smoothen the repaired area by following these two easy-to-go steps.
- One method is to align it using a plastic sheet.
- Now you need to push the form against the plastic sheet and fix it with screws. Once the filler/ putty hardens, just take it out and chisel the repaired area to give it the shape you wish to.
4. Apply paint over the repaired wood

Once the repaired area has been shaped, apply primer and paint to the wood. This simple and fun step has got your wood beam covered with significant benefits.
Benefits of priming
- Priming seals the wood so as not to let the paint soak into the wood.
- It also amps up the durability of the wood, besides rendering it with additional strength.
- Priming is best known to enhance the quality and life of the paint.
Benefits of painting
- Painting gives an appealing look to the wood.
- The maintenance of the wood becomes rather easy.
- In comparison to other types of stains, applying paint is comparatively easier and less time taking.
Conclusion
It might seem like a lot to be done for your wood beams, but keeping in view the strength they render to homes, it can never be too much. These four steps with an easy elucidation of important notes have now hopefully answered how to repair rotted wooden beams.


