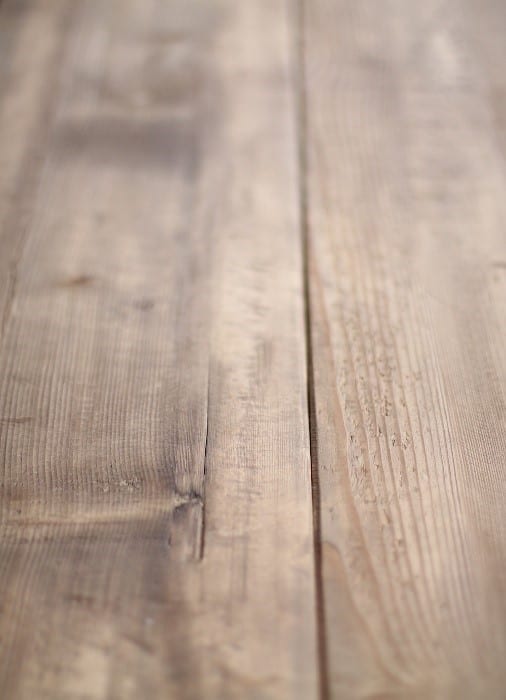
Split woods are not the end of the world if you know how to deal with the same. Sometimes, it is easy to make the split disappear from the wood. Most homes with wood finish or wooden furniture face the problem of split wood one way or the other. The result often is having to call in a professional, spend hundreds of dollars, and getting the wooden surface repaired. Knowing how to repair split wood can help you maintain your wooden furniture or floors without needing professional intervention. This article will help do just that.
Tools you will need
Most people have the artistic talent to work in the woods, but they are unaware of the tools they need for repairing the wood. Such tools are needed not just to do woodwork but also to repair split wood. Therefore, before we learn how to repair split wood, let us look at the different tools you will need to repair the split wood. They are as follows:
- Putty knife
- Clamps
- Wood glue
- Wood filler
- Joint compound
- Paint
- Sandpaper
How to repair split wood
Slit wood is the most common problem in homes with wooden finish or furniture. Repairing the split wood takes only a few minutes. Here is how to repair split wood:
Step -1

Insert the tip of the putty knife into the split wood and make the split wider. If the knife is too big and the split is narrow, then use the tip of the knife to widen the split. Make sure to do one section at a time. This will help you work on the wood smoothly.
Step -2

Force the glue into the split of the wood using your fingertip. Apply the glue as much as needed until the area becomes saturated with the glue. If needed, apply more glue till the glue emerges from the opposite side. Before applying the glue, remove the knife.
Step – 3

The next step is to place the clamps across the wood and perpendicular to the split. If the split is six inches longer than six inches, then place the clamp every six inches. This will help you in keeping the clamps tight and for the glue to ooze out dry. Finally, wipe off the excess glue with a damp cloth.
Step – 4

To fill the split, you can also use wood fillers. For easy and convenient repairing of the split, you can use wood fillers. If you get the right colour matching to your woodwork, then it will be brand new. But make sure you get the exact match. Because at the end of the day, you don’t want to end up having a mix and match wood filler.
Step – 5

Are you wondering how to repair split wood with sawdust and glue? Here is how.
At first scrap, a piece of wood and sand it a bit. Now, with the sawdust that you have collected from sand dusting the wood. Mix the sawdust with the wood glue. You have to ensure that you mix both of them in 50:50 ratios. Then, apply the paste to the area wherever you find the split.
Step – 6

Another way is by using the joint compound. Here is how to repair split wood with a Joint compound. It is the same thing we use for filling their wall holes. You can use the putty knife to spread the compound. After applying the compound, leave it to dry and then sand it down to make it smooth. Guess what? The compound cannot be stained.
Step – 7

The next best thing you can use is the Bondo. It is used to fill the cracks and dents in an automobile. But make sure you use a respirator before proceeding with the same. Once the solution is applied, let it dry. Then sand off the additional solution and paint it if needed.
Step – 8

If you have a small crack on your wooden furniture or finishing, use bevel shims. Cut the shims as per the size of the split spaces. After the shims are cut into the perfect sizes, glue them into the cracks and cover the rest of the part with masking tape. Spray some amount of dark lacquer and allow it to dry.
Step – 9

You can use plywood for repairing the split wood if the split is more visible and deeper. Sand the split area and slide the piece of plywood into the area. Then apply resin or dark lacquer and allow it to dry. Your wood furniture will now be as perfect as you want it to be.
Step -10

If the wooden split is seen on your wooden bed, remove the mattress and widen the split further. Add glue and clams to the area and leave it overnight to dry. You can use either C-clamps or bar clamps; preferably, use bar clamps because they are stronger.
Step – 11

For repairing the split wood, you can also use epoxy filler. This is because it is affordable at the same time it is one of the best ways to cover the split with ease. Once dried, you can sand down the area and paint. It will give a brand new finish.
Step – 12

Another way you can repair the split wood is by stripping. It is a very common process when it comes to repairing painted doors. First, you have to strip the area and use hot glue to attach the woods back together. Then, fix the wood together. Set a clamp to close the cracks.
Step -13

Polyester resin can also be used to repair the split wood. Here is how. First, you have to take the chipped areas and insert resins in them. Add the right amount of resins to ensure that there is no excess amount of the same left. This will help you to repair the wood with ease and use the area of the wood for any purpose.
Conclusion
Split wood is a common problem, but something that can easily ruin your house’s interior visual appeal and put a hole in your pocket. You can save yourself from the trouble of getting expensive repairs with some glue, resin, sandpaper, and DIY skills. With these things, fixing split wood is as easy as pie.
