For a start, I must admit that staining wood used to be one of the most annoying tasks I had to deal with. Or at least I kept thinking that restaining wood furniture is closely related to hard and exhausting work, chemical strippers and awful smell which leads to headaches, plus lots of frustration.
Then again, I want to highlight that this used to be the picture which popped up in my head whenever the words staining + wood were mentioned. But guess what? I was wrong!
After dedicating tons of my free time trying to find how to restain wood the easiest way, I was illuminated.
As I stumbled across some awesome refinishing furniture ideas, I also bumped into a fantastic tutorial on how to restain wood without stripping it.
So all the questions which kept troubling my mind, such as how many coats of stain I need to apply, or what wood staining techniques to use, simply disappeared.
Do you want to learn the best method for restaining wood, too? Then read on, buddies.
What You Will Need To Follow This Tutorial
- Fine-grit sandpaper
- Naphtha
- Paintbrush
- Wood stain
- Polyurethane (optional)
- Clean, linen-free cloth
- Drop cloth
- Container (for mixing the wood stain)
- Tack cloth
- Scrap piece of wood (for matching the wood stain before the final application)
- Wooden stirrer
Quick Pro Tip
Get rid of silicone build up by applying a coat of Shellac primer
Since you are restaining wood which has been treated with various polishing sprays or liquid furniture polishers throughout the years, you may have to deal with silicone build-up. Silicone is present in a large number of furniture polishers. With time, it builds up over the existing finish on wood and forms tiny cracks which are invisible to the eye.
However, once you start restaining the wood, these cracks may show off, even after sanding the surface carefully. In such cases, you simply need to apply Shellac primer before restaining the wood. The primer will seal the cracks by preventing them from eating up the new layer of stain and leaving tiny, annoying marks.
Step by Step Instructions for Restaining Wood
Step 1 – Clean and smooth the surface of the wood with the help of naphtha and sandpaper
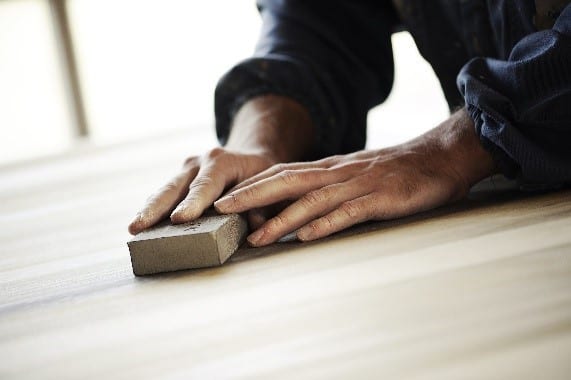
Image Credit: ehow.com
Naphtha helps to remove all the dirt, dust, and grime which has gradually built upon the surface of the wood. However, naphtha does not harm the upper layer of the wood by either softening or stripping the existing coat. Use a clean, linen-free cloth to go over the wood surface with naphtha.
Keep going until the cloth shows no signs of dirt left behind. Once you are done, it’s time to sand the wood carefully.
Use fine-grit sandpaper to smoothen the surface of the wood and prep it for staining.
Remove any traces of dust by using naphtha once again.
Before you proceed with applying the wood stain, it’s important to use a tack cloth which will help to get you rid of any naphtha residue.
Step 2 – Apply a good coat of wood stain with the help of a paint brush
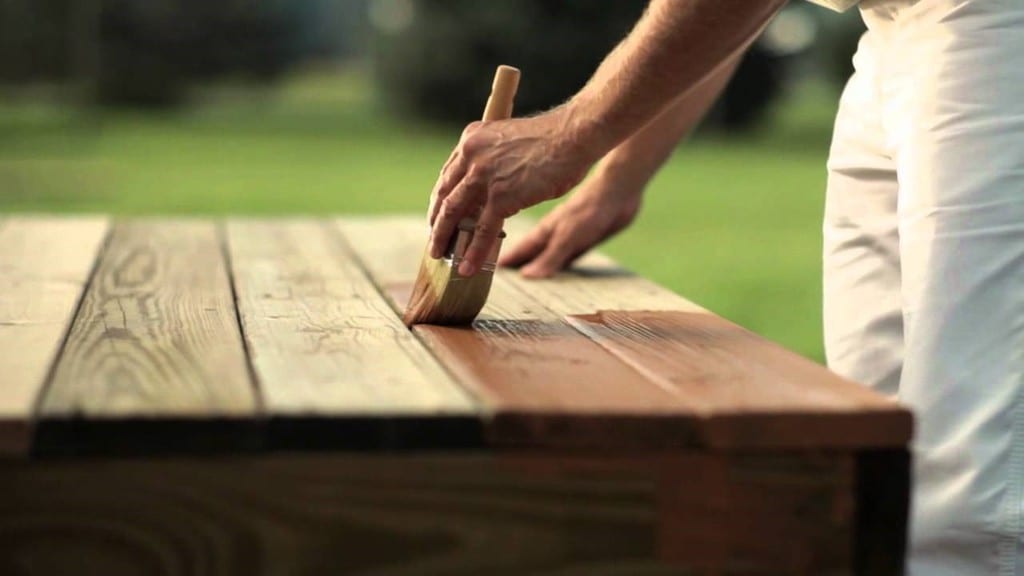
Image Credit: youtube.com
Matching the wood stain is the most artistic part of your quest. It’s best to use a finisher’s color wheel and try some free test sample stains on a scrap piece of wood. Be patient and pick the nuance which will make the best match. There is no need to rush.
Always stir the wood stain carefully at the start, using a wooden stirrer.
All you have to do next is to pour wood stain into a suitable container to avoid contaminating the one which is in the can.
Use a paintbrush and make light, long, controlled strokes to apply the wood stain.
Always follow the instructions on the label carefully and provide enough time for drying between each coat. Finish with polyurethane for best results.
We truly hope that this tutorial has been of your assistance. Did you learn how to restain wood with the help of our step by step instructions? Do you have more tips and tricks you wish to share with the community?
Your ideas, suggestions, and any questions are always welcome in the comment section below. Your support means a lot to our team, too! By liking and sharing this article you will help us spread the word for easily accessible woodworking and DIY hacks.

