Don’t you just love the sound of a crackling fire? My favorite part of the winter season is coming back home from a long day just to chill by the fireplace. But this cozy picture can easily turn into a nightmare if you don’t know how to season wood.
If the water content in chopped wood is above 20%, you risk setting your chimney on fire because of creosote build-up. And even though this is the worst case scenario, freshly chopped wood which has not been seasoned properly will simply refuse to provide a clean, smooth, and consistent burn.
On the other hand, seasoning wood can be tricky as different types of wood require a different time in order for excess moisture to evaporate. Meanwhile, it’s also crucial to avoid over drying the wood as this causes loss of heat energy.
The good news is that anybody can learn how to season wood without much of a fuss. Even if that’s your very first attempt, we have got you covered. Check out the comprehensive step by step instructions below.
What You Will Need To Follow This Tutorial
- Wood moisture test meter (optional)
- Woodshed (or wood pallets)
- Plastic sheet (optional)
- Tape measure
Pro Tips
1 – You can check if the wood is seasoned without using a wood moisture meter
You don’t necessarily need to purchase a wood moisture meter; in fact, you can also find this tool available for rent/hire. A wood moisture meter is particularly essential when it comes to measuring the moisture content of wood BEFORE seasoning it. When it comes to checking out whether the wood is seasoned well, though, you can try out this old but gold method instead.
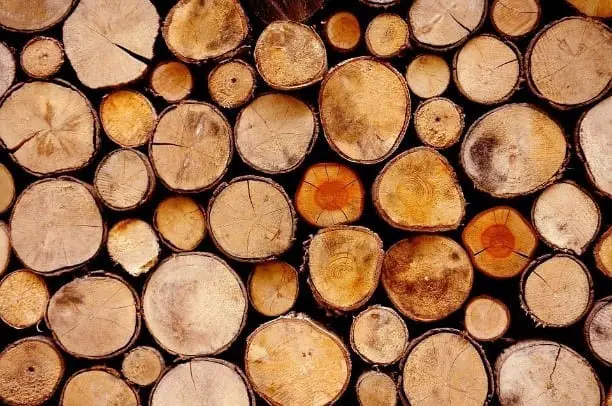
First off, check for radial cracks at the end of the wood. These cracks are a sign for dryness. Next, burn the piece of wood on roaring fire. If 3 of its sides start burning within 15 minutes, your wood has been seasoned properly.
2 – Deciduous trees have the lowest content of sap during the winter
Keeping in mind that different types of wood will take a different period to be seasoned well, it’s best to gather and stack your wood during the summer season. That’s because of the favorable weather for seasoning. However, deciduous trees make an exception.
Your wisest move is to gather and season wood from deciduous trees, such as pine, during the winter season. It is during the cold winter months that deciduous varieties have the lowest content of sap intact. The sap is to blame for a huge amount of the moisture content. Less sap means easier and faster seasoning.
Step by Step Instructions for Seasoning Wood
Step 1 – Cut the wood in suitable pieces

Image Credit: youtube.com
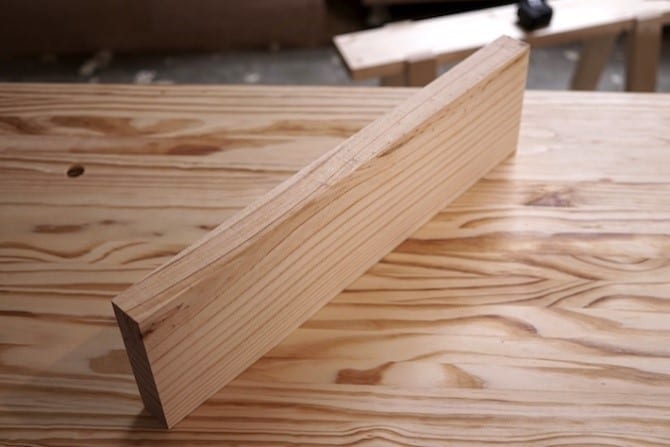
16 inches is considered the most appropriate length (also used for a face cord), and it fits perfectly fine in small stoves, too. However, 18 inches in length is also fine for seasoning wood properly. When it comes to the diameter, make sure all pieces are no more than 6 to 8 inches.
Step 2 – Stack and store the wood properly
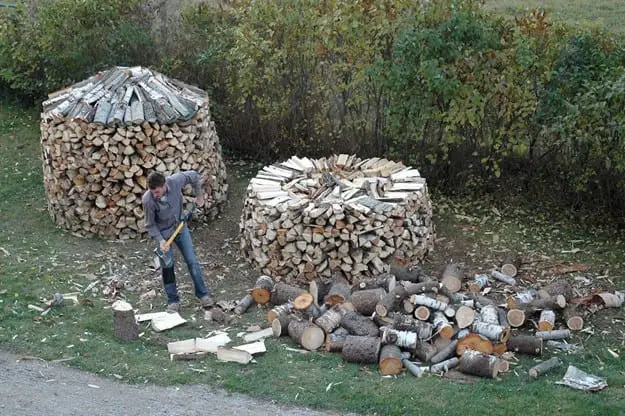
Image Courtesy of unionwoodco.com
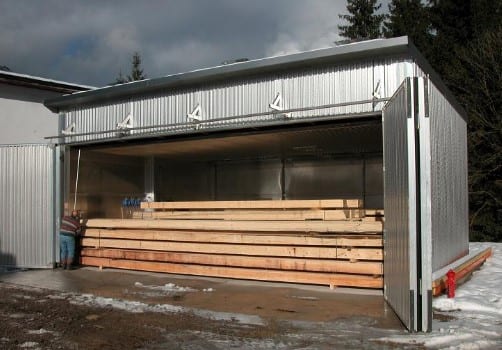
It’s best to stack wood in a woodshed but if you don’t have one, you can use wooden pallets to prevent the wood from getting in touch with the ground.
Always stack and store wood outside because otherwise termites will attack your house and intrude indoors.
Place the wood off the ground and don’t pack it too densely; you need to provide sufficient air circulation for the seasoning.
Stack the wood with the bark always on top and at the bottom of the stack, as bark serves as a natural shield against moisture.
Forming a 90 degrees angle works great in the case you don’t have side supports for your stack.
My very first attempt to learn how to season wood is not something I would brag about; admittedly, I underestimated the significance of the process. I failed to follow all the tiny but essential rules for proper stacking and storage, so I ended up learning my lessons the hard way.
However, I’m sure glad if my experience can be of your assistance and keep you away from trouble.
Did you enjoy reading this tutorial? You can help us spread the good vibes and aid more people in seasoning wood properly by liking and sharing this article.
If you have any questions, personal tips, smart hacks, or anything else you’d like to share with the community, don’t hesitate to drop a line in the comment section below.
