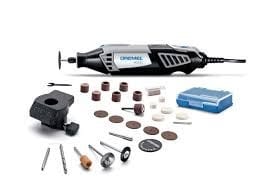
Dremel is a popular brand name of an oscillating tool or also called as a rotary tool. It includes a wide array of burrs, sanding drums, and exchangeable tips. Carving wood can be slightly rigorous and using a Dremel tool can cause confusion.
However, carving wood is faster and better after learning how to use a Dremel to carve wood.
What You’ll Need to Follow This Tutorial
The important things you need to prepare are the wood piece, Dremel tool, wrench, small cutting heads, sanding heads, workbench, clamp, and pencil.
Wood carving can be messy and dusty, so you need to work on an area with a good ventilation and minimal distraction.
Step-by-step Guide to Using Dremel to Carve Wood
Step #1
Find the right space to work. The preferable area is a workbench because the wood might need clamping.
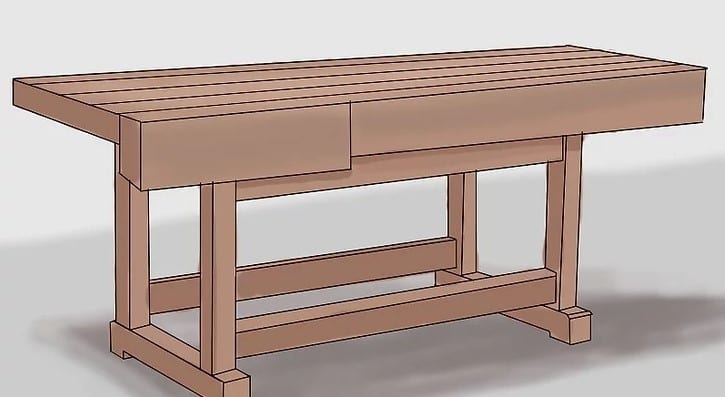
Image Source: https://www.wikihow.com/Carve-Wood-with-a-Dremel-Tool
Step #2
Familiarize yourself with the Dremel tool and the attachments. When changing the attachment, locate the blue lock button at the cutting end and hold it.
To loosen, turn the head lock counterclockwise, and turn clockwise to tighten. You can do it using any wrench or one that comes with the kit.
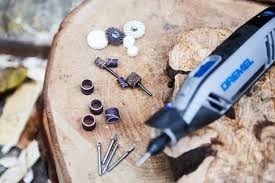
Image Source: https://www.dremeleurope.com/gb/media/centralpool/images/how_to_get_started_with/carving/23212.jpg
Step #3
Choose the wood to be carved. A pine is a softwood which is easier to cut and more difficult to detail as compared to hardwood, like as mahogany.
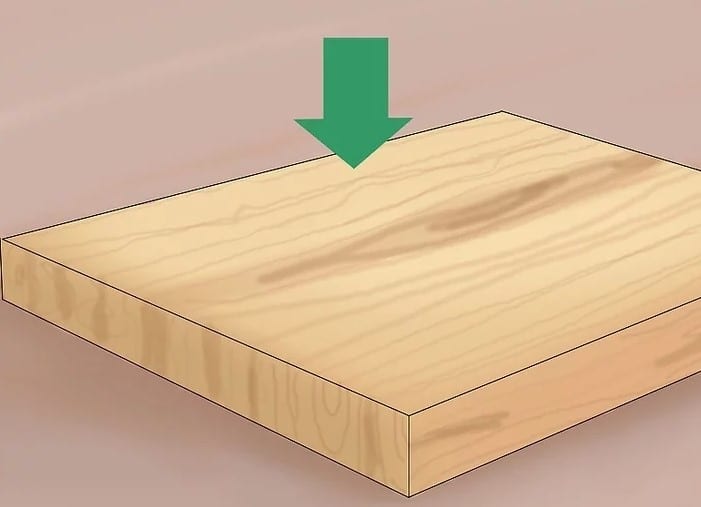
Image Source: https://www.wikihow.com/Carve-Wood-with-a-Dremel-Tool
Step #4
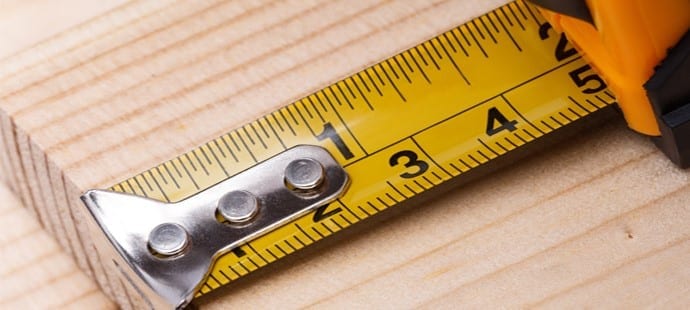
Create a design you like for the wood carving. Measuring the area should be done so you won’t run out of space or other design constraints.
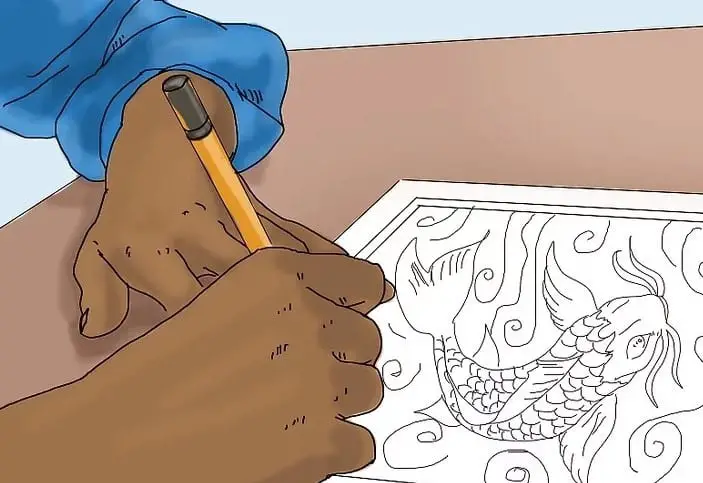
Image Source: https://www.wikihow.com/Carve-Wood-with-a-Dremel-Tool
Step #5
Choose a cutting head which is sold individually or readily available in kits. A cutting head is generally small with round heads and cutting grooves. A Dremel carving kit usually contains 11 smoothing and cutting heads ($15 in hardware stores).
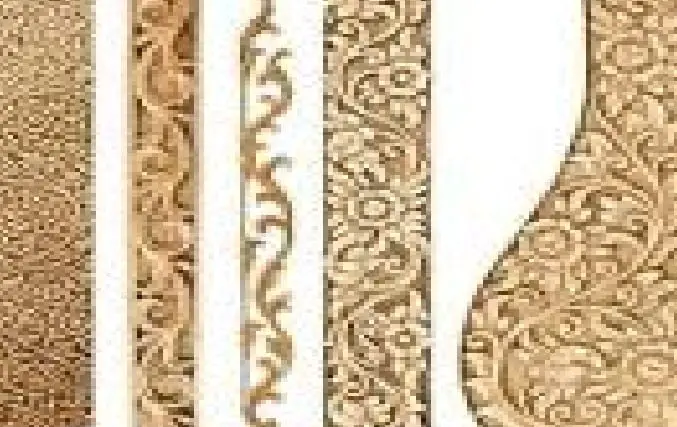
Image Source: https://image.shutterstock.com/image-photo/pattern-flower-carved-on-white-260nw-132734771.jpg
Step #6
Transfer your design on the wood to be carved. This is accomplished by creating a stencil and tracing an image or drawing it by hand. Cut an outline on your desired area. Hold the Dremel like you’re holding a pencil, and start to cut around the image. Maintain the high speed setting to prevent any bite. First, you need to begin with a small cutting head and just work your way up as necessary.
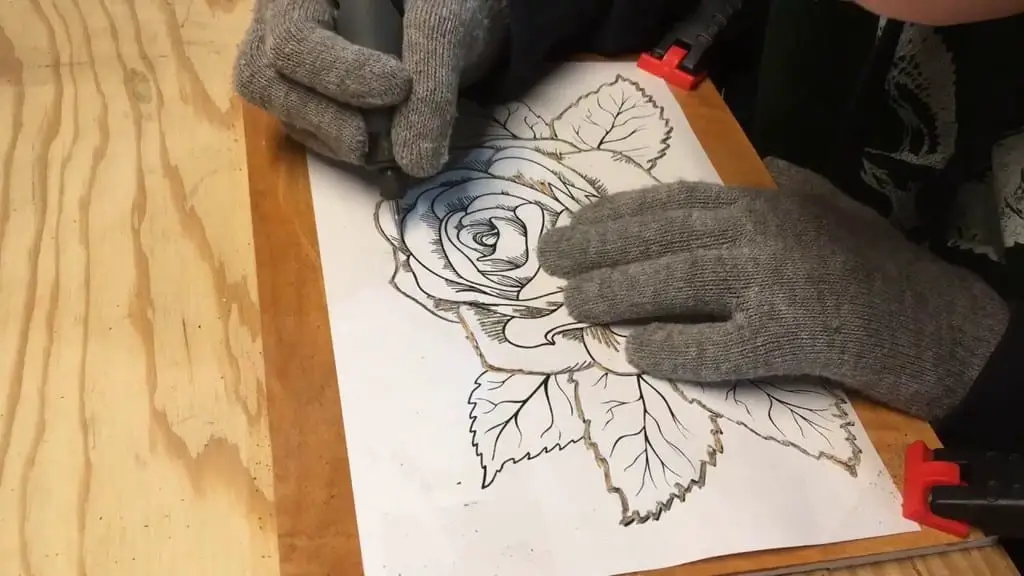
Image Source: https://i.ytimg.com/vi/aSEKRE_FNaI/maxresdefault.jpg
Step #7
Carve away first on the unwanted space. Cut away the negative space to create a contrasting image against the background. The depth is entirely up to your preference. Remove the sawdust frequently to see what you’ve carved.
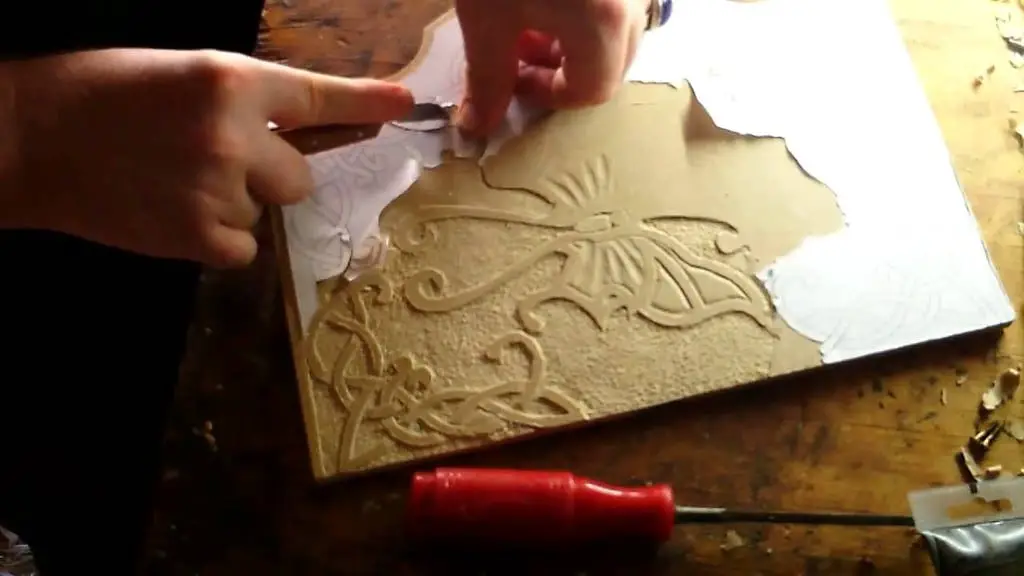
Image Source: https://i.ytimg.com/vi/aSEKRE_FNaI/maxresdefault.jpg
Step #8
Removing any rough spots is a very important step. Sand or buff all ruts, gouges, or unwanted areas from carving. This will depend on how smooth or rough you want the image to appear.
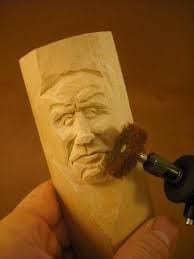
Image Source: https://cabaret.co.uk/21-rotary-tool-tips-and-tricks-for-automata-makers-dugs-tips-6/
Step #9
Retouching any carved areas as needed will ensure that any straight lines are really straight. It is best to wait until you finished carving to address any imperfections. This can be done using sanding heads or small cutting heads. Varnish or paint the final carving as needed. Seal or paint your cut finishes off the work, protecting it longer than the natural wood.
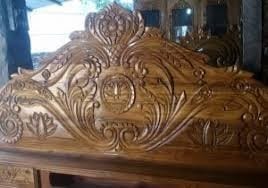
Image Source: https://encrypted-tbn0.gstatic.com/images?q=tbn:ANd9GcQWI0IEC–VU5O1Ww_kPI-MJxvg799bo3qWN4GRcO4AfRtQ7UuA
Benefits of Using a Dremel Tool in Wood Carving
1) Hard-to-Reach Spots
Dremel’s flex shaft attachment allows for tight spaces carving. It is lighter and thinner, likened to a pencil with a cord, providing the woodworker a more relaxed posture.
2) Power and Speed
Dremel tools possessing higher horsepower can remove wood faster as compared to lower-powered models. Those with higher RPM’s or revolutions per minute, glide along the wood surface smoother, creating less vibration and chatter for delicate work.
3) Variable-Speed Model
Dremel tools have a variable-speed starting at 5,000 RPMs (low) to over 32,000 RPMs (high). It is a matter your own preference. For the best results, you can make less-aggressive passes using lower speeds.
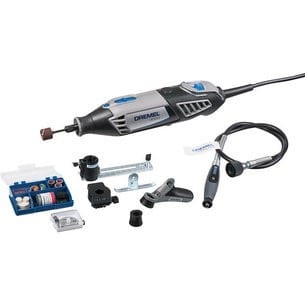
Image Source: https://www.sider.biz/produit/dremel-4000.228177
Conclusion
Using a Dremel tool can make your wood carving project cleaner, faster, and professional-looking. This tool is very helpful most especially if you’re working on bigger and multiple projects with tight deadlines.
By following the steps above, you’ll be more confident using a Dremel tool on your next wood carving project. Do you find this post very useful? Leave a comment now and share this post to your other woodworker friends!
