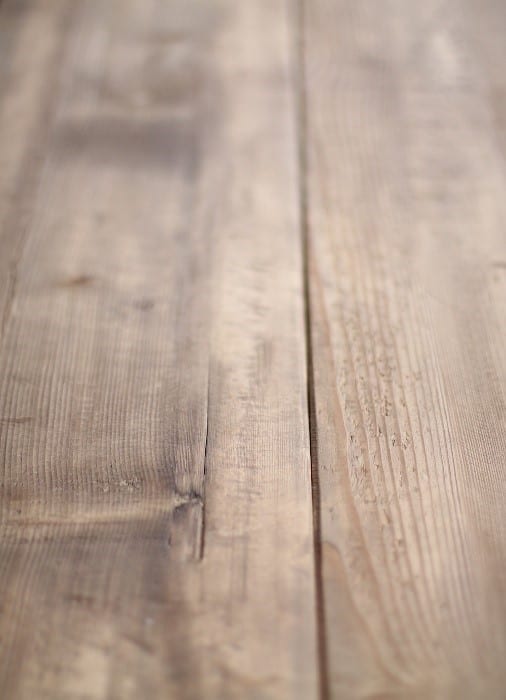
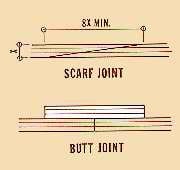
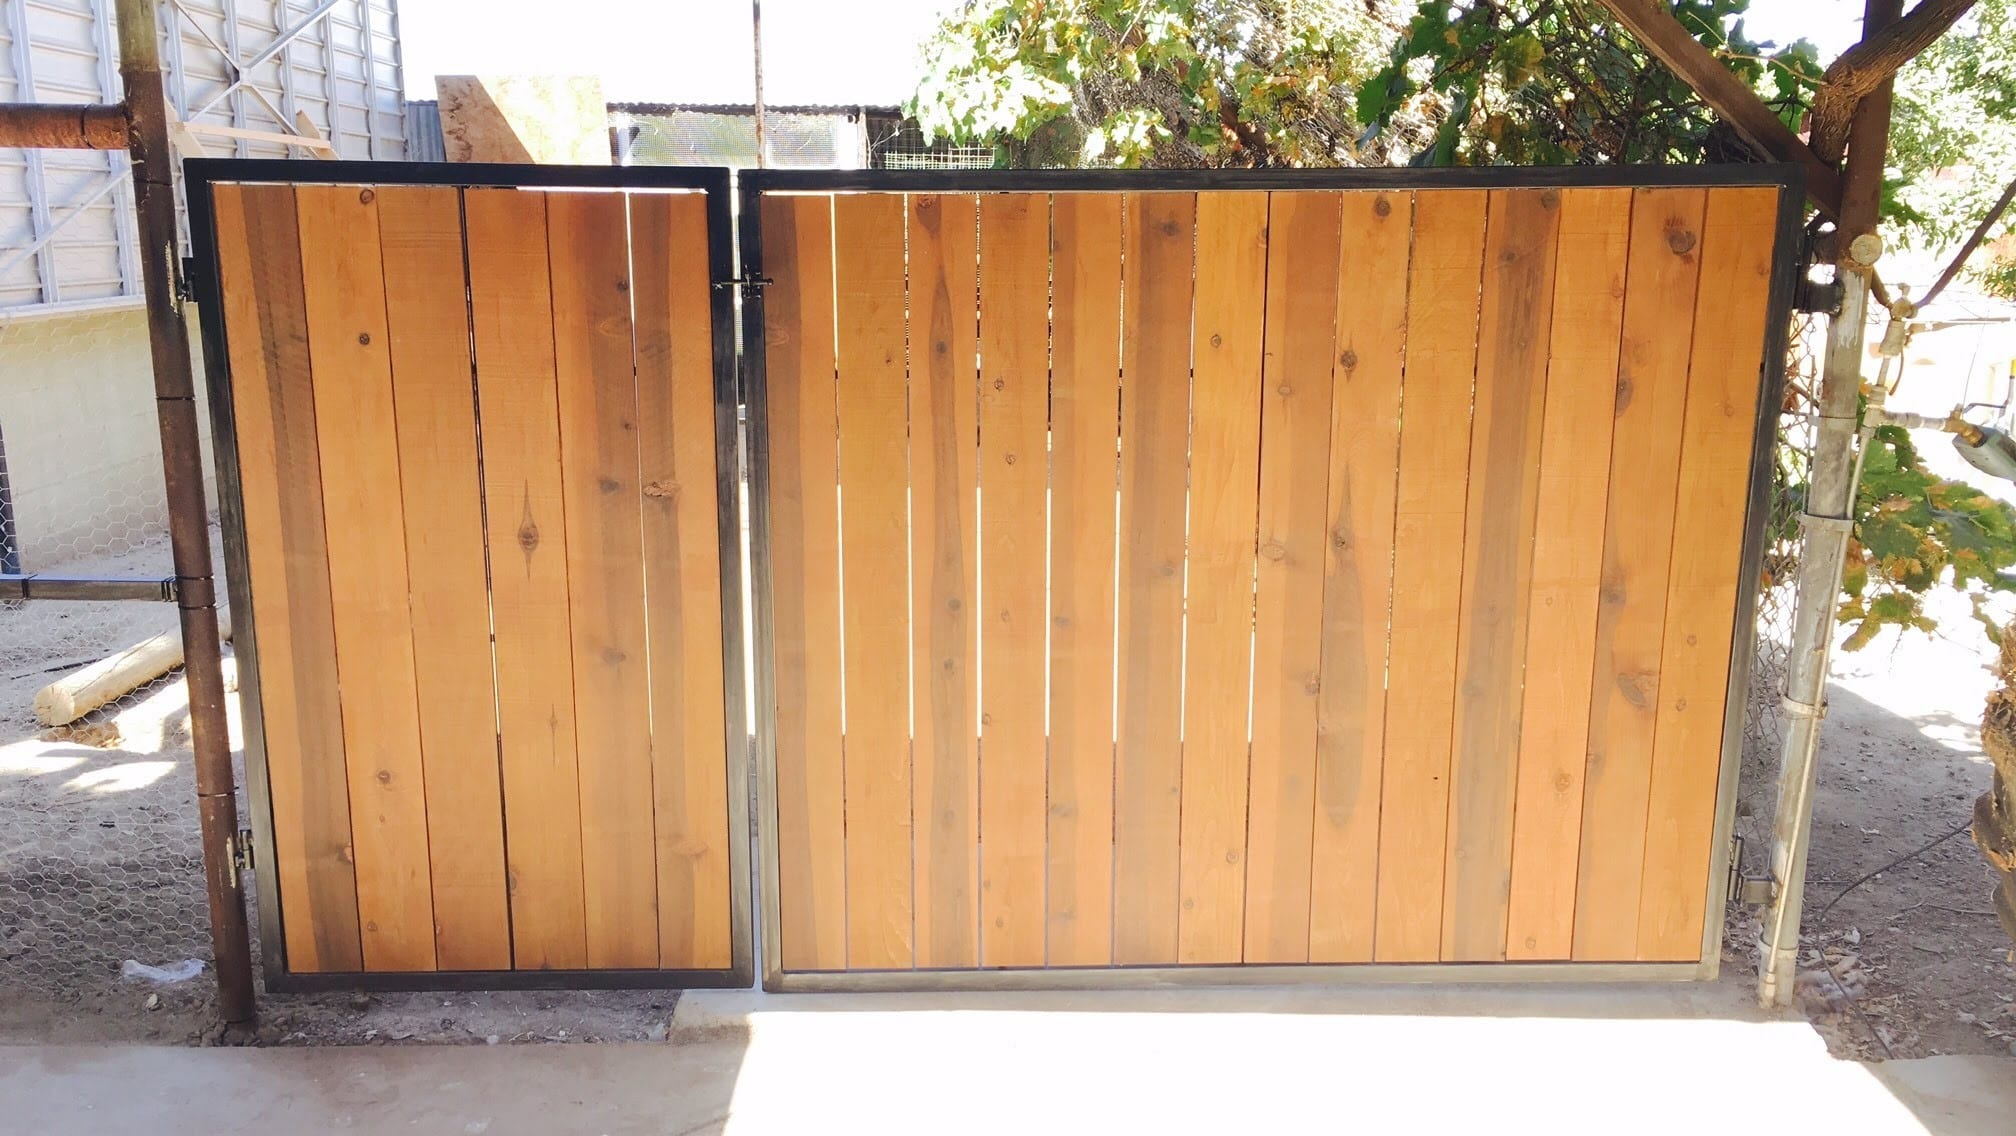
The most common factors which can make wood bow are heat and moisture. Being a huge fan of wood furniture, I’ve had to deal with warped wood many times.
On the one hand, nobody enjoys making additional fixes. But on the other hand, if you want to learn how to straighten bowed wood, you can accomplish this task by yourself without much of a fuss. However, you do need to find the best approach.
We are listing the easiest and most affordable way to straighten wood which is bowed or warped. What’s more, you won’t need any complex tools or special equipment. Just follow the step by step instructions below and you will be ready for your next DIY project without any worries.
What You Will Need To Follow This Tutorial
- Large towel
- Water
- Ironing board
- Iron
Quick Pro Tip
Depending on the type of wood you are working with, you may need to use additional means for unwarping it. That’s because in some cases extra pressure must be applied in order to fix bowed wood. Keep in mind that it’s best to start with the ironing method we are revealing below, though.
In the case ironing doesn’t work, one of the most effective ways I prefer to straighten bowed wood is to place it in a wood clamp. However, it takes a full week before the final results take place.
Step by Step Instructions for Straightening Warped/Bowed Wood
Step 1 – Moisten the towels and place the wood on the ironing board
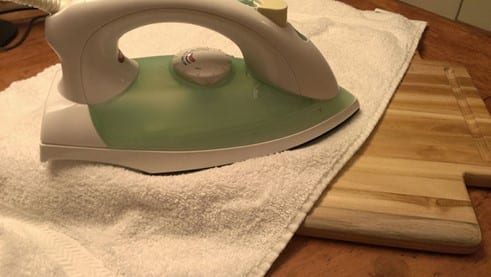
Image Courtesy of cuttingboard.com
You need to wrap the wood in a damp towel (but not wet) before you iron it. If the towel is not large enough, you can use 2 or 3 towels instead. Make sure the towel’s fabric will be able to withstand the ironing.
Besides using an ironing board, any other rigid surface can work fine for placing the bowed piece of wood.
Next, turn on the iron to the highest setting and work only with the Steam setting. Unwarping wood with a dry iron is a big No – No.
While the iron is heating up for a good 3-5 minutes, place the wood with the curve facing upwards, so that you can apply the pressure, along with the heat from the iron, and the moisture from the damp towels to straighten the curve.
Step 2 – Press the wood with the iron
Image Credit: dudostuff.com
All you have to do now is to press the wrapped wood with the hot iron set on Steam and go over the entire surface carefully. Don’t try to make the warped area straight by applying extreme pressure.
Instead, apply even, controlled pressure, by holding the iron in one area for about 5 to 10 seconds. Next, slide the iron to the spot which follows.
After going through the entire piece of wood, unwrap it and check if your mission is successful. Mind that you may need to repeat the process from 2 to 3 times.
When you are done, remove the excess moisture from the wood with a clean, dry towel.
In some cases, applying only heat to the bowed area can work like charm.
As mentioned at the very beginning of our tutorial, heat, and moisture are often to blame for bowing wood. However, with a little bit of patience, you can make both moisture and heat work in your favor to straighten wood back to normal.
Do keep in mind that proper storage of lumber is of utmost significance. You may never have to deal with unwarping wood if you do take the time to store it well.
That means avoiding to expose the wood to excess heat and/or moisture (so yes, your basement is probably not the best place for wood storage).
After discovering the ironing method, though, I’ve been able to fix most of the warped wood in my workshop successfully. Did we help you learn something useful today?
If you like this article, don’t forget to share it with friends. Do give us your thumbs up and join us in the comment section below at any time, too!


