Long story short, I have 2 favorite things in the world: working on my DIY projects and hiking. One crazy weekend roaming the forests in Europe caught me and my husband poorly prepared for the situation we faced. It started raining cats and dogs during the hike.
Even though we managed to find a shelter, once the rain stopped, we ended up soaking wet. And then we realized we don’t have a clue how to start a fire in rain. Or actually, how to start a fire with wet wood.
Fortunately, our wi-fi was working perfectly well, so we started roaming the web searching for guides on how to make a fire when everything is wet, how to start a fire with wet sticks, and how to start a fire in cold weather. Yep, you get the point!
But before you find yourself stuck in a similar scenario, we’ve compiled the easy, step by step tutorial below to help you out.
What You Will Need To Follow This Tutorial
- Dry cloth (torn pieces of clothing work perfectly well) – optional
- Dry branches (that sounds controversial to starting a fire with wet wood but we’ll give you a hint on finding dry wood easily)
- Extra kindling (optional)
- Hatchet (optional)
- Lighter or matches
Quick Pro Tip
Use old logs for starting a long-lasting fire
Suitable branches will help you start a fire quickly, even when it’s wet outside. However, these will not help your fire burn well for an extended period. For long-lasting fires, you need old logs which will feed the flames properly.
Although many logs will appear wet on the surface, that’s not always the case when you take the time to check them on the inside.
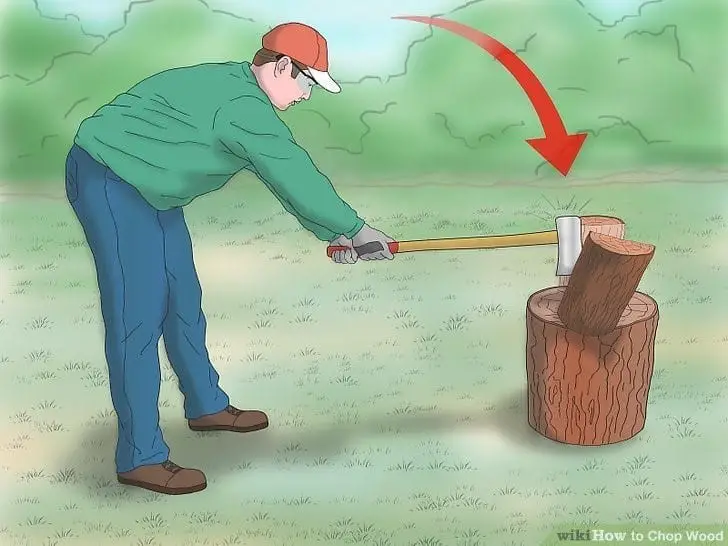
When you split the logs with a hatchet (or any other similar tool you have available), look for dryness. The more carefully you split the logs, the higher the chances to find dry wood on the inside.
Step by Step Instructions for Starting a Fire with Wet Wood
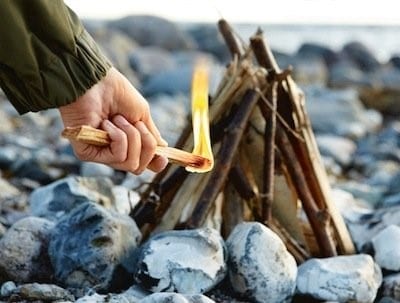
Step 1 – Make a dry foundation for the fire and build a small teepee if needed
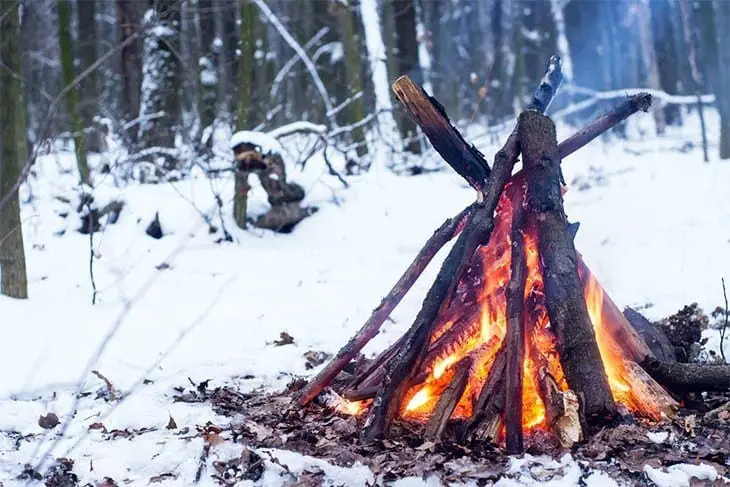
Image Credit: rainyadventures.com
One of the most important steps when starting a fire with wet wood is to make sure the foundation is as dry as possible. In most cases, the ground will also be wet. Thus, you need to get rid of any mud, snow, or other wet objects and dig a bit into the ground.
The layers beneath will reveal a dry surface which is suitable to start a fire. If you do have a flat, dry foundation such as a cardboard or a piece of dry cloth – that will work even better. Place it on top of the ground and get ready to warm yourself up pretty soon.
In the case the rain doesn’t seem to stop, you will have to build a small teepee to prevent the raindrops from blocking your success. Use any kind of kindling for this purpose.
Step 2 – Find dry wood and set the fire (and use the fire to dry wet wood)
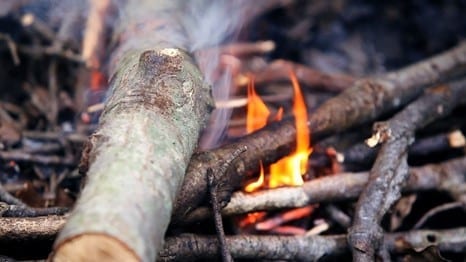
Image Credit: youtube.com
You need to look around and find dry wood among the wet wood. Your aim is old, dead trees. You can check if a particular branch is dry by snapping it; if it snaps, you have a dry branch, and if it bends – it is still rather wet. You can also look for dry wood by examining the surroundings with a focus to branches which are not in contact with the ground.
Once you find suitable timber, split it into multiple smaller parts, as this increases your chances of reaching out to the inner surface, which will be drier than the rest. Place the driest kindling on top of your foundation and start the fire.
If you have any kind of paper available, this will speed up the process tremendously. Use the fire to dry out wood which is still moist by placing it close to the flames (but not so close as to stop the fire, right!)
While there is no single best way to build a fire with wet wood, we do believe that this tutorial can help you start a fire even when the weather seems to be against you.
Above all, keep in mind that you must be patient and think logically. Trying to start a fire with just about any wet wood handy is not the winning approach.
Did we manage to help you out with the step by step instructions? You can help us, too, by liking and sharing this article with friends. We’d love to hear from you at any time in the comment section below.
