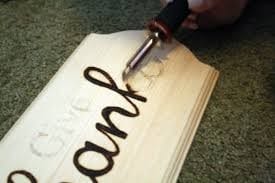
Wood burning is also referred to as pyrography. It is drawing a picture or image on a piece of wood using a hot brass tip. It is eye-catching and looks great in homes. You can engage in a wood burn project for yourself, as a gift, or to hang on walls.
Whatever wood burn project you want to pursue, it is a good idea familiarizing yourself on how to use a wood burning tool.
What You’ll Need to Follow This Tutorial
The essential tools you need to practice pyrography include a wood burning pen that basically comes in two varieties, including the soldering iron style machine (one heat setting and interchangeable brass tips), and the wire pen (different heat settings and two styluses).
You also need assorted wood burning tips for greater leeway to produce heavier or lighter marks and different patterns. A strop and aluminum oxide periodically clean the brass tips of your wood burning pen. You need pliers and clay pot or a pen holder to ensure safety when the element is still hot. The types of softwood you can use include pine, birch, basswood, maple, or ash wood.
Step-by-step Guide to Using a Wood Burning Tool
Step #1
Handle your wood burn pen with great care. It will get quite hot fast, that is why you need to attach the tip that you will be working with prior to turning on the machine. Using your pliers, attaching and detaching tips are made easier. Wait for the pen to get hot for a minute or two. Let it rest in a clay pot or a pen holder device to minimize accidental burning.
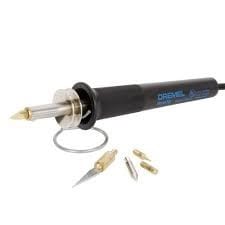
Image Source: https://images.homedepot-static.com/productImages/3714acd0-c0e8-46da-bb15-932c002c64d5/svn/dremel-soldering-irons-1550-64_1000.jpg
Step #2
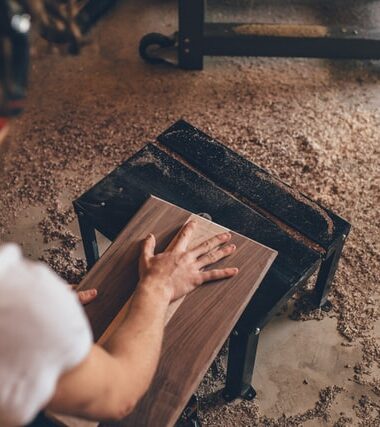
Sand the wood before you start using a 320 grit sandpaper. Just wrap the sandpaper around a flat wooden block or you can also attach it to a paddle sander, hitting all wood areas equally. The details will be crispier and sharper in a smoother wood surface.
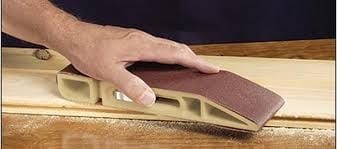
Image Source: https://stusshed.files.wordpress.com/2014/07/sand_devil.jpg
Step #3
Using light strokes is better than a heavy hand. Do not press down too hard, so you can easily guide the pen and reduce errors. It also eliminates accidental burning. Just take your time when you’re wood burning.
It is a slow and gradual process. A steady pressure is still the best.
For more first-time designs, it is important for the indents etched by the pen even all throughout. Remember that the longer you are holding your pen in one area, it will get deeper and darker.
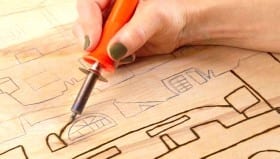
Image Source: https://duna.com.tr/userfiles/productthumbs/thumb_6572.jpg
Step #4
Going with the grain is considered the easiest time for a wood burner. Turn the wood piece until the grain points downward to make your job easier. Most of the time, you’ll be moving the pen in a downward direction that will burn with the grain for more resistance.
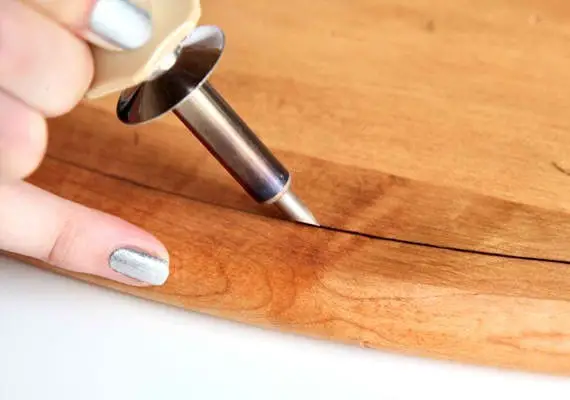
Image Source: http://theoscarshorts.com/wp-content/uploads/2018/04/how-to-make-a-wood-cutting-board-etsy-how-tuesday-pyrography-003.jpg
Step #5
Get a practice wood to experiment. Practicing with various tips is essential to know the uses of various projects. Remember that the tips you’ll use will highly depend on the type of picture and the number of details you’re planning put in the picture.
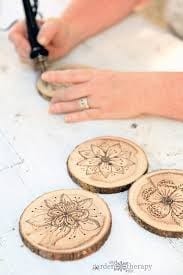
Image Source: https://encrypted-tbn0.gstatic.com/images?q=tbn:ANd9GcTO8GswSReQ1uL0nZQk2SZuOEcA_v0DVIjezttiAgQ7eNbsTggU
Step #6
Draw the design onto the wood directly free-handed. You can draw directly onto the wood using a graphite pencil which is the most efficient way to get down an outline.
Position the graphite paper on top of the wood with the face down and secure it into the wood using a masking tape, and the sketch on top of the laid graphite paper.
Trace over the sketch using a 2B pencil with fluid lines and medium pressure.
Next, the graphite paper is removed and the outline is deepened on the wood.
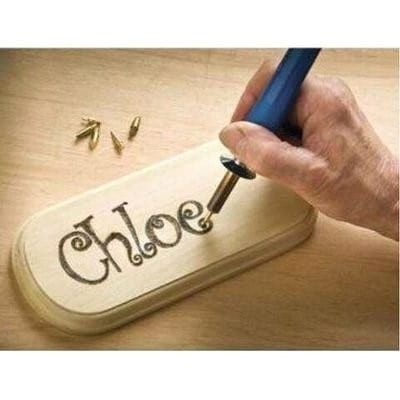
Image Source: https://pbs.twimg.com/profile_images/787340740972142593/FU6TLkEj_400x400.jpg
Step #7
Do not be afraid to burn the part of the outline thrice or four times. Just apply a light pressure to stay nimble with the pen and move it towards you and not away from you.
You can experiment with texture as well as shading. You can also wood burn a 3D image instead of 2D. You can color the image too using watercolors or colored pencils.
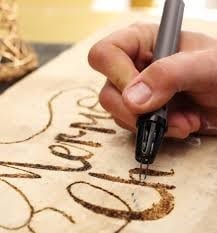
Image Source: http://angels4peace.com/wp-content/uploads/2018/01/wood-burning-tool-cozy-ideas-how-to-clean-tips-525×564.jpg
Conclusion
Now you have a basic knowledge on how to use a wood burning tool. Good luck to your next project using this new learning. Share this post to also help your woodworker friends online and leave a comment to share your thoughts or post a question here.
