Introduction
Drywall compound is often referred to as joint compound, joint cement, or drywall mud. It is also known as mastic and is very useful in joining items like ceramics to wood. Drywall powder is a compound that consists primarily of gypsum dust. It is white in color and after mixing it with water, this paste is used as a sealant. It is used to repair cracks and scratches on wood. If you apply coats of joint compound on a wooden wall, it creates a good base for applying paint on the walls.
Now the question arises- can you use joint compound on wood? The answer is a positive yes and read on to find out more about the process of application.
Not only as sealants, but joint compound can also be used to skim-coat the wood panels. They give the feeling of cemented walls and once painted, you cannot tell the difference from a distance. If you are planning to get a partition done in your study area or living room, and building a wall is not possible, here you have the solution. Use plywood with coatings of joint compound. Without making any structural changes, you will be able to go about the cosmetic changes you had in mind.
Ingredients Needed – Using Joint Compound on Wood
Drywall compound was initially used to cover cracks and gaps in cemented walls. With time it became a widely used mixture and it was used to coat various surfaces including wooden surfaces. The drywall mixture is inexpensive and effective, and hence homeowners across the globe prefer to use it. It is a magic component for civil engineers and architects.
Since one type of mixture has multiple usages, it helps in reducing the construction costs too. Large building projects run into many issues of cracks appearing on cemented walls. Since this mixture can be used to fill up the cracks for many kinds of porous materials, the reach is very wide.
Drywall mud can also be used to insulate plywood walls. Since this sealant helps in sealing the walls against any seepage of air and water, the enclosure becomes cozy. You can use this material to make dog houses or homes for pets. During the winter months, they will feel warm and comfortable.
You will need the following ingredients to use joint compound on wood-
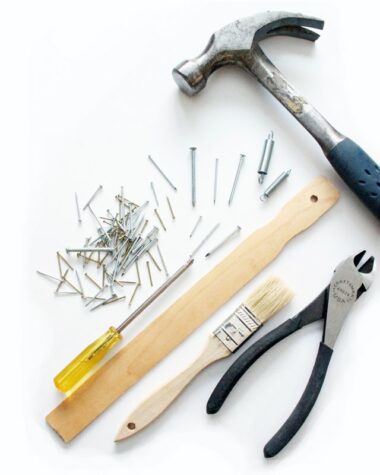
Drywall mud compound, bucket, stir stick, putty knife, sandpaper, workers gloves, paint, and paintbrush.
Step-by-Step Instruction- Applying Joint Compound on Wood
Step 1- Mixing Drywall Compound
The first step is mixing. After opening the pack, check for any lumps in the drywall compound powder. Take a bucket and fill it with the quantity of water that is mentioned in the instruction manual. Add the joint compound powder to the water and stir well using a stir stick. Convert it into a paste-like substance and now it is ready for use. Now you are getting a clarification to the question- can you use joint compound on wood?
Nowadays, some readymade mixtures of drywall compounds are available. They will help you to skip the messy process of mixing it with water. These ready-made compounds last longer than the setting type of powder mixture.
Before starting the process of applying drywall mud on the wooden surface, inspect it for any raised rough patches. There might be knots in the wood, or any splintered areas that may hinder the smooth application of drywall compound. A simple process of sanding the base wood can solve this issue.

Step 2- Apply Drywall Mud on the Wooden Surface
Use a putty knife that is broader than the hole you have on your wooden surface. Apply the drywall mud using the putty knife to the hole and remove any excess drywall mud. Once the joint compound dries up, it will be difficult to remove it. After applying the sealant, do not disturb it and allow it to sit overnight.

Step 3- Sand the Surface of Wooden Surface Coated with Drywall Compound
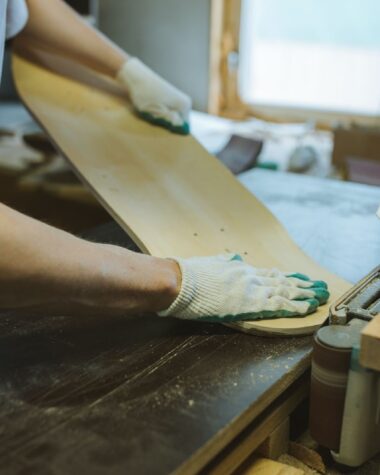
Now once the application of joint compound is completed, the wooden surfaces will not look good unless it is painted. This will ensure the uniformity of color. Start with sanding the wooden surfaces first. Use a piece of fine grit (240) sandpaper to ensure a smoother finish.

Step 4- Paint the Wood Coated with Drywall Compound
After the drywall compound has set in properly on the wooden surface, you need to color it. Else it will look extremely bare and unattractive. Use a paint that is suitable for drywall ceilings.
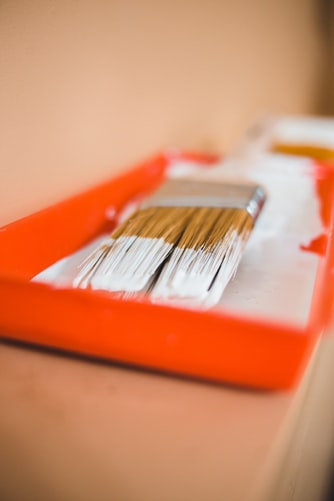
It is recommended to use a sprayer compared to a paintbrush. The time consumed is much lesser and the final outcome is much better. There will be no bristles of the brush stuck to the painted wood either. You might need a paint thinner depending on the type of paint you have chosen.
Allow the first coat of paint to dry and after 1-2 days, apply the second coat. If needed apply a third or fourth coat. If you want to play with colors, then you can even use multiple colors on the drywall compound setting. If you are a good artist, draw a landscape or write some interesting quotes on the surface.

More Information About Drywall compound/Joint Compound
Acceptable Types of Wood
You can apply drywall compound to any rough-grain wood surface like oak, redwood, birch, etc. It is perfect even for plywood, however, is it not suitable for any wood which will come in contact with water. So do not apply drywall mud to oriented strand board (OSB) cabinets in kitchens or bathtub surrounds made of plywood.
Even for garden sheds, poultry farmhouse coverings and roofs, doors for greenhouses, or any other outdoor structures, do not use drywall mud. With time it will be weather-beaten and look ugly.
Initial Application
After making the paste with water, drywall mud can be applied using a paint roller. One coat may not be sufficient to cover the wood beneath the surface. Use trowels to apply drywall compound to the wooden surface just like a craftsman.

Creating Texture Designs
You can bring out the Picasso within you while applying drywall mud onto the wooden surface. After the base coat dries up, as discussed above, you will have to sand the surface to make it smooth. While applying the second layer, you can create designs on it. Use a paintbrush to create a wavy feeling, or a putty knife to carve our different kinds of designs.
You need to be a pro to create these designs. Hence first practice it on some regular piece of wood before doing it in the actual structural area.
Considerations
You need to keep in mind that wood moves as per the weather conditions. It shrinks during the winters and swells during the rainy seasons. Drywall does not move that much. Hence cracks may appear when these changes take place. If you want to reduce the risk of cracking in between, tape the joints between the wooden panels. Even the joints between drywall panels should also be taped in a similar fashion.
Health Concerns
You will be exposed to multiple chemical particles like talc, calcite, respirable silica, mica, gypsum etc. They cause irritation in eyes, nose, throat, and respiratory tract.
After using drywall compound for long hours, you might experience sore throat, breathing difficulties, coughing, phlegm production, and similar disorders. Workers develop asthma and other breathing related disorders. It is reported that factory workers and construction workers working with drywall mud for many years develop silicosis, larynx, and lung cancer. Since asbestos fibres provides cohesiveness, they too are often used in manufacturing drywall compound. Since asbestos is a known carcinogenic element, many types of cancers have been reported by the users of this mixture.
Hence, always wear a good quality multi-layered mask while working with joint compound. Do not overdo things and work for too long using this element. Take frequent breaks and wash off the materials which got deposited in your nostrils and use a steam inhaler to dilute the impact of the particles.
Conclusion
Now you have the answer to your question- can you use joint compound on wood? You sure can use it. This is one of the cheapest and most effective methods of covering any holes on wooden surfaces. Finding the right kind of fillers for wooden surfaces is a challenging task. Joint compound has given a solution to that problem.
This can be an interesting craftwork project for your teenaged children. If you want to wean off your children from computer games, involve them in such projects. They will learn the importance of working with hands and in the process will learn to respect workers of blue-collared jobs.
You can save a good amount of money if you learn the skill of filling holes on the wooden surface using joint compound.
