Have you figured out how to use a sliding bevel? A sliding bevel or a sliding T bevel is a gauge that is completely adjustable typically used to transfer angles. This measuring tool has a handle, usually made of wood and a metal blade with a wing nut or thumbscrew. The points at which the blade and the handle meet can be locked at any angle by tightening the screw.

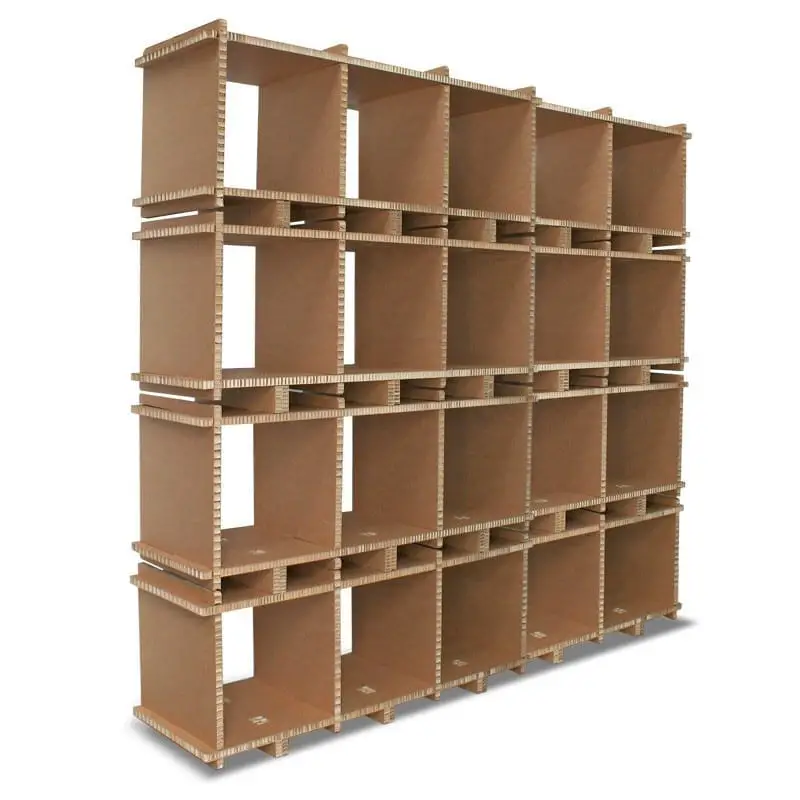
Making sure that all angles in a workpiece complement each other is a tiresome job. Like constructing a shelf for instance, you will only end up constructing a shelf with unequal angles which will only result to an unsafe piece of furniture. A sliding bevel will transfer angles from one part of the shelf to another and thus constructing a symmetrical and balanced storage unit. A sliding bevel can also be used in creating frames, entry ways and more.
And before proceeding with learning how a sliding bevel works, any novice woodworker has to learn about the different parts of this device.

- Stock – or the handle is a part that moves and aligns to the object being measured
- Blade – this is the part that moves and conforms to the angle of the object that is being measured. The blade has a sharpened edge as well and can be used to mark the piece being worked on.
- Tightening screw – this stops the stock and the blade from moving. Tightening the screw will let you save the measured angle so you can transfer the measurements to another surface
- Spirit Level Gauge – this is a small column of colored liquid that tells the user that the surface is level. This is not found in all sliding bevels but is a good feature to have.
Using the sliding bevel
A sliding bevel is actually very straightforward to use. It has a simple design which allows even the most inexperienced worker to use it. Basically, a sliding bevel can do two things: it can transfer angles from one piece to another and it can create angles too with the help of a protractor.
Transferring angles
1. Prepare the sliding bevel
Take your sliding bevel out of its case and prepare it for use. Check the different parts to make sure that these are clean and without any breaks on the blade or handle. Take a soft clean cloth and wipe the blade clean. These should be free from dust, grime, oil or any material that will affect the bevel’s ability to get a good angle measurement.
2. Loosen the nut or screw
Just before using the sliding bevel, open the screw or nut to loosen the blade and handle. Generally, turning the head of the screw to the left will tighten it while turning the screw to the right will loosen it.
Trouble loosening the nut or screw? A little bit of oil or WD40 will loosen a tight nut. This can be prevented, even for an old sliding bevel, by regularly maintain a sliding bevel after its use.
3. Open the blade and the handle
Now that the nut or screw is loose, open the blade and the handle. Take time to move the two pieces around. You may need to slightly open the blade and the handle for a smaller angle while the two may be further opened to transfer a larger one therefore the device has to remain flexible.
4. Take the angle’s measurements
Take the sliding bevel and hold it against the angle that needs to be transferred. The blade will be the side of one angle while the handle will represent the other side of the angle. These could be interchanged according to the different sides of the angle.
5. Tighten the screw
Maintain your hold as you tighten the screw or nut. Tightening the nut will let you save the measurements. Make sure that you have taken correct angle measurements by checking the angle again.
6. Transfer the angle
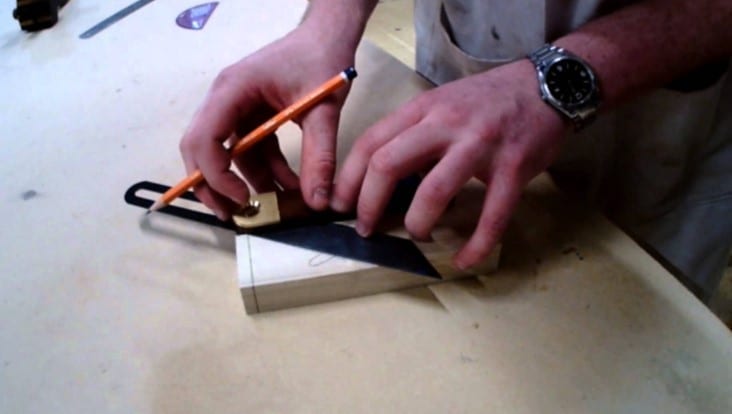
Now transfer the angle measurements to your workpiece. Use a pencil or any marking tool to transfer the measurements. Recheck your work after you are done. Make sure that the sliding bevel fits perfectly from the original source to the workpiece.
Creating angles
1. Loosen the screw or nut
Loosen the screw or nut and inspect the blade and the handle for anything that can affect its ability to take correct measurements. Again turning the screw to the left tightens it while turning it to the right loosens it.
2. Use a protractor to create the desired angle
Determine the angle measurements that you want to create using a protractor. Place the protractor on a flat surface and open the sliding bevel to transcribe the angle. A sliding bevel is so versatile that it can create traditional angles to uncommon angles as well.
3. Use the sliding bevel to transfer the angle
As soon as you are sure of the angle measurements, tighten the screw of the sliding bevel to save the angle. Transfer the measurements of the angle on your workpiece.
4. Place the sliding bevel on the surface and mark the angle
Use a pencil or any marking tool to mark the surface of the workpiece where you need to transfer the angle. Recheck your measurements to make sure that you have correctly transferred the angle.
How important are sliding bevels
Just imagine constructing a shelf to fit the corner of a room. You need to specifically construct the shelf in such a way that it has to fit this corner. A sliding bevel can take the angle of the corner of the room, let say 70 degrees, and then use this measurement to construct a perfect fitting shelf.
If you were constructing skirting to your patio roofing then you would naturally need a tool to correctly take angle measurements and a sliding bevel is the best choice if there are no protractors around. With a bevel, you will be able to transfer the angle of your roofing, taking note of delicate corners, to create a fitting skirting for your patio.
Conclusion
A sliding bevel is a measuring tool that transfers angles perfectly from one piece to another. A bevel will let you measure angles correctly to create perfect projects every time. It can also be used to create angles with the use of a protractor and because of its design; it can create regular to extra-ordinary angles.
And just like any other woodworking tool, a sliding bevel needs to be cared for and maintained after every project. It has to be wiped clean with a soft, clean cloth to remove dirt, grime and dust. These could affect the accuracy of the measuring tool.
It is easy to use a bevel and by creating one project after another, all the while using a sliding bevel, you will be able to create perfect angles and with awesome results all the time. You must take time to learn and master this tool’s use since you will be able to use this handy tool more and more in the future.
Do you have some tips on how to use a sliding bevel? Let us know by commenting on the section below. And if you like our article, share it to anyone who also wants to get to know more about this useful measuring tool.
