When I first started looking for a How to age wood with baking soda tutorial, I was fully aware that this particular method is both easy and rewarding. However, much like everything else in life, it’s hard to consider yourself a pro if you have just read several how-to blogs and haven’t tried a specific technique personally.
Thus, I’m extremely happy to share with you the tiny tricks I have mastered while experimenting with aging wood through the application of baking soda.
Yes, the entire process is beginner-friendly, cheap, and won’t take much of your time. Anyways, if you want nothing less than great final results while having fun in the meantime – then head straight to the tips and instructions we are listing below.
Things You Will Need To Follow This Tutorial
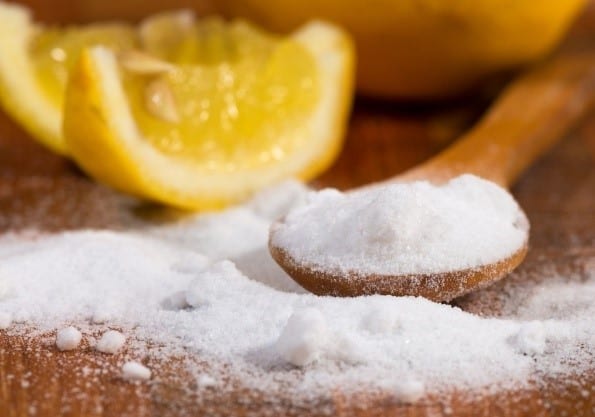
- Baking soda and water
- Apple cider vinegar (optional)
- Sandpaper (optional)
- A paintbrush
- A wire brush
- Lint-free cloth
Would you like a few pro tips to give you a mighty start? Yes, please!
Pro Tips
1 – Choose a Suitable Wood
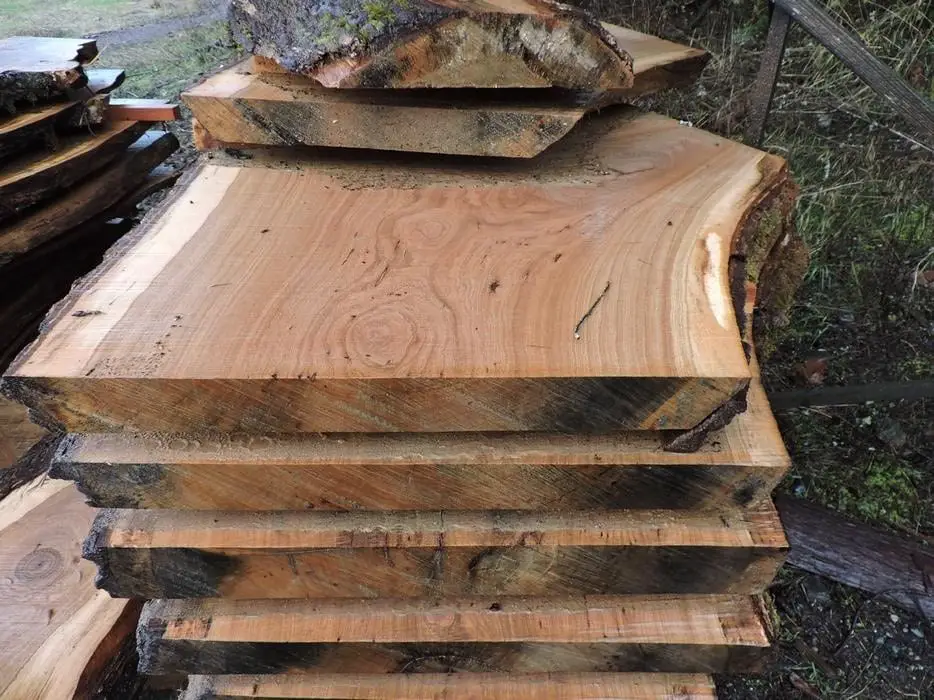
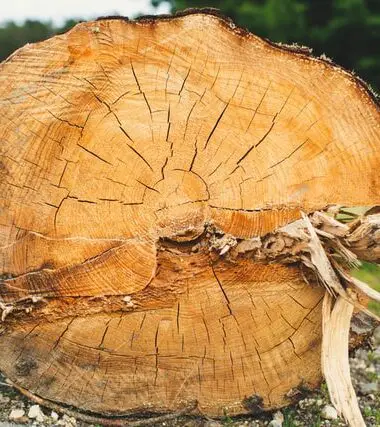
The best types of wood for applying the baking soda and apple cider vinegar technique include mahogany, redwood, cedar, red oak, and pine. That’s because of the high quantity of tannins. As a rule of thumbs, wood types with a bigger amount of tannins will show off a much more weathered look once you are done.
2 – Make That Weathered Look Stand Out
The Japanese are masters of the old weathered looks which is easy to see in the stunning bonsai creations we can only admire. In order to achieve those looks, the skillful bonsai tree gardeners are not afraid of adding extra flaws to the wood surface. With a hammer, a screw or a knife you can make the wood surface appear as if damaged by the weather or years for an even more impressive and authentic aged appearance.
Step By Step Instructions to Aging Wood With Baking Soda
Step 1 – Prep the Wood
In the case the wood you want to age does already possess an old coating, you will need to strip it off by opting for sandpaper. However, if the topcoat has been previously painted several times, you may need to go for chemical strippers to do the job.
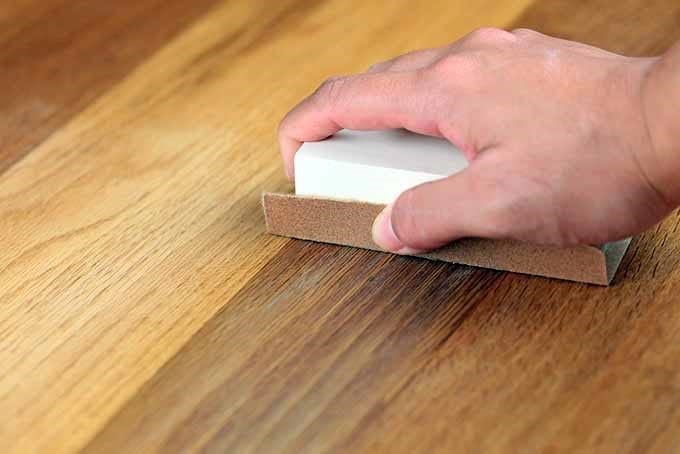
Image Credit: foodal.com
Finally, it’s best to place the wood out in the sun if possible. The sun rays will help to deepen the aged effect.
Step 2 – Mix the solution and proceed with the application
Start by mixing 1 part of baking soda with 1 part of water. The amount of solution you need will depend on the size of the wood surface you want to cover. As a rule of thumbs, aim for covering the wood generously with the mixture.
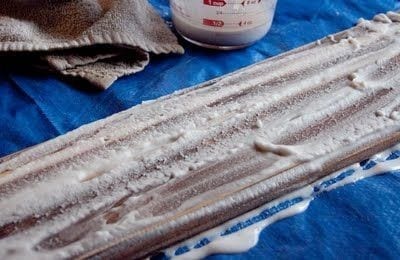
Image Credit: Pinterest
Stir well and proceed with applying the baking soda and water concoction with a paintbrush.
If the weather is sunny, you can let the sunrays do the trick for you, which will take about 6 hours.
However, there is a faster way. Just spray the wood surface with apple cider vinegar once you have applied the baking soda-water mixture. In this case, you only need to wait 10 minutes.
Step 3 – Finish your masterpiece
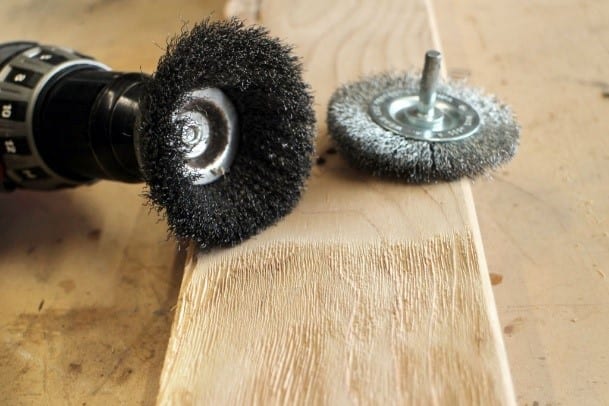
Image Credit: instructables.com
Good job, you’re almost done! All that’s left to do is to go over the surface of the wood with a wire brush. This will make up for a deeper, more weathered effect. Let the wood aside to rest for 8-12 hours. On the next day wash it over and pat dry to remove any leftovers. Lastly, finish with gel stain by applying it with a paintbrush. For a lighter effect, you can also wet the wood and proceed with the gel stain while wiping off a small portion as you continue the application.
Wow, what an easy and fantastic method to age wood! Do you agree? I can’t help it but love working with baking soda because it makes such a brilliant and affordable alternative to many other toxic substances available in the stores. So what are you waiting for?
Wake up the DIY enthusiast inside you right away and try out this wonderful technique for aging wood yourself. Just don’t forget to share your masterpieces in the comment section below, as well as anything else you may want to add in order to help other DIYers on their mission. By sharing and liking this content you can spread the positive vibes and tricks to more fellows out there!
