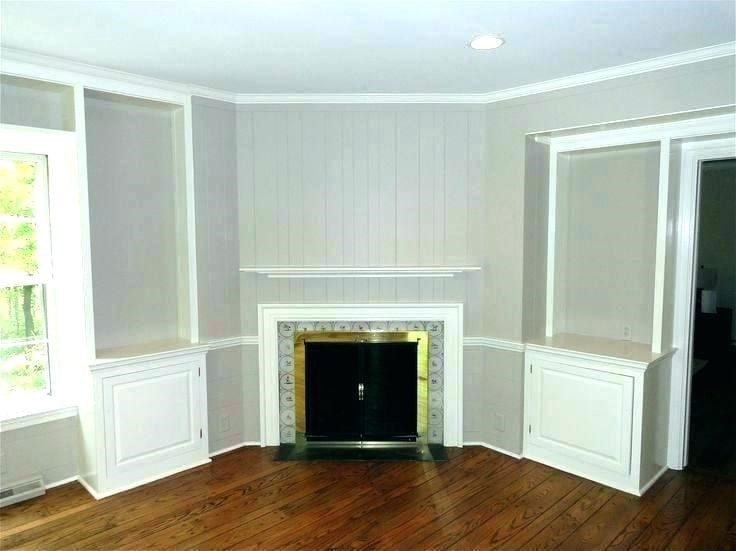
Do you want to update a room in your house where the paneling seems to ruin the style and coziness of the atmosphere? Or maybe you are considering flipping a house?
My personal experience with outdated paneling slapped me straight in the face right after my husband decided to purchase an old house with the idea to freshen it up later on.
And since our plan was to profit by announcing the newly-bought house for rent, we knew we had to find out how to hide paneling seams before getting down to applying a layer of fresh paint over.
After all, hiding paneling seams is not a back-breaking task. However, you do want to know the tiny tricks and tips, which will help you finish in no time like a pro. Are you ready? Read on!
What You Will Need To Follow This Tutorial
- Paintbrush
- Paint
- Paint tray
- Paint roller
- Paneling primer
- Drywall Mud
- Hammer (optional)
- Drywall mesh tape A Quick Pro Tip
Fill in the seams continuously
You cannot fill a seam with just a single move. Instead, the paint roller will be of your best assistance. But the little secret is to keep decreasing the pressure you applying gradually with each filling and re-filling. Thus, filling the seams is a continuous process which will take some patience. Skip the rush as getting into a hurry will not work in your favor.
Step By Step Instructions For Hiding Paneling Seams
Step 1 – Prepare the surface of the paneling
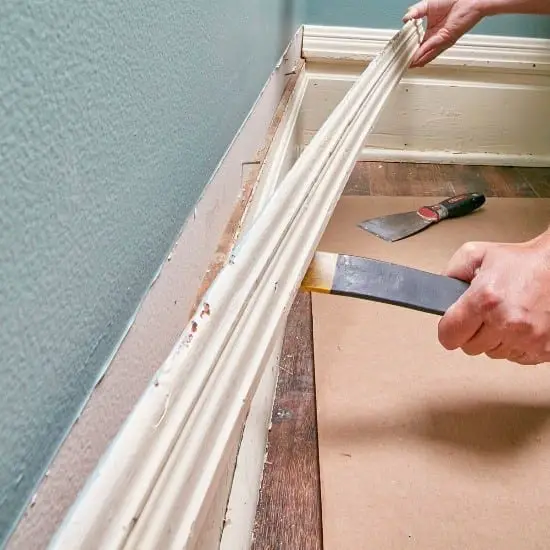
Image Credit: constructionprotips.com
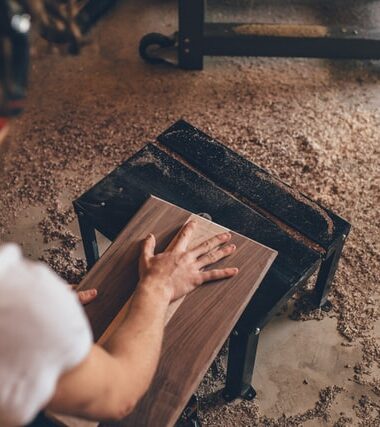
Before you can get down to filling the seams and making these invisible to the eye, you can’t go without preparing the surface of the paneling. For a start, you want to remove any molding or existing baseboards on the paneling. Here is where the hammer will help you out. With the back of the hammer (or by using a pry bar), get rid of all the unnecessary trim.
Next, it’s time to apply an even coat of paneling primer. As soon as the first coat is completely dry, you need to apply a second layer.
Step 2 – Proceed with filling the seams
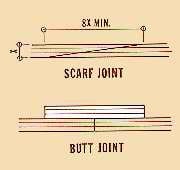
The best way to fill in the seams professionally and efficiently is to opt for drywall mesh tape. All you have to do is to tape the drywall mesh tape from the very top to the very bottom of the seam. Check for any bumps or puckers and adjust if needed.
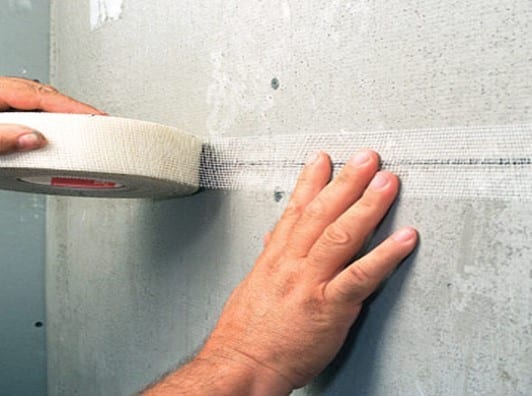
Image Credit: construction-cmd.com
Afterward, you can go on with filling the seams. For this purpose, place a small but sufficient amount of drywall mud in a paint tray (or any other suitable container). Now, it’s time to make use of the paint roller. Keep rolling over one area of the paneling.
When working with the paint roller, remember to take advantage of the quick pro tip we listed above! Wait for the drywall mud fillings to dry according to the manufacturer’s instructions.
Step 3 – Finish by painting the surface of the paneling
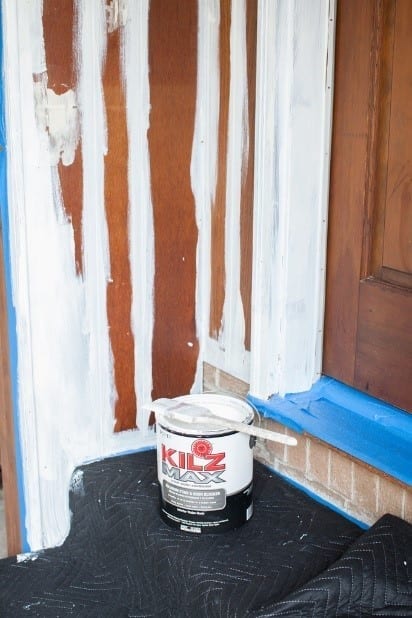
Image Credit: inmyownstyle.com
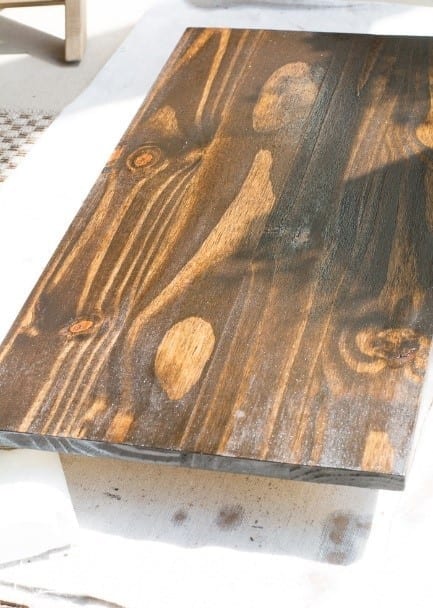
In the case the paneling you are dealing with is in excellent condition, you can proceed with applying the paint of your choice. However, if there are flaws you need to address, then you should first go over the paneling with a primer. Once the primer is dry, you can finally apply the paint.
If you want to move back any of the baseboards and/or molding which you had to remove while preparing the paneling for hiding seams, your task is very easy. Locating the places where the trim hung before removing it is effortless and you won’t need a stud for nails.
Who says that hiding paneling seams have to be a difficult and daunting mission? Instead, we bet you can fully enjoy the process. Just embrace the right mindset, do some extra research if there is anything which you feel unconfident of, and take the time to complete your DIY quest patiently and precisely.
Do you think you can help other DIY enthusiasts out there who might be struggling with filling seams in paneling for the first time? Join us in the comment section below and share your ideas with the community. By hitting the like and share button, you can also help that this article reaches out to more people who need a bit of friendly assistance and easy-to-follow instructions.

