I have been an aficionado of wood in terms of both interior and exterior design for many years. I believe it’s due to the warmth and coziness which wooden elements integrate into your home.
However, it wasn’t before 2016 that I discovered my passion for wood floors. But as I started experimenting with oil-based polyurethane at first, I stumbled across some unpleasant issues.
In particular, the dry time was taking too long. Nevertheless, I couldn’t tolerate the smell. Initially, I decided to opt for a water-based polyurethane.
Below, you will find a no-nonsense guide featuring how to apply water-based polyurethane to wood floors.
What You Will Need to Follow This Tutorial
Cleaning Supplies
First things first, a little housekeeping. You cannot possibly apply any kind of polyurethane before cleaning the floors well. What’s more, you also want to make sure the window sills and walls are also clear of dust or dirt.
Sanding Screen / Sanding Pad
After the cleaning of the floors, it’s time you get rid of any rough patches.
T-bar
T-bars are the best choice when it comes to covering a large surface.
A Brush/ Roller/ Pad
Opting for a brush, a pad, and/or a roller will help you add the final touches to the smaller areas of the floor.
Before you get started, don’t forget to take a sneak peak to our bonus pro tips list below.
Pro Tips
#1
You will want to put an average of 4-6 layers of water-based polyurethane on a hardwood floor which is approximately ¾ “. You can calculate the coats needed for your particular floor based on this estimation.
#2
In order to dry out perfectly, water-based polyurethane requires a well-maintained room temperature of 65-70 degrees Fahrenheit. But before starting to apply the coat, you must turn off any cooling or hearing devices you have used to adjust the temperature in the room.
#3
Keep in mind that it is curing the water-based polyurethane coat carefully that makes up for a higher durability. Thus, don’t underestimate the process of proper curing which usually takes about 2 weeks as opposed to 4 weeks with oil-based polyurethane.
Step By Step Guide To Applying Water Based Polyurethane To Wood Floors The Best Way
Step 1: Clean the floor, as well as the surroundings carefully.
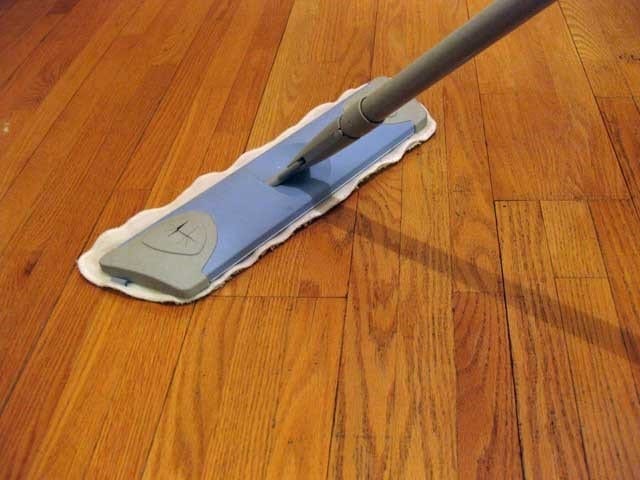
Image Credit: puliziedimaggio.it
For best results, mix water, and white vinegar in a 10:1 ratio. Finish with the water and vinegar mixture to remove all traces of the detergents you have used on the floors.
Stir the polyurethane precisely and do NOT shake it or whip it. You want to avoid bubbles from forming.
Don’t rush. Plan your moves. At some point, you will need to get out of the room, right? So you can’t just dip your brush and go on without a direction.
Image Credit: ehow.com
Step 2: Start with applying the water-based polyurethane from the furthest corner of the room.
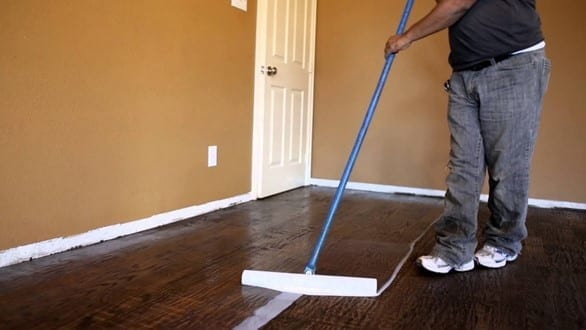
Image Credit: youtube.com
If you are using a T-bar, it will be much easier to cover a large surface in no time. However, depending on the situation, if your choice is to apply polyurethane with a brush, dip ⅓ and up to ½ of the brush, and remove the excess polyurethane by pressing the brush to the edge of the container.
Whether you go for a T-bar or a brush, remember that you only want to make smooth strokes. If you put too much or too little pressure, air bubbles will form.
Once you have applied the coat to the largest sections, you can focus on the final touches with a roller or a pad as you are exiting the room safely. Let the polyurethane coat dry well according to the manufacturer’s instructions.
Ultimately, working with water-based polyurethane can be made easy. However, before choosing whether you will opt for oil based or water based polyurethane, it is important that you take all the pros and cons of these 2 options into account.
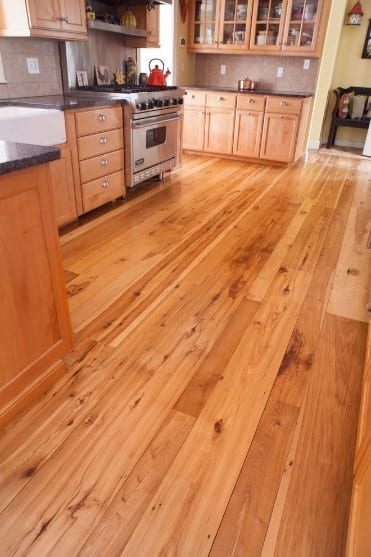
Don’t forget that the final result is very different as water-based polyurethane makes up for a light, natural finish and doesn’t add the golden-hued gloss some might be looking for.
Did you have a good time reading this article? Don’t hesitate to join us in the comment section below. We believe in the miracle of DIY best practices made simple so like and share the content to help spread the word with more DIY buddies.
