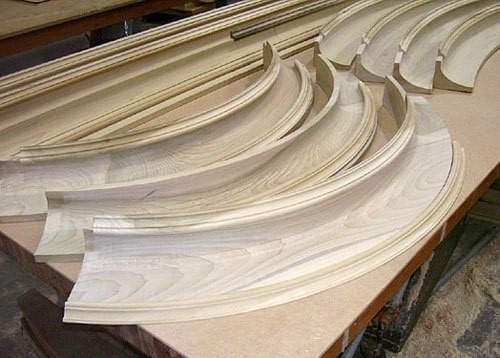
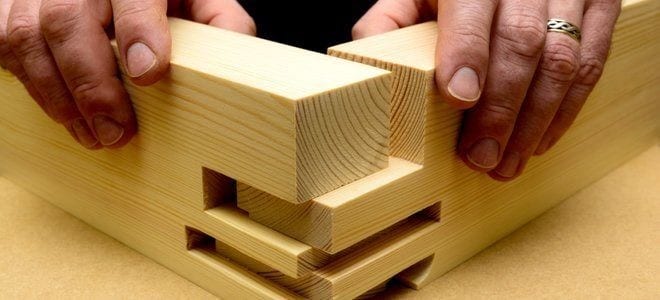
Woodworkers use different techniques to shape and form wood but the most challenging possibly is to curve wood. Curving wood to make intricate interior designs and decorative pieces is something that only expert woodworkers can do. There are a number of techniques that you can learn to curve wood. Master these and you can make all kinds of designs and pieces in a snap.
Different curving wood techniques
Things you will need
- Wood to be curved
- Steam box
- Steam-making equipment/appliance
- Form
- Clamps
- Laminate (epoxy or glue)
Using the steam box method
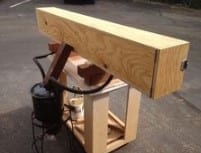
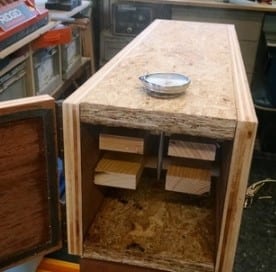
The steam box is like an oven that will hold the wood that needs to be shaped or curved. This method can actually be used to bend other materials like PVC pipes. The box should be big enough to accommodate the wooden piece that you want to shape plus it has to have an entry hole for steam to come in and an exit hole where steam pressure can exit.
1) Construct your box
Source: https://www.pinterest.com/pin/427419820866308986/?lp=true
The exit hole should be turned toward the ground to let pressure inside the box push the water out of it. The box should be placed near a stove or any heating equipment you plan to use. Test everything is in order before you place the wood inside.
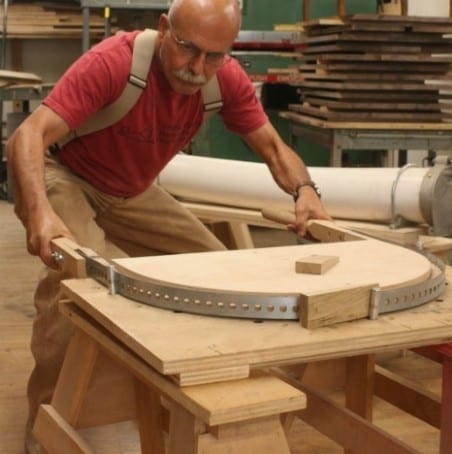
2) Set up your form
Source: https://www.pinterest.com/pin/1266706116355200/
The form is a shaped holder where the wood will be placed. The wood will remain in shape of the form. You may need to clasp down the wood to the form using clamps. You can make your own clamps using wood if the shape you are trying to achieve is quite complicated.
3) Steam the wood
Source: https://www.rockler.com/steam-bending-kit-w-free-bentwood-carryall-plan-download
When your box and form are ready, it’s time to turn on the heat. Place the wood inside the box and cover it. Start steaming wood one hour for each inch of thickness.
4) Remove the wood
After the allotted time has passed, remove the wood from the steam box and place it against the form. Do this as soon as possible after removing it from the steam box. Now let the wood sit on the form until it is completely dry.
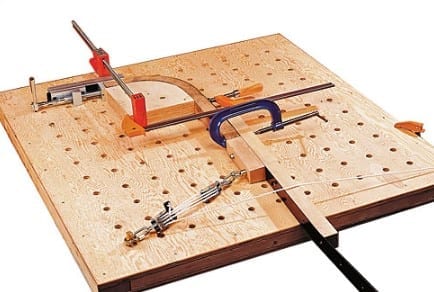
5) Bend and clamp the wood down
Source: http://www.leevalley.com/us/HARDWARE/page.aspx?p=45866
Different kinds of wood are stronger or weaker than others and different cuts can also withstand more force. Be careful so you won’t break your wood. As soon as you have achieved the shape you want, clamp your wood in the form.
Using the lamination method
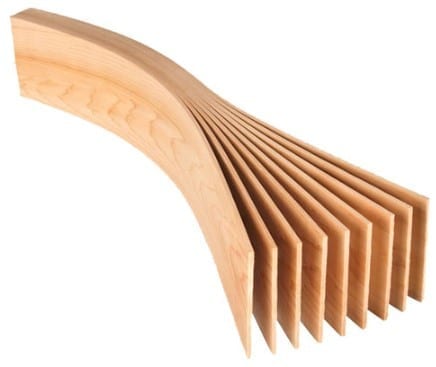
The lamination method uses powerful, industrial-strength glue to shape the wood according to the form you want to achieve. It may take time to shape and curve wood this way and this method is not for shaping large wooden pieces. Use the right kind of glue. The most commonly used glues for this method are the urea-formaldehyde glue which sets very hard but also slowly and an epoxy which is very expensive.
1) Prepare the wood to be shaped or curved
Source: https://www.popularwoodworking.com/projects/aw-extra-11713-bent-wood-lamination-basics/
Cut the length of the wood strips to be a little longer than the final piece. When the wood changes shape, it will shorten its length. Before you cut, create a diagonal line with a pencil and a ruler along the bottom of your stock. If the wood strips get dropped or rearranged, you will be able to tell which strip belongs to where. Cut your wood strips on a straight-grained edge and not on the face-grain side. This way you will be able to put back the strips together easily.
The cork with help anchor the laminated wood to its form and correct any imperfections.
2) Spread the glue
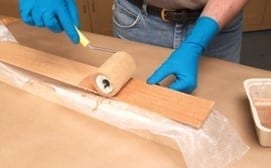
Source: https://www.popularwoodworking.com/projects/aw-extra-11713-bent-wood-lamination-basics/
It’s time to spread the glue on top of one of the strips. The glued strips will hold the wood in its new form. You can use a disposable roller to apply the glue on the wood.
3) Place the wood in the form
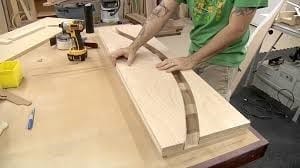
Source: https://www.thewoodwhisperer.com/videos/bent-lamination/
Place wood in the form ASAP before the glue has dried. Top this with another wood strip applied with glue. Repeat the steps until you have obtained your desired thickness. Clamp the pieces together to improve stability. Once the glue is dry form the edges by cutting it.
Conclusion
Curving wood is a process that changes the form and appearance of wood for different projects and wooden décor. There are a number of wood curving techniques and the most popular are the steaming and the lamination technique.
