Drying or seasoning wood is important if you want to use lumber for construction or for heating. Wood is naturally filled with moisture. You must completely remove moisture to improve wood’s efficiency, durability, and resilience to pests and mold. Firewood needs to be properly seasoned to burn well and prevent ashes and creosote.
Drying wood in a traditional kitchen oven
There are two basic ways to dry wood: air drying and kiln drying. Air drying is basically letting the wood dry on its own outdoors while kiln drying is using a special oven to “bake” wood to perfection. But do you know that even traditional kitchen ovens can be used to dry pieces of wood? This guide will show you how.
Things you will need
- Wood pieces/slices you need to dry
- Regular kitchen oven
- Oven thermometer
- Moisture meter (optional)
- Stickers (made from the same wood species)
Steps on how to dry wood slices in an oven
1) Prepare your ovens
Source: https://www.reluctantgourmet.com/convection-oven-or-conventional-oven-for-baking/
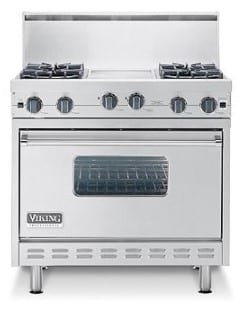
Reposition the racks inside your kitchen oven. One rack should be at the bottom and another in the center. Place an oven thermometer on the far right corner of the center rack. Although your oven has a thermometer, a second one can help verify the temperature readings and prevent over-drying. Place a large sheet pan on the bottom rack.
2) Set oven temperature
Source: http://www.slate.com/articles/life/food/2012/08/bake_at_350_degrees_oven_temperature_is_uncontrollable_and_we_should_stop_trying_to_micromanage_it_.html
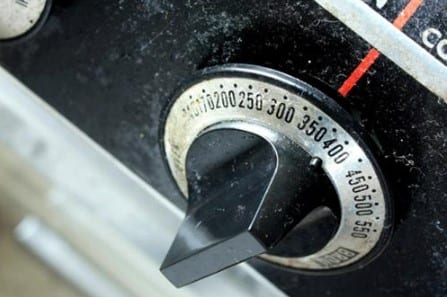
Set your oven as close to 218 degrees F as much as possible. Most digital kitchen ovens allow an exact setting or 215 degrees F while analog ovens can be set between 200 and 225 degrees Fahrenheit. Power on a convection fan, if your oven has one. Check the oven thermometer after 15 minutes. Continue adjusting the oven settings until the internal temperature is between 210 and 225 degrees Fahrenheit.
3) Place the slices of wood in the oven
Source: https://www.rootwell.com/blogs/creative-wood-slices
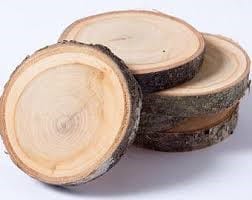
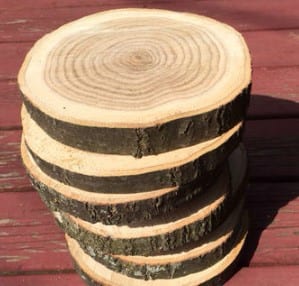
Now place the wood pieces on the centered rack. Do not let any piece touch each other. Place the smaller wood pieces perpendicular to the rungs of the oven rack to prevent falling through the rack. Dry the wood for an hour.
4) Measure wood’s temperature
Source: https://www.amazon.co.uk/Moisture-GOCHANGE-Humidity-Detector-Measuring/dp/B01LB4V1DS
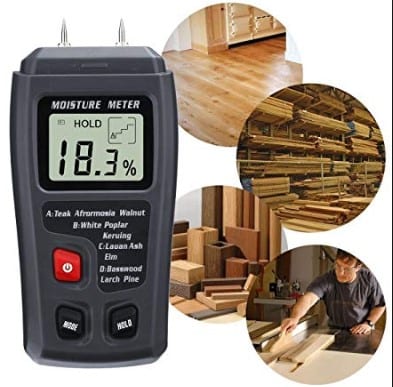
Take two different sizes of wood from the oven. Press the two metal contact points of the wood moisture meter to the surface of the wood. Return the wood to the oven if the desired moisture was not reached. Always use a moisture meter for accurate moisture level readings. Place the wood on a wire cooling rack in a dry area when you are satisfied with the moisture content reading.
Drying your wood at home
Here are more techniques to help you dry wood in a quicker and more efficient manner.
Process logs at once
If a tree was felled due to a storm has felled a tree then you must not waste time. Process it by cutting and stacking. Doing this fast will help open up the wood and help start the drying process which can prevent rot or staining.
Stack wood and use a sticker
It would be easier to stack lumber when it has uniform thickness and lengths. Once a log is cut into planks you must stack these in a pile to allow drying on all surfaces by air and sunlight.
Use stickers or small pieces of wood for such a task
These measures about 3/4” x 11/2” and these add space between sawn planks. These improve ventilation and a more uniform drying process.
Adding weight
Place weight to your stacked wood once the stack of wood is properly stacked and stickered. Wood found at the bottom of the stack is most likely weighed down, therefore, the boards on top will greatly benefit from additional weight. Adding weight will prevent warping and distortion of wood.
Expose more surface area
Cut the wood in oversized sizes because this will expose more surface area. Wood shrinks as it dries, therefore, you must use larger pieces for any project.
Seal to retain moisture
You must seal the ends of the logs to prevent the wood from over-drying. Sealing the end grain will keep the moisture in wood longer. It forces it to exit in a slower and even manner.
Conclusion
Drying wood in a kiln is the quickest and the most efficient way to season wood. But if you don’t have a kiln then you may improvise with your own kitchen oven. This technique will be able to dry small pieces of wood as long as you maintain the temperature.
