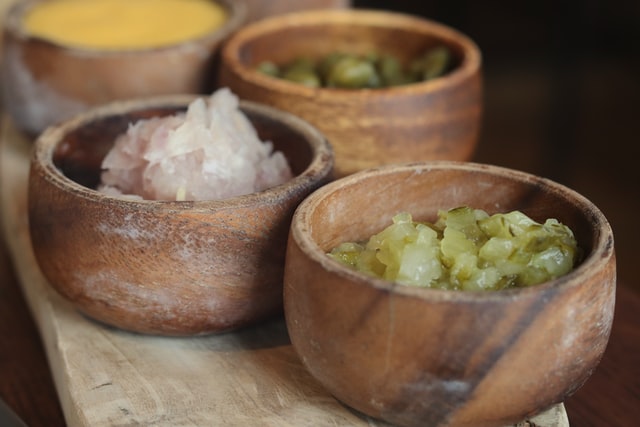
A wooden bowl serves many purposes in our everyday lives. While on one hand, it is valued as an item of great artistic value, on the other it’s credibility as a piece of utensil ranks very high in terms of food safety. Wooden bowls are ideal for both hot and cold food. Being a natural insulator, wooden bowls keep your food warm, while also safeguarding your hands against extreme heat. Research has shown that handling natural objects gives you a satisfying experience and also helps establish a profound connection with nature. As your connection with the natural world deepens, your sense of overall well-being also improves.
Wooden bowls are completely food-safe. But it is recommended that they should be finished before eating off them. Finishing refers to the process of refining the wood or protecting the wooden surface. During the carpentry work, the wood is bound to go through some minor abrasions and cuts here and there. So after the work is over, you need to put in some additional effort to restore its beauty and glow. And to achieve this, you must resort to sanding which serves to remove imperfections from the wood turned bowl. Although you can seek professional help to get this done, you can also do it yourself. This article will teach you how to sand the inside of a wooden bowl like a professional.
Tools used for Sanding
Sanding is an important step in any woodwork. It helps give the project a smooth finish by removing scratches, glue spots, or minor damages the wood may be subjected to over a period. It helps restore the glow of the wood, increase its longevity and give it an immaculate and flawless appearance.
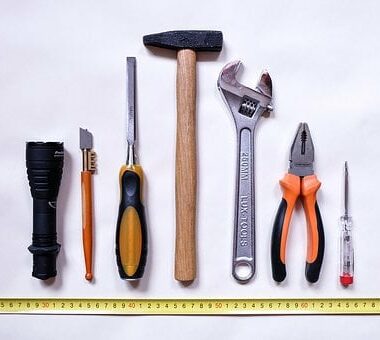
If you thought the tools involved in sanding are complicated and difficult to use, then you have pretty much to look forward to. Because the bowl sanding tools are quite simple and anyone can use them. The tools normally used are as follows:
- Electric sander or kinetic powered manual sander
- Foam sanding pad mandrel
- Paper sanding disks
- Mesh sanding disks
- Standard sand paper
There are two ways on how to sand the inside of a wooden bowl. One is by using an electric sander, the other one is by using a manual one. In this article, we will teach you how to sand the inside of a wooden bowl using an electric sander.
How to sand the inside of a wooden bowl
Step – 1

Examine the bowl thoroughly for any faults that you may spot on the inside. If you come across any protrusions or dents at the center of the wooden bowl, you need to fix that first. Then only you can proceed with the sanding process.
Step – 2

If the tool marks are too prominent, or the gouges too deep, you need to begin with a sandpaper of say 80 grit. Grit indicates the fineness of the abrasive materials on the sandpaper. The higher the grit, the finer will be the abrasive materials. A sandpaper with higher grit is equivalent to a smoother finish. Sand paper with lower grit contains coarser materials that scrape off unwanted materials much faster.
Now, coming back to the current step, you must keep the lathe off. Sand with the grain in the problem areas. Once the problem areas are taken care of, you may now opt for a sandpaper with a finer grit to work on the other non-problematic areas to get a smoother finish.
What is wood grain?
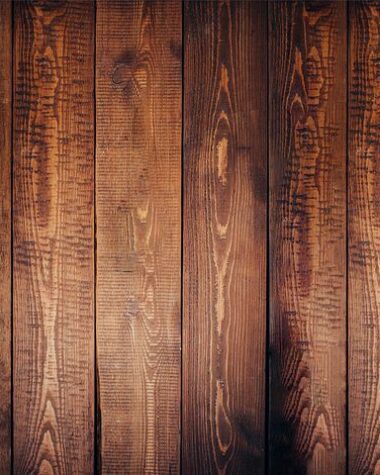
However, if you are wondering what a wood grain is, let us explain this a little. Any wooden piece of furniture or artifact has both darker and lighter shades alternating between different regions across the body and surface. This results from the seasonal growth parameters of trees that give the wood its longitudinal arrangement of fibers. The grain of the wood is the direction which most of the wood fibers are facing. One of the accepted norms of the woodworking technique is to sand with the grain and not against it.
Step – 3

While you were graining the trouble areas, your lathe was turned off. But it is now time to start the machine slowly. Turn it at around 300 rpm and start sanding the entire surface of the wooden bowl. The rotational process should start from the edges of the bowl and then move slowly down toward the center. After a while, stop the machine. This is to inspect the areas on the wooden bowl that may have developed fresh scratch marks as a result of the rotating sanding. The most vulnerable areas are the end grain and the transition spots between the side and the end grains. When the rotating sand paper cuts against the grain, it may tear out or chip off the grain.
Step – 4

Continue to keep the lathe switched off. Next, start sanding with the grain to remove the newly-formed scratch marks in the end grain areas.
Step – 5

Once the surface looks clean and even, it is time to scale up to a sandpaper with a higher grit. Because by now, you have successfully removed the bigger impediments. So it is time to move a step closer to giving your wooden bowl the final touches. Attach the new sandpaper to the sanding disk, and repeat step 3, 4 and 5 consecutively.
Some quick tips on how to sand the inside of the wooden bowl:
- During the sanding process the sanding disk should not occupy the whole wooden surface. Try working with the edges of the pad. Otherwise, the sanding pad might grip the wood and start vibrating vigorously.
- Manoeuvre your wrist slightly to position the pad in a way so that you can use the right edge of the pad comfortably.
- Keep moving the pad as waiting in one area may result in a chunk of the wooden material being scraped off.
- While working your way down do not cross the center with the disk spinning. Because this may result in the formation of a valley or trough in the middle of the bowl.
Conclusion
The above techniques on how to sand the inside of a wooden bowl may not give you a museum quality finish. But they will at least remove any visible marks that may ruin the look of your bowl and also render the eroded wooden fibers of your bowl uniformly rough.
