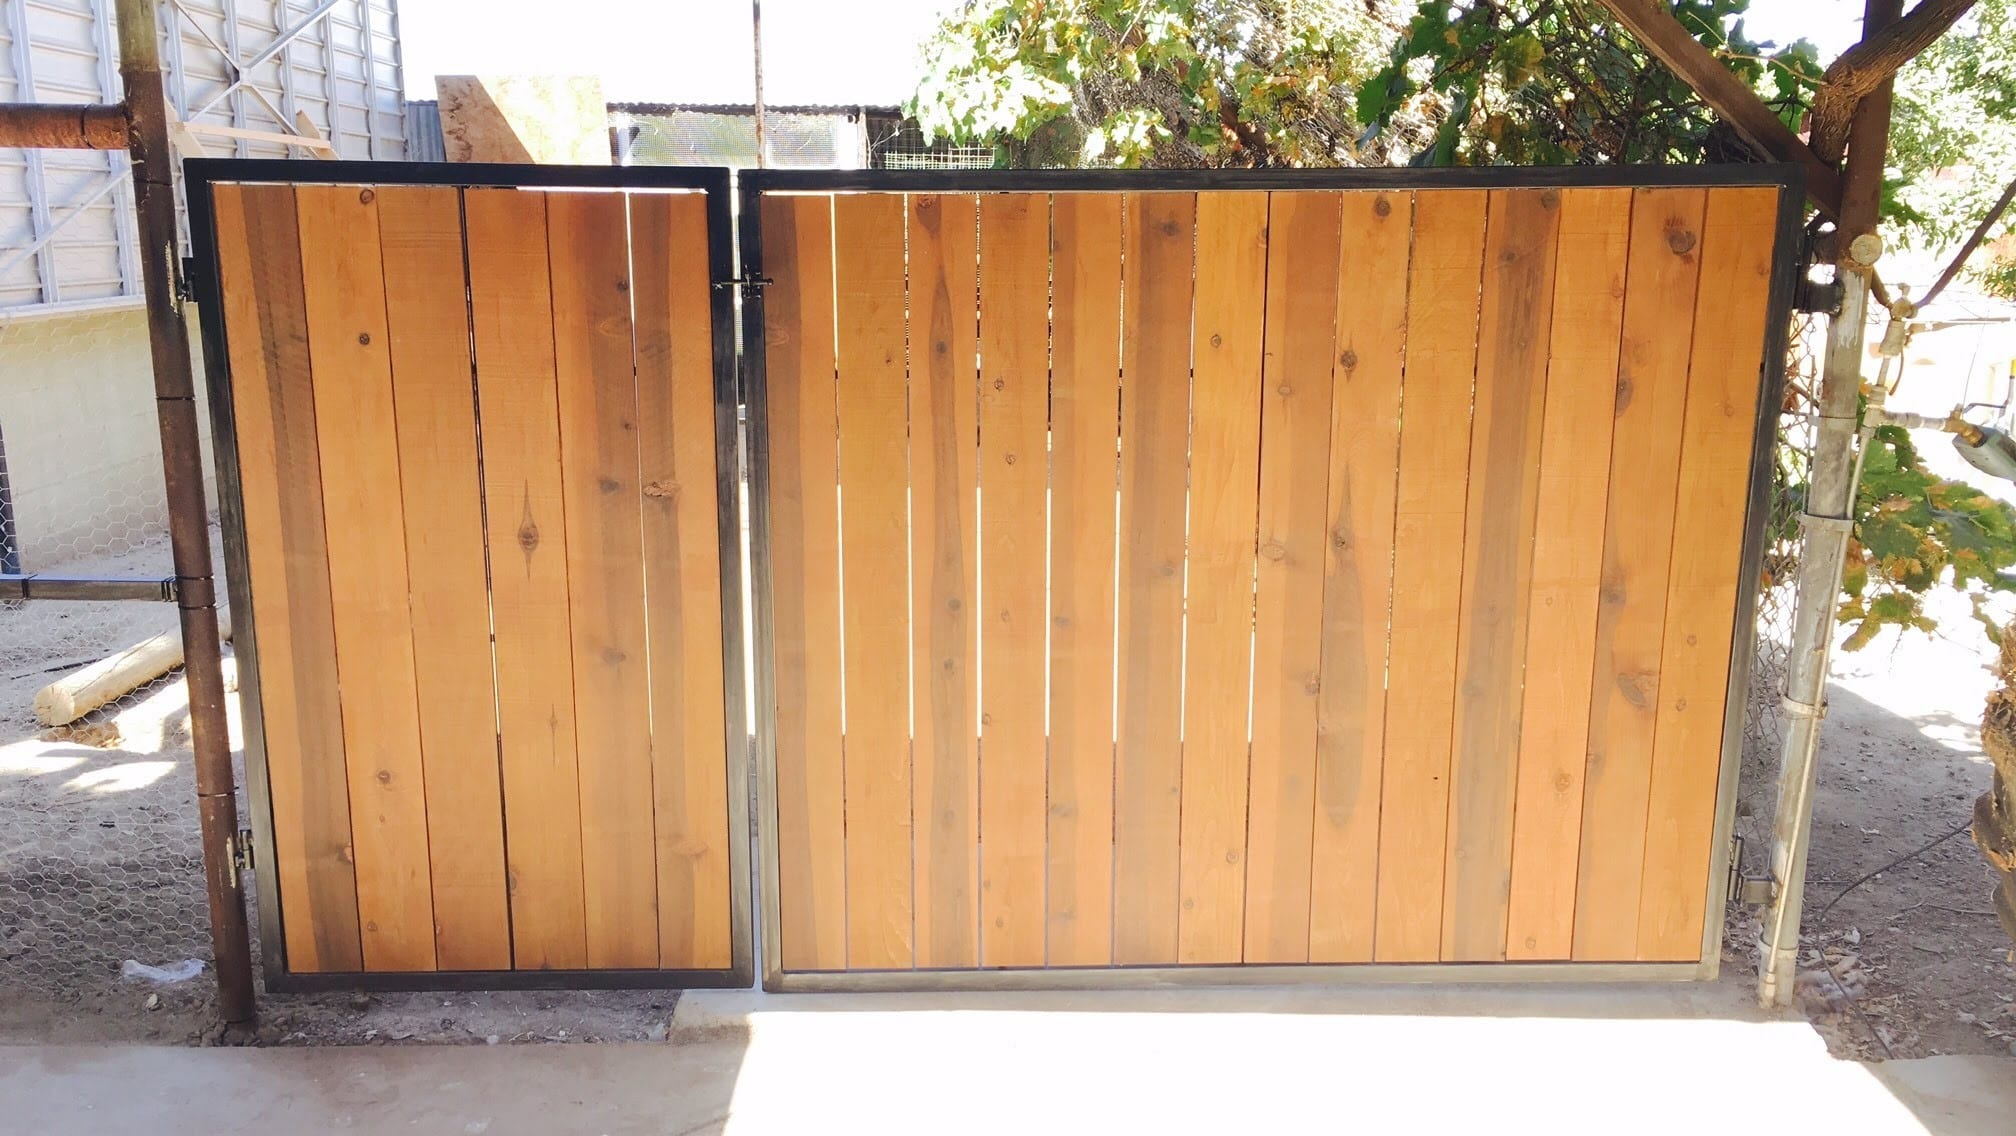
There are many kinds of wood out there that can be very diffluent to stain. Words like pine, cherry, birch, and maple are all known to be very hard to stain.
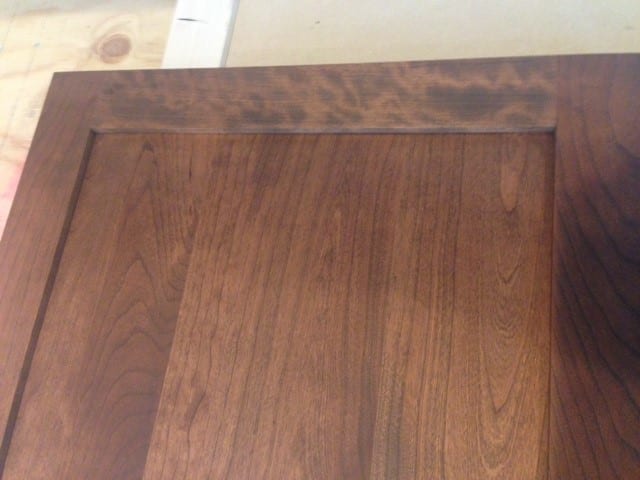
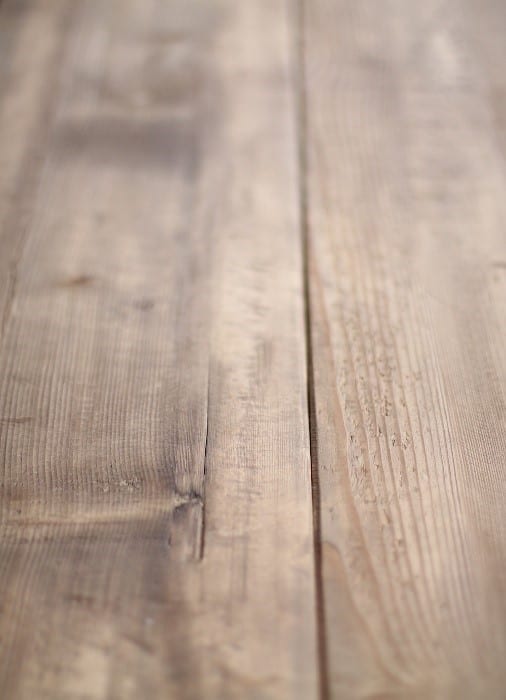
A board that has an attractive again can end up with a dark blotchy area after you have applied strain on it. Whenever you have wood that has grains that are more open then that is also the place where these blotches often come up.
You need to know though that you might find it hard to tell which boards will have this effect.
One of the tests that you can do though is to wipe the board with mineral spirits. The area that is prone to blotching will appear to be darker. If you have already blotches in your wood then you don’t have to fret about it.
You need to know that there are things that you can do in order to correct blocks in your wood. And if you want to learn how to do it then read on this article and we will show you how.
What you need to have:
- Shellac
- 320 grit sandpaper
- Paintbrush
The process
Step #1
If the surface that you have is very blotchy, you need to make sure that you will remove the stain first by stripping it. You can also choose to sand it and even do both and just start over. Apply a wash coat of shellac and then the statement. If you do have a blotching that is not too severe then you can try and glaze it. This will help in softening the contracts between the deeply colored area and the lighter ones.
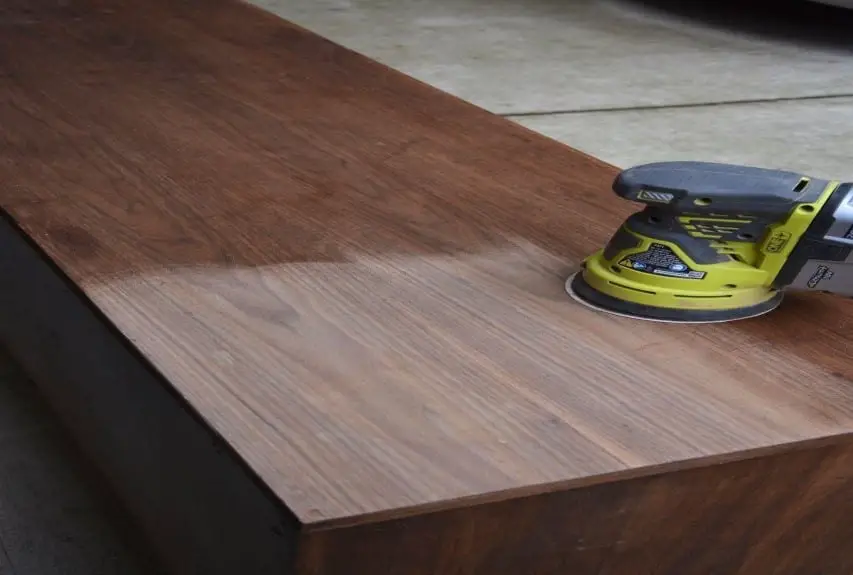
Image credit: Thrift Diving
Step #2
Once you have the initial stain dry, apply a wash coat of shellac. Let the coat dry and then gently sand it using a 320 grit sandpaper. Always remember to sand lightly. One of the woods that blotches easily is pine. You can begin things by doing the scuff sanding.
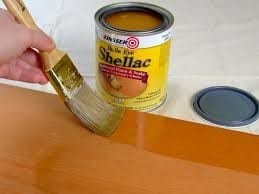
Image credit: DIY Network
Step #3
The next thing that you need to do is to brush on a burnt umber or other brownish glazes. If you find that there are excess coating then you can wipe to off gently.
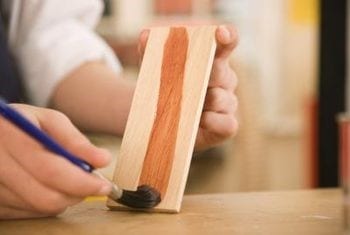
Image credit: Home Guides – SFGate
Step #4
Once you are able to wipe off the excess gently, you will realize that the color that you will have will be more uniform. Lave the coat and let it dry.
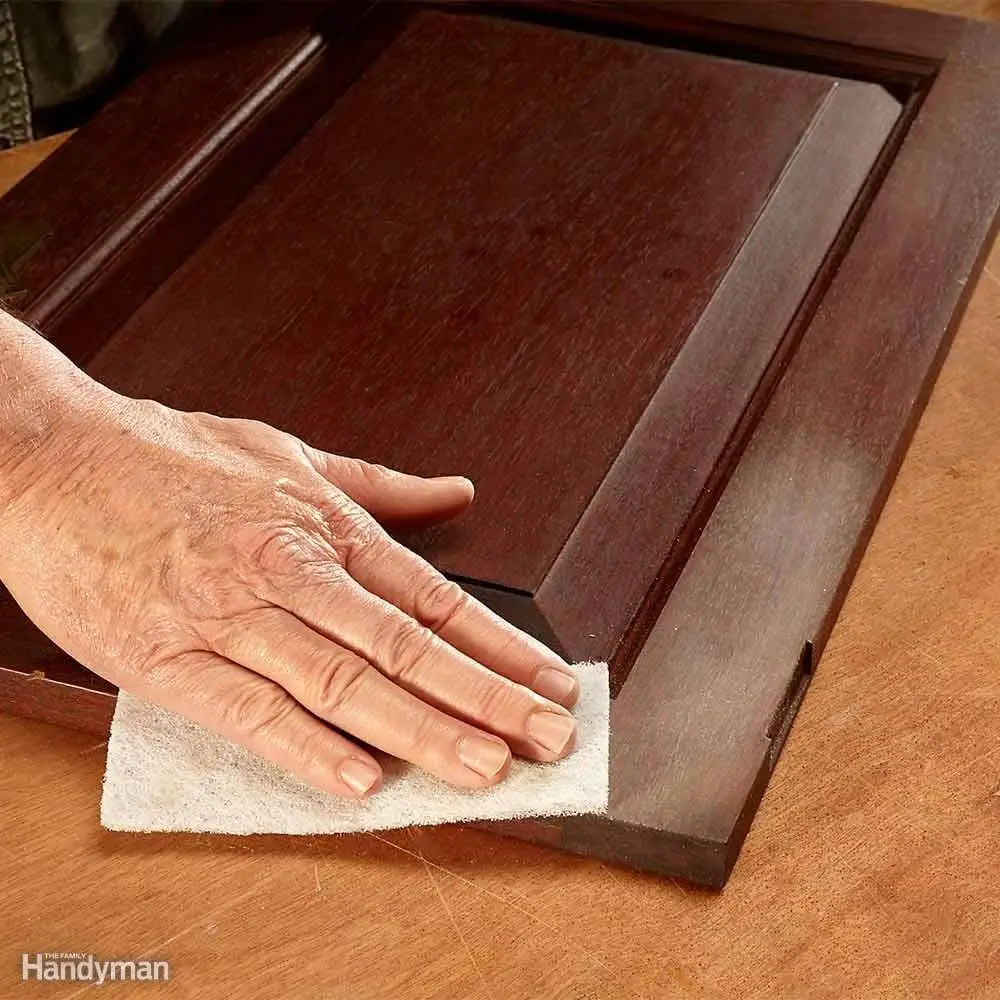
Image credit: The Family Handyman
How to avoid blotching
One f the ways to correct blotching is to make sure that you will have no blotching in the first place. You can do this by starting to make a test board with your chosen sealer concentration.
What you need to do next is to stain the entire test board. Let the stain dry and apply another coating. Always remember to do it in one direction only. Repeat the whole process until you are able to find the desired color depth that you want.
You need to know though that applying multiple coats is it really not the best way for you to achieve a deeper color. One of the disadvantages that it will have is that it will take a long time before it will dry. This will, in turn, make the project longer to finish.
There are even coats that will dissolve the stain below it even if it is dry already. This is also the reason why testing is always done in order to achieve a great finish.
Another disadvantage with multiple coats is that it will remove the natural grain of the wood. One of the things that you can do though is to opt for a less concentrated sealer. This might give you a few blotchy appearances but will also help you show the grain better. Many woodworkers find it as a good compromise.
Once you are able to treat your test boards as a fished project then this will help you get a true representation of the final product that you will get. This will show the real color as well as the fins that you want to achieve.
You need to see to it that you will be sending the test board with the same grit that you will be using on the actual project.
After you have achieved your desired color then apply a final clear finish and see how everything turns out. This is also a great time to test the effects of different sheens. You are able to find a number of different sheens from flat to high gloss.
Conclusion
Correcting blotches in your wood stain is into really rocket science. Following these steps will help you correct the blotch stain that you have. One thing that you need to remember though is to always test the products first in order to avoid a blotchy stain on your wood.
