Wooden letters in your house can add a rustic charm to the place. They are a great way to turn your house into a home and add the much-needed warmth that every home needs. Not only do they look great they also can be your favorite quote and a reminder.
Whenever you get up in the morning and look at them you can be reminded of the things that you have worked for. So now that you have decided to get a bunch of these letters, and they have arrived at your place, the question arises, how to hang them?
Here are a few ways that you can hang these letters-
You can use adhesives, ribbons, or nails to hang them, and they will stay put for a very long time. Below we tell you how to hang these letters by both methods.
All of the materials needed can be found in your local hardware store and you most likely have them at your home too.
Using Adhesives
There are more types of adhesives out there than one can count, but all of them serve a purpose. If you have small and light letters then you can get away with most adhesives. But if your letters are large or heavy you will have to use something like double-sided mounting tape or velcro. “How to hang wooden letters?” has an easy answer – Strong Adhesives!!
Things needed
- Adhesives or Velcro
- Bubble or laser leveler
Step 1
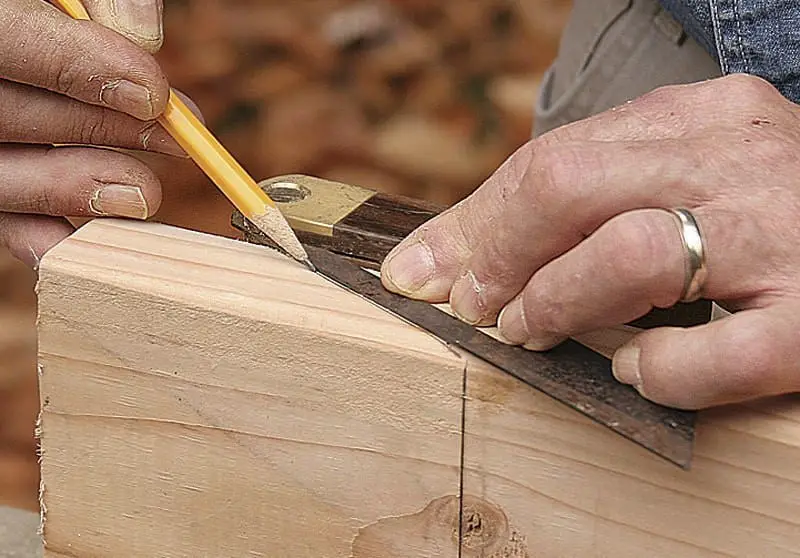
Using a pencil mark the placement of the adhesive on the wall itself. Use a scale or a laser leveler to see everything is in line. Try out different spacing and placements before you stick the letters to the wall.

Step 2
Choose the adhesive based on the size and weight of the letters. For larger letters, velcro is your best bet. A sticky tack works great for smaller ones. Also, choose an adhesive that won’t damage the paint.

Step 3
If you are using tape, you should cover the backside of the letter at the places where you are going to stick it. Rip out multiple pieces and put them in different places on the letter. This way the letter will be securely attached to the wall and stay there for a long time.

Step 4
Since you have the adhesive on multiple points, it is important that you place the letter firmly on the wall. If you have doubts then it is better to take a step back. Always start with the upper part of the letter and press as to make the adhesive stick to the wall.
Many velcros and adhesives come in two parts so press both the parts before you stick that letter on the wall. “How to hang wooden letters” is an easy challenge that most people can take on.

Step 5
Now that you know what to do, the final step is to put it on the wall. Clean the wall beforehand so that there is no dust on it. Adhesives work best on clean surfaces that do not have any dust or residue.

Using Nails
Here is a guide to “how to hang wooden letters” using nails
Things needed
- 4D or 6D nails
- Hammer
- Bubble or laser leveler
Step 1
Mark the spot!! Nails are great to hang things onto. Not only are they useful they will stay there for a very long time. Doesn’t matter if your walls are thin or thick, nails are the answer to your problems.
Mark the places where you would like to hang the letters and see whether or not you are happy with the spacing. Try out different spacings beforehand so that you have a clear idea of what you are trying to do.

Step 2
Drill some small holes at strategic places in the letters. It is best practice to have a few holes on the top of the letter. If your letter is symmetrical just one hole at the top and center position would suffice.
If the letter is not symmetrical, for example, a “J”, then you should drill a hole at the top and bottom. This way you take into account the weird weight distribution and also secure its position on the wall.

Step 3
Using a pencil, mark all the places where the nails will go. These are the places where the nails will be and you will hang the letters on them. Take your time and measure correctly. Try out a few different ideas before you commit to one. Also, take care of spacing and how things will look once they are hanged.

Step 4
Hammer the nails into the places that you had previously marked. The nailhead should be slightly smaller than the holes you drilled in the letters so that it fits. Gently pound the nail into the wall and leave enough of it outside the wall so that there is enough space to hang your letters.

Step 5
Finally, if you have measured everything correctly you should be able to hang the nails on the wall, without any problems. This is one of the ways you can answer the “how to hang wooden letters” question.

Using Ribbons
Here is a guide to “how to hang wooden letters” using ribbons
Things needed
- Ribbons
- Nails
- Hammer
- Bubble or laser leveler
- Measuring tape
Why a ribbon?
A ribbon is an aesthetically pleasing attachment that most people associate with something joyful in their lives. They are an essential part of gift wrapping a present and that is how the human mind relates to it.
Step 1
Mark the place where you want to put the nail in for the ribbon. Measure this distance and make sure it is the same for all the letters.

Step 2
Measure the distance between the nail and the placement of the letter so that you can have an even placement throughout. Make two marks and use a measuring tape to measure the distance between them.

Step 3
Cut the ribbon a little longer than twice the distance between the marks. The extra ribbon will be used to stick it to your letter.

Step 4
Using hot glue you can stick the ribbon to the letter. Just put two patches of hot glue to the back of the letter and stick the ribbon to them. Let the glue dry for a few minutes and now you have a ribbon-tied letter.

Step 5
Hammer the nail into the wall and hang the ribbon on it. The head of the nail should be wide enough to stop the ribbon from slipping off it. And just like that, you are done.
Each of these ways is an effective way to hang letters in your house. With just a few simple steps you get a rustic vibe going in your house that doesn’t cost you much time or effort.


