Wood joinery is an important element of every woodwork project. A beginner or professional, it is important to know how to join wood corners.
In this article, we will tackle the top corner joints in woodwork today, to increase your understanding and knowledge for the best final outcomes of your wood project.
So, how do you join wood corners?
What are the types of joints and their uses?
Let’s get started now!
What You Will Need to Follow This Tutorial
The important things you need to prepare to join wood corners are a miter saw, glue, screws, clamp, measuring tool, and the wood or board you need to join. Preparing these tools and materials before you start your project will definitely save your time and effort.
How to Join Wood Corners with a Dovetail
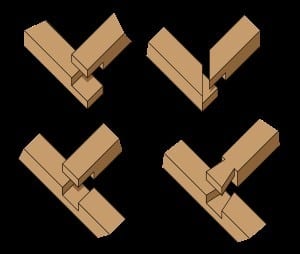
Dovetail is the hallmark of strength and craftsmanship. A dovetail joint can be cut by machine, by hand, or a combination of both. A dovetail corner joint has different types, but the most common include half-blind and through. It has a superior tensile strength or resistance from being pulled apart.
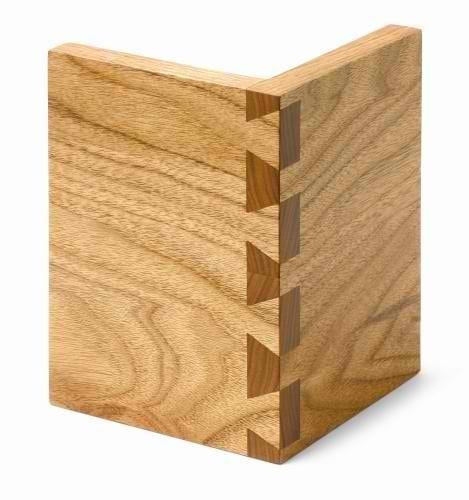
Image Source: http://www.startwoodworking.com/sites/default/files/uploads/1/1051/dovetails%201.jpg
The dovetail joint connects the sides of a wood drawer to the front using a series of pins that are cut to extend from the board’s one end interlocking with a series of tails that are cut into the end of another board forming a trapezoidal shape.
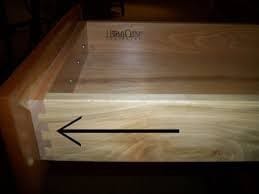
Image Source: https://homeimprovementwarehouse.files.wordpress.com/2011/05/dovetaildrawerdetail.jpg
The joint is permanent once glued, requiring no mechanical fasteners. Because of its tensile strength, some people are using the dovetailed dado.
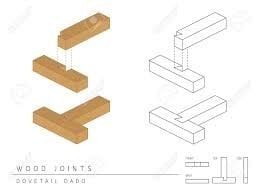
Image Source: https://previews.123rf.com/images/paitoonpati/paitoonpati1608/paitoonpati160800015/60680387-type-of-wood-joint-set-dovetail-dado-style-perspective-3d-with-top-front-side-and-back-view-isolated.jpg
How to Join Wood Corners with a Dowel or Butt Joint
This joint is a simple, yet a very strong joint that can be created to hide or expose the dowels. You can strengthen a basic butt joint with hidden fluted dowels that are drilled, inserted, and cut flush. A butt joint is a relatively easy woodworking joint that joins two wood pieces by just butting them together.
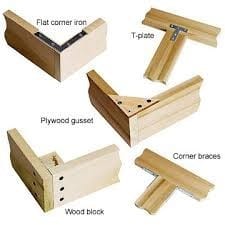
Image Source: https://homemade-furniture.com/wp-content/uploads/butt-joint-reinforcements.jpg
It’s the weakest wood joint, so you may want to use reinforcement. Glue doesn’t provide a tough lateral strength and this woodworking joint is easily broken with bare hands.
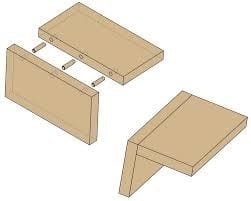
Image Source: http://www.craftsmanspace.com/sites/default/files/free-knowledge-articles/edge_to_face_dowel_joint.gif
How to Join Wood Corners with a Miter Joint
Miter joints include simple miter, miter with a spline, miter with hand-cut keys, and miter with machine keys.
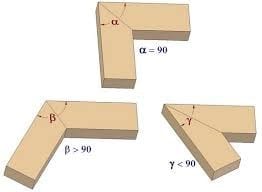
Image Source: http://www.craftsmanspace.com/knowledge/construction-of-a-miter-woodworking-joint.html
A simple miter is recommended for joints that are not requiring too much strength. This is easy to cut and assembled using a masking tape. It is uncluttered and looks simple. A miter with spline adds extra strength with a groove cut close to the inside of the joint as close as possible, so that the ends of the spline do not weaken the joint’s outer edge.
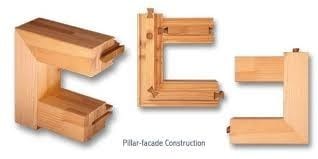
Image Source: http://www.startwoodworking.com/sites/default/files/uploads/1/1616/miter-joint-lead.jpg
With a miter having machined keys, adding a dovetail or straight keys into the edge is done after machining and assembling a basic miter joint. The recesses created are the areas where the keys are glued. The look is powerful if the keys will be made of contrasting materials.
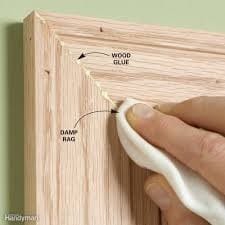
Image Source: https://cdn8.bigcommerce.com/s-butomjmq7q/images/stencil/500×659/products/30/113/hoffmann-dovetail-key-w4-pillar-facade-joints__15271.1511635237.jpg?c=2
A miter with hand-cut keys is flexible. After cutting, you can glue and insert the strips of veneer.
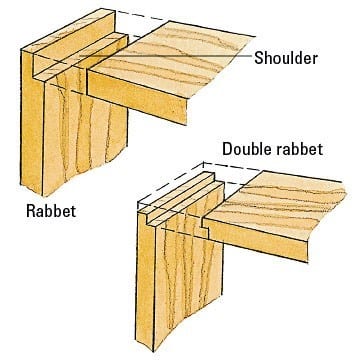
Image Source: https://www.familyhandyman.com/wp-content/uploads/2017/05/FH10APR_TIGMIT_06.jpg
How to Join Wood Corners with a Rabbet and Dado
The rabbet and dado are simple and reasonably strong joints that are usually created on a table saw. Cut across one side is a groove that is no bigger than 1/3 of the width and depth of the thickness of the wood with the thinnest piece.
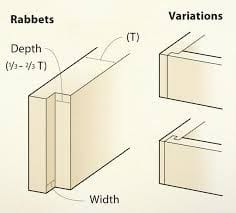
Image Source: https://iiklo.info/wp-content/uploads/rabbet-vs-dado-d-blades-versus-router-bit-joint-26-f-1-key-startling-share-this-post.jpg
Machined on the end is a mating tenon by cutting a dado at the end. When a rabbet is viewed in a cross-section, it is open and two-sided to the end of the surface. A good example of using rabbet is the back edge of a cabinet. The back is fit flush with the wood sides.
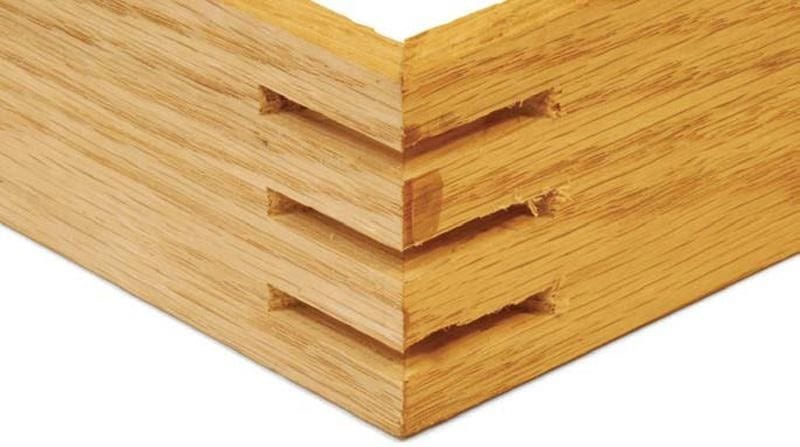
Image Source: https://www.canadianwoodworking.com/sites/default/files/assets/images/rabbetsdadosgrooves_illustration3.jpg
How to Join Wood Corners with a Biscuit Joint
A biscuit joint is a reinforced butt joint, with an oval-shaped piece. It’s made of compressed and dried wood, like beech. You can install a biscuit joint in matching mortises. Majority of woodworkers use a biscuit joiner for making mortises. Designing the biscuit joint is done to allow a greater flexibility in gluing up.
Image Source: https://www.canadianwoodworking.com/sites/default/files/assets/images/biscuitjoinersplinejig_1_0.jpg
Conclusion
Now, you are more knowledgeable in joining wood corners to complete your wood projects. There are different ways to join wood corners with these joint techniques discussed above, with varying strength and purposes. Of course, it is important to know the requirements of your project to ensure success. Do you find this post helpful? Great! You can like and share this post with your family and friends. You may also leave a comment below. Happy woodworking!
