I am very particular when it comes to jewelry. Whether it comes with a set, a pair or an individual piece. As I walk through a local handmade store, I was fascinated with the rings that they sell.
They come in all shapes, sizes, and designs. What I saw was made out of wood, yes, I know it is weird, considering gold is the number one go to when it comes to jewels. But I have not yet owned any of it. Since I badly want it, I was wondering to make my own ring made out of wood.
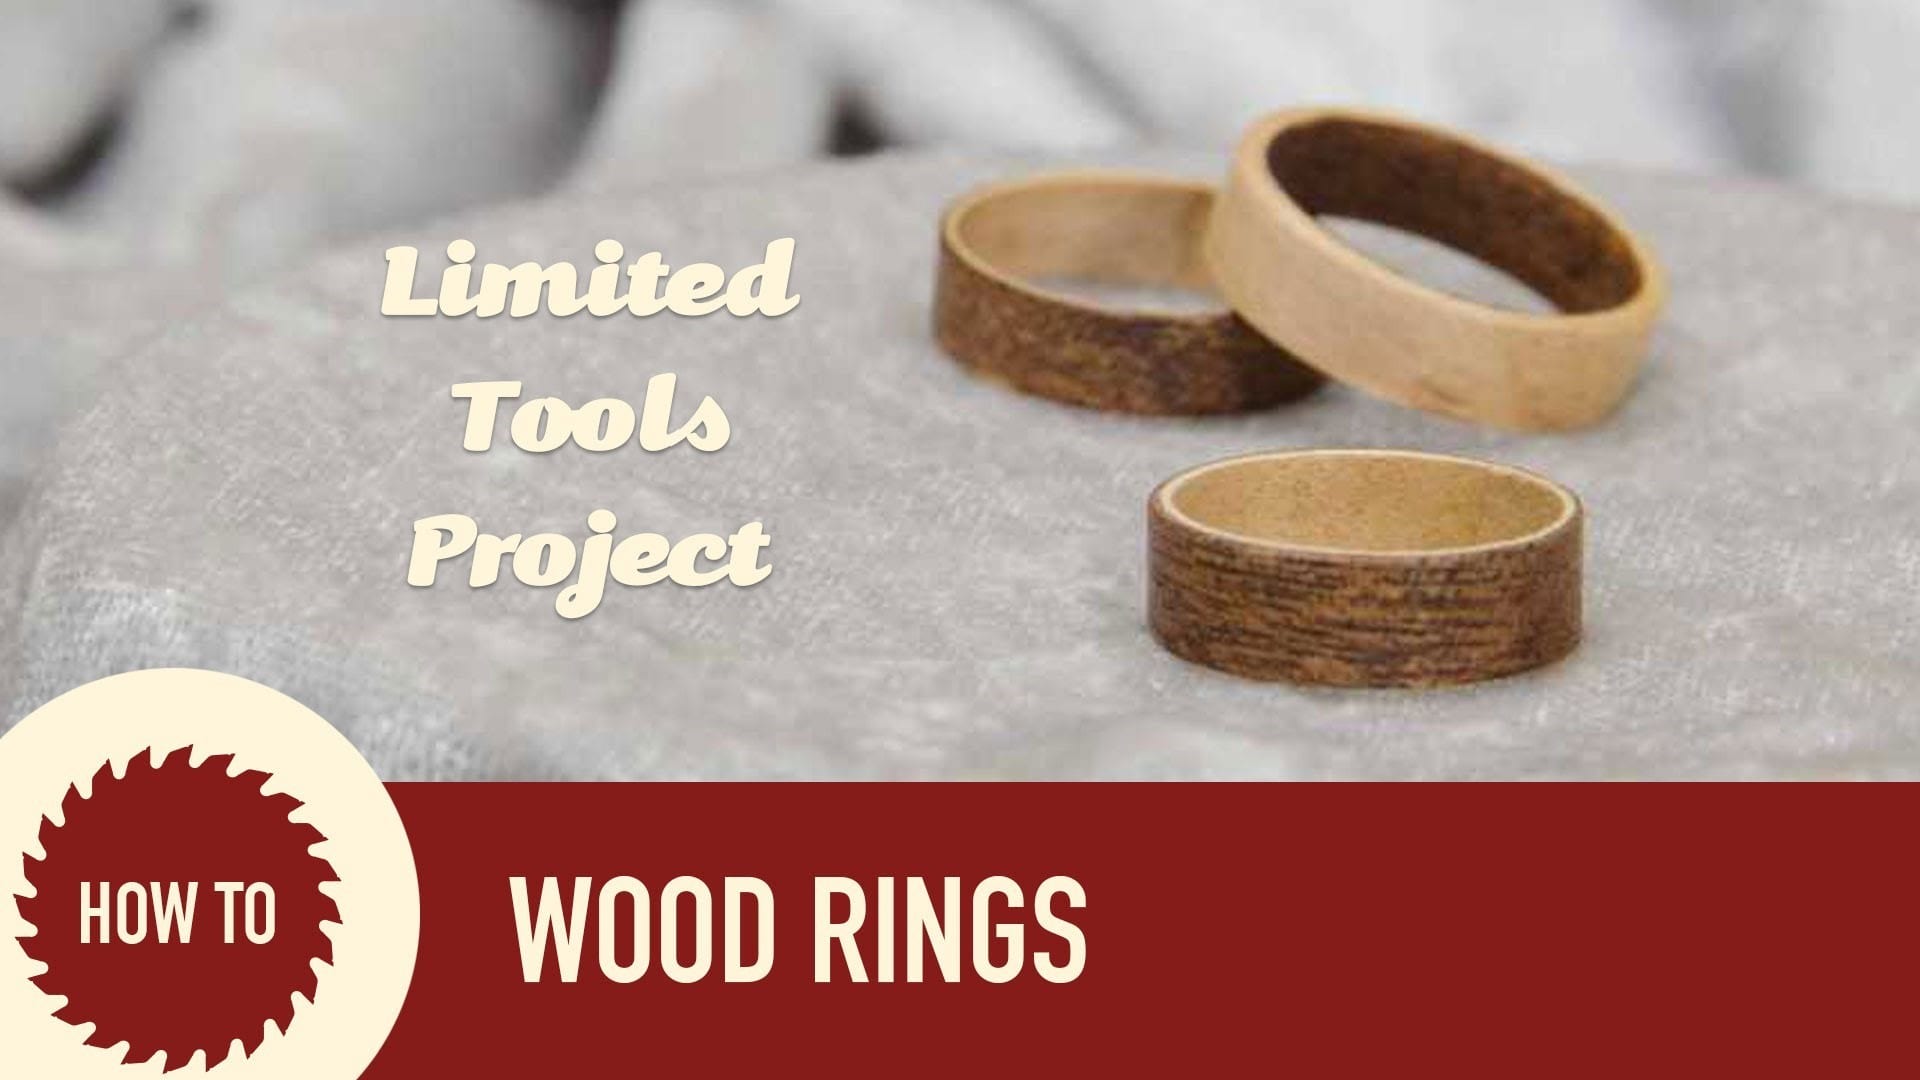
In this tutorial, we are going to make our own version of the wood ring. If you are like me, enthusiast of a piece like this, then definitely you will enjoy this. Of course, we want it to be personalized. Grab all the necessary materials, tools and equipment, then let’s get ready to roll!
What You Will Need To Follow This Tutorial
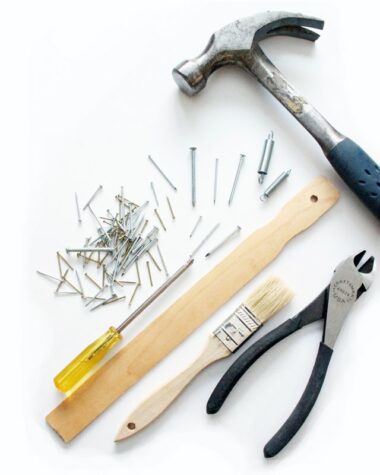
- Hole Saw
- Forstner bit
- Drill press
- Drum Sander
- Belt Sander
- Finish for wood
Quick tip: To make our piece smooth, instead of using the manual sander, use the belt and drum sander to make it easier, because we want our masterpiece to be perfectly polished.
Step By Step Instructions in Making a Ring Out of Wood
Step 1: Use the hardwood type material
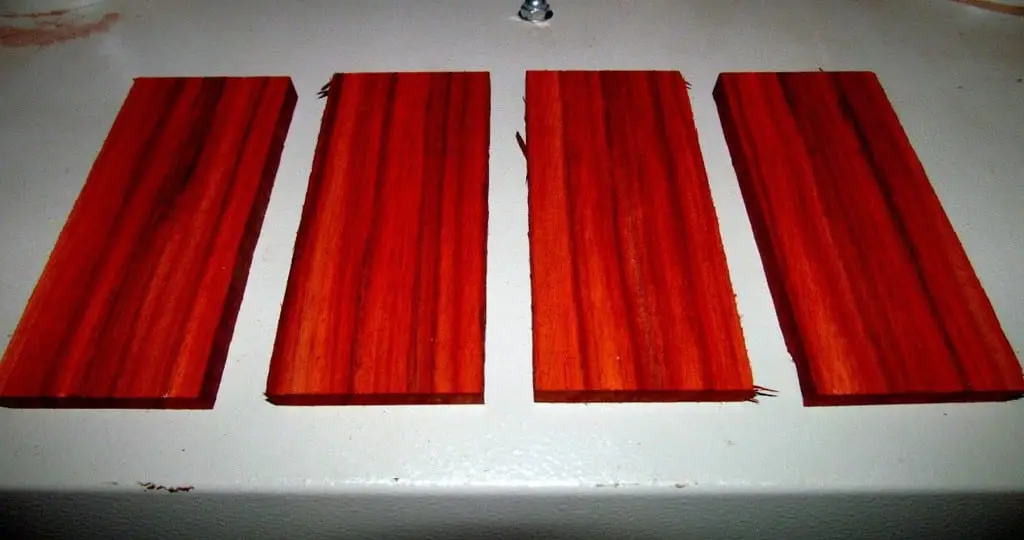
In this project, I am using the African Padauk. According to research, this type of wood would turn into pale orange or deep brown-red color after being cut. This is what I actually wanted in my ring, a defined color to make it more desirable.
Credit Image: i.ebayimg.com
Step 2: Estimate the measurement of the diameter and cut accordingly
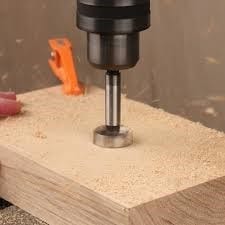
Using the drill press, Forstner bit and hole saw, cut the wood according to the size that you want. Make it thicker than your preferred size, we will polish the thinness later as we go along the process.
Credit Image: gstatic.com
Step 3: Measure the girth of your finger
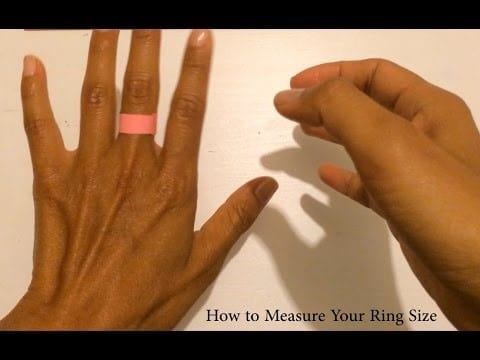
Measure the diameter of your finger. Now, you should be delicate when it comes to this part since we will cut the piece with our desired measurement. Remember, the wood ring is not resizable so be cautious
Credit Image: i.ytimg.com
Step 4: Cut and polish the inner hole and outer hole of the ring
Cut then polish the inner hole and outer hole of the ring since we are now near to perfecting the shape of our ring. Be delicate in polishing, you may make it thin or thick according to your preferred size.
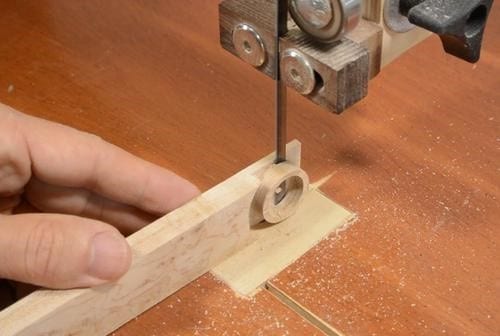
Credit Image: woodgears.ca
Step 5: Finalize the size using the sander
Using the sander, smoothen the surface of the inner and outer area of the ring. Try to take it slow until you get the perfect circle.
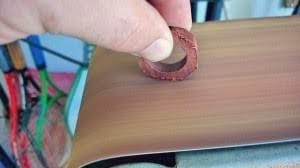
Credit Image: wolfandiron.com
Step 6: Finish the ring wood
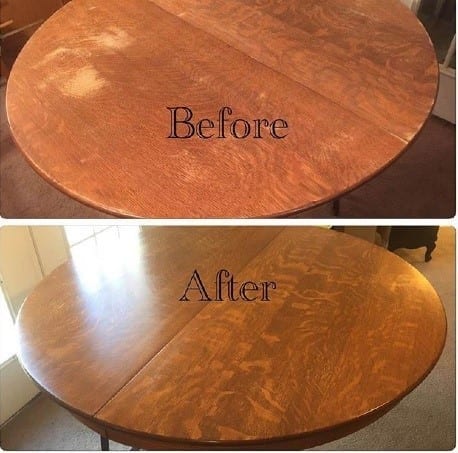
After you have polished and finalized the size of the ring, this is now my favorite part, we will now see the fruit of our labor. For the finishing touch, use the finish wood coat to make it nice and shiny. This will also make the ring durable.
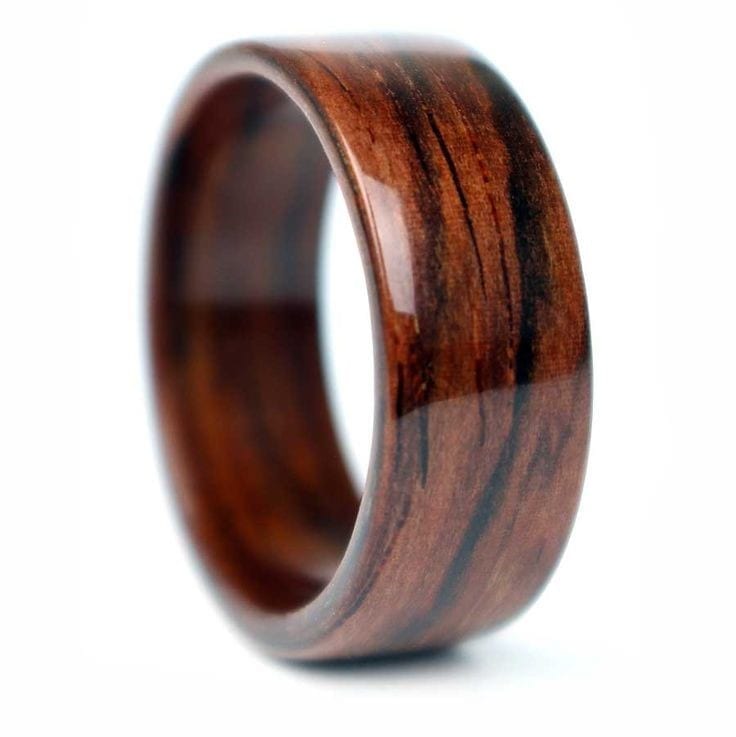
Credit Image: kamajewellery.com
So this is it, our ring made out of wood. You may also design it using paint or you can even carve it with special designs. We can make this as a handmade gift, it is more special since we made it with our own time and effort. I really enjoy this type of project.
I can now make jewelry from scratch. Who might know, we will be one of the biggest producers of this handy crafts industry. There’s nothing wrong in aiming high, yeah?
How about you? Did you enjoy making this? Tell us your stories by commenting on this article. You may also want to help your friends by sharing this and don’t forget to hit the like button for more ideas of arts and crafts.
