Childhood is some of us wants to look back. We experience a lot of fun and play. Unlike today, most of the activities are outdoor. Ever played of becoming a hero before? Or been dreaming to become a prince in a castle and save the princess with a weapon like a sword?
Yup, I have been there.
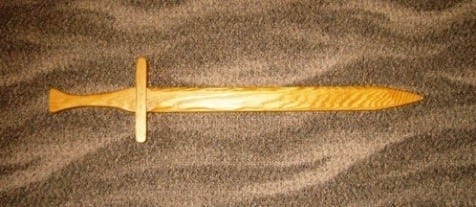
It is just easy to buy a sword in a toy store, but would it be amazing if you make your own with a low-cost budget gadget? In this article, you will know how to make a sword made out of wood.
Yes, you read it right, a wood, it would be fun if your kids would help you in making it. It will be a great bonding for your kids too. All you have to do is follow the instructions below. Get all the stuff and let’s start.
What You Need To Follow This Tutorial
- Sandpaper
- Saw
- Scissors
- Plywood
- Bond paper
- Marker/ pencil
- Epoxy
- Gray Primer/ silver and black paint
Accessories of your own choice
You don’t need to buy new accessories as an accent for your sword. You can just use anything at home, such as decoration from your old toys or bead sequence from old dresses. Just be creative and imaginative. Now, tools and materials are ready, the timer is starting for the making.
Step by step instruction in making Wooden Sword
Step 1: Draw and cut out the sword in a bond paper
Grab the bond paper and pencil to make your own design of sword. This will be your outline for the sword that you are making. Decide how long will it be, or how it should look like, including all the accent or decorations. Finalize it and cut out the drawing that you have made, now we are done with step one.
Quick tip: You can cut it out piece by piece so that it would be easier to cut this with the wood. You can divide the pieces by two, the handle and the blade.
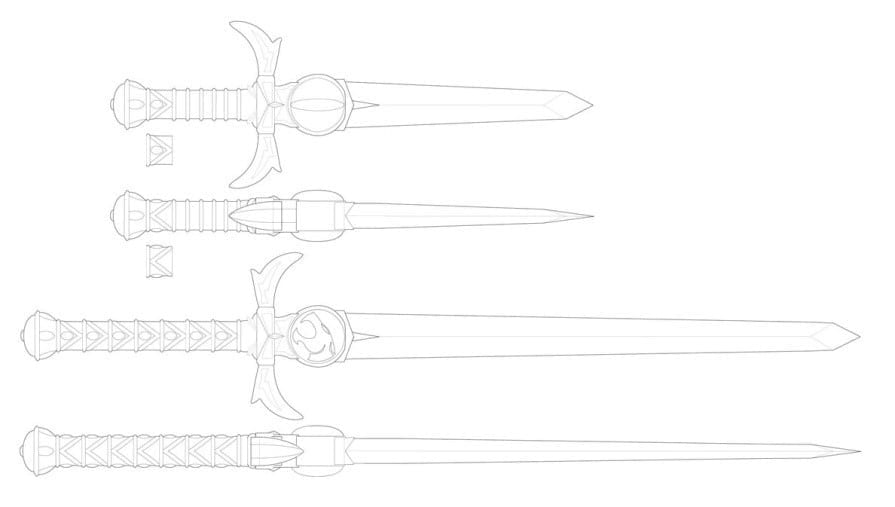
Credit Image: deviantart.net
Step 2: Draw the pattern on to the wood
Using the pattern that you have drawn and cut, trace it on to the wood, use the marker in this step to make the traces bolder.
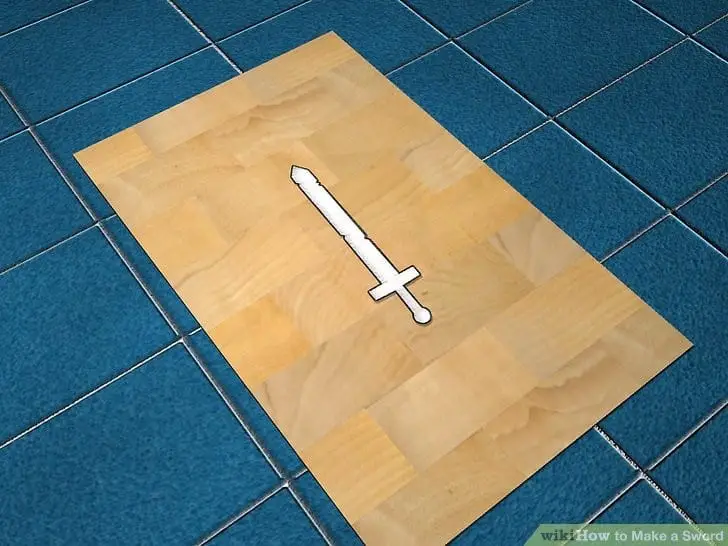
Credit Image: wikihow.com
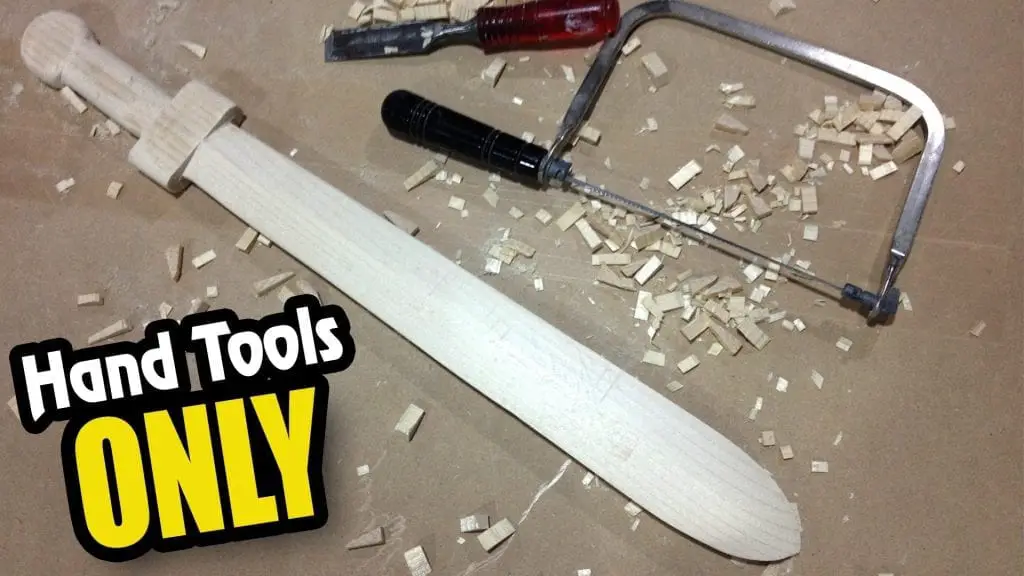
Step 3: Saw the traced wood sword
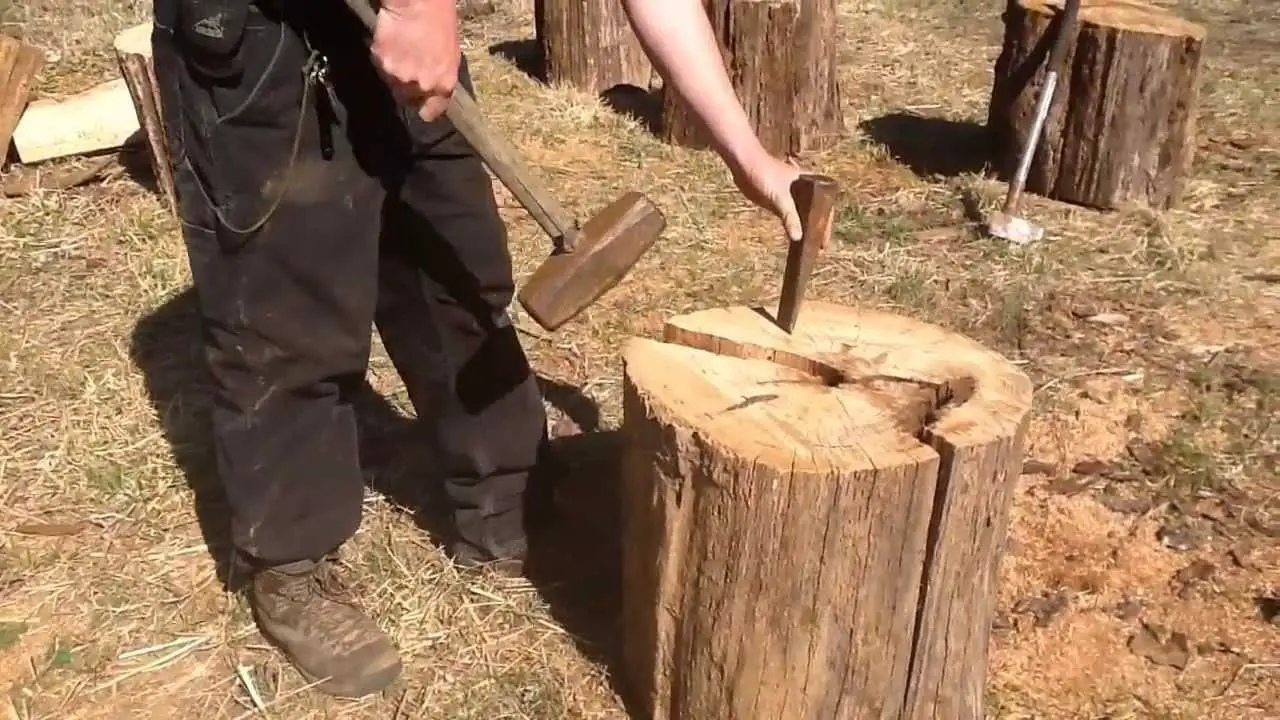
Using the saw, cut out the traced wood, make sure to watch your kids in doing this. This is the fun part of the activity since you will eventually see the physical features of your toy. You don’t expect perfection in cutting here, sandpaper is always to the rescue in this part.
Credit Image: ytimg.com
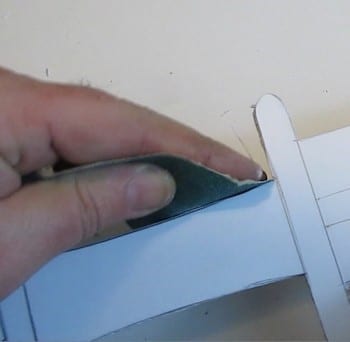
Step 4: Clean the edges of the sword using the sandpaper
Sandpaper is the next material that you need, sand down all the rough edges. Since the common sword that we know is sharp, so we will sharpen the edges using the sandpaper.
Credit Image: stormthecastle.com
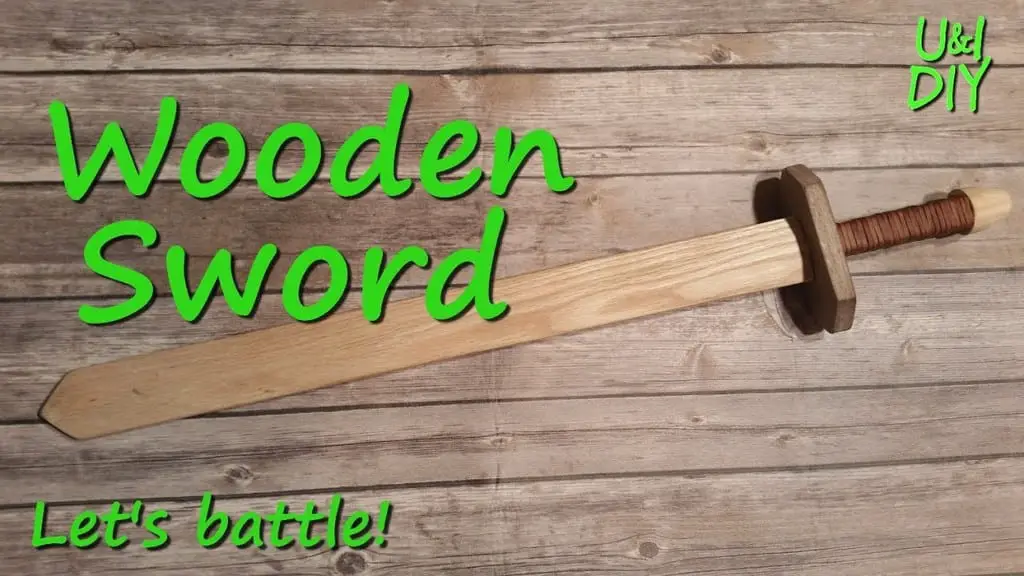
Step 5: Assemble all the pieces using the epoxy
Securely put the pieces together, assemble the sword and carefully paste using epoxy. Wait until all the pieces are all in the stronghold before continuing the next part. We don’t want our toy to fall apart. We are almost done.
Credit Image:ytimg.com
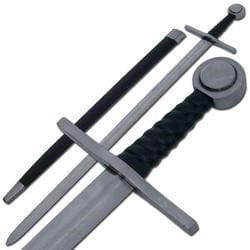
Step 6: Paint and put the accents on to the sword
Get the gray primer or silver and black paint, it would be easier if you use a spray paint to have a quick finish. Let each side to dry and proceed to put the accents and accessories. I would love to put some gems to make it more magical. Make some final touch and let it dry.
Credit Image:imimg.com
Source: https://www.artofmanliness.com/articles/weekend-diy-project-how-to-make-a-wooden-sword-for-your-kid/
Then there we have it, you don’t need some magical spell to make this wooden toy. Just a quick and easy steps then voila!
You are now ready to save the princess and slay the dragon. You can be a hero on your own. Did you enjoy this tutorial? Send us your thoughts and comments. Don’t forget to like and share this article. Until next time!
