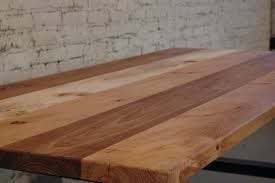
Making a tabletop from planks is a creative and useful wood project. Reclaimed wood planks can be made into a tabletop suitable for multifunctional uses such as a patio table or woodwork space area.
In this article, you will learn how to make a tabletop from planks.
What You’ll Need to Follow This Tutorial
The tools and materials you’ll need include table saw, hand saw, circular saw (7 ¼ inches), dust mask, biscuits (#2), and reclaimed wood gutter (24 feet pieces).
Step-by-step Guide to Making a Tabletop From Planks
1) Top Planks Preparation
It is important that the wood is dry. Keep in mind that the material from floor joists or job site may have a high level of moisture because it might have existed in a crawlspace. A dry material from a conditioned space is perfect and you can dry it in a kiln or store inside during winter.
You can stack wood planks in a hot and dry place with 1-inch spacers between layers. Let dry for a minimum of 2 weeks.
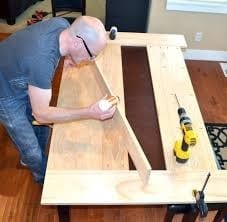
Image Source: https://i.pinimg.com/originals/3e/b7/35/3eb735e274dc2fa1d852015079f6ef27.jpg
The boards are rough-cut to the desired length and plus 2 inches, then a final cut is done after joining the planks. If ever the planks are twisted or cupped, you need to plane them at your local millwork shop or use a tabletop planer and do it yourself.
Check the planks and remove the nails as well as excess dirt, and strip just a small amount of wood on each side.
2) Find a Reclaimed Wood
Floor joists and rafters from demolition jobs and renovations work. Make sure to pull the nails carefully as well as staples. It is important to ask a clear permission if you are planning to source materials from a job site or renovation area and wear appropriate safety gear.
Asbestos and lead paint may be mixed with the clean wood. Pull the nails out before you load the wood planks in your car or truck for proper stacking.
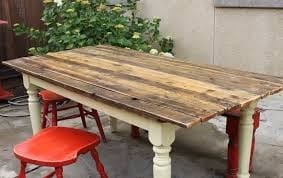
Image Source: http://1.bp.blogspot.com/-Uwekf7_8l3I/TeWNvcQy2uI/AAAAAAAABPA/ycj1FX0Rm6g/s1600/Plank+Top+table+1.jpg
3) Building the structure of the table
Clean the wooden gutters of any dirt or loose debris. Also cut them to a manageable length and miter down so a 40 x 94 inches rectangle is formed. Coat the corners using wood glue. Fasten them together with finish nails (15-gauge).
If the miters are tight or 45-degree cuts, the box should be square. Before you fasten completely double check the diagonal measurements and they should be close to equal as much as possible.
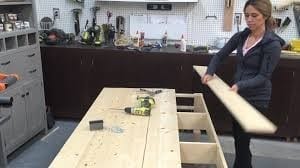
Image Source: https://i.ytimg.com/vi/e0qy0QeWiFs/maxresdefault.jpg
Once completed, set the box on a flat and clean surface. Cut the antique column to form legs in half at the profile’s center line and trim them to 34 inches length.
Cut the walnut flooring scraps to attach wood pieces to the legs using a wood glue and finish nails (18-gauge). Measure the thickness of the top.
4) Lay the best 4 planks out on a clean and flat surface
Arrange them in their final position. Make a mark along the seam of two boards at every 8-inch point using a pencil or marker. After the marks are made, the joiner is used to cut the biscuit slots in every location. Stand the boards on nd, coating the jointed side edges with wood glue.
Using glue, coat the biscuits and insert in one side of each board and in the empty joint of the succeeding board.
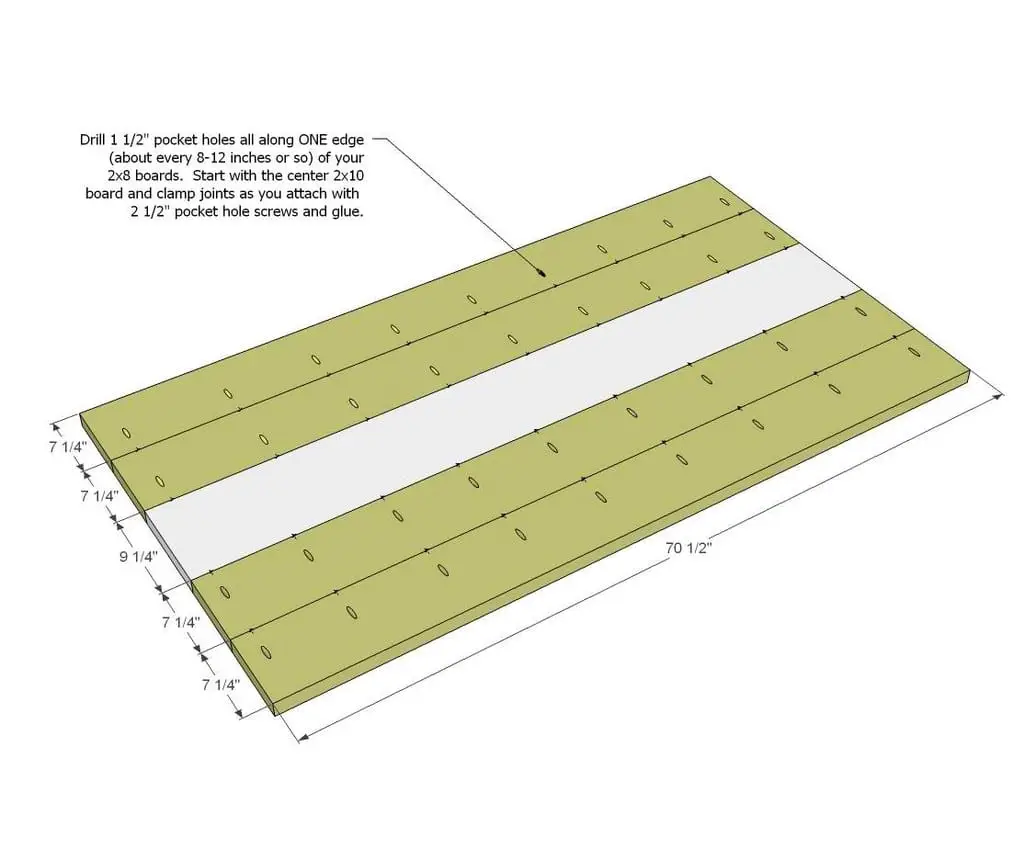
Image Source: http://www.ana-white.com/sites/default/files/3154845257_1399432280.jpg
5) Assemble the planks until the top is complete
Carefully lay the top down and attaching the pipe clamps are the next steps at roughly 1-inch intervals. Each pipe clamp is slowly tightened in a consistent fashion for the gaps to disappear. Sand any glue marks or rough spots.
Now, you can paint, stain, or wax the gutter, table, and legs. Apply wax over several days to for the wood grain to be fully saturated.
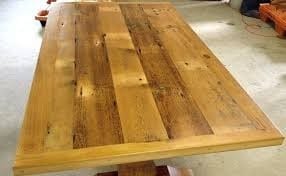
Image Source: http://artofmind.info/wp-content/uploads/2018/03/rustic-wood-table-top-rustic-wood-clear-finish-reclaimed-pine-table-top-how-to-make-a-rustic-wood-table-top.jpg
Conclusion
You have just gained an understanding of the step-by-step process of making a tabletop from planks. It is important to use a dry wood for the best results and be wary of any safety and environmental risks, most especially when handling reclaimed wood planks from job sites, demolition jobs, or renovation sites.
Do you find this article very useful and helpful? Leave a comment and share this post now!
