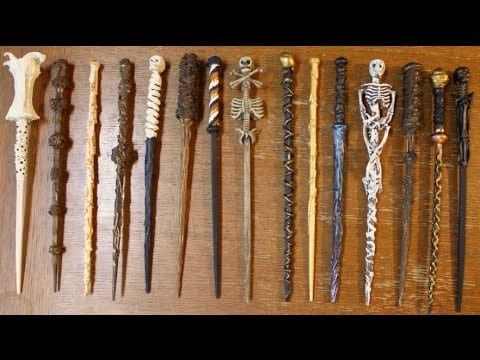
I am an imaginative person. I am totally enchanted with the mystical spells, I love to think that I have magical powers in just a swing of the wand. You may think that I am being too technical about reality and fantasy, but hey, you can be creative in your own captivating world. You don’t need to enroll in the school of witchcraft and wizardry to own a wand.
In this tutorial, you will learn how to make a wand out of wood in just a few easy steps at a cheap cost. This could be fun and exciting, you have the honor to make your own phenomenal designs. Let’s grab all the materials needed, and start our magical world.
What You Will Need To Follow this Tutorial
- Wood or branch
- Saw
- Knife
- Sandpaper
- Varnish
- Marker
You can buy a ready-made wood, but I highly suggest you can get it into the woods. Just stroll around and look for an accessible branch. It is more personalized compared to buying one. Use the hard rod to avoid your wand easy to bend.
Step by Step Instruction in Making a Wand Out of Wood
Step 1: Search for a stick around your place
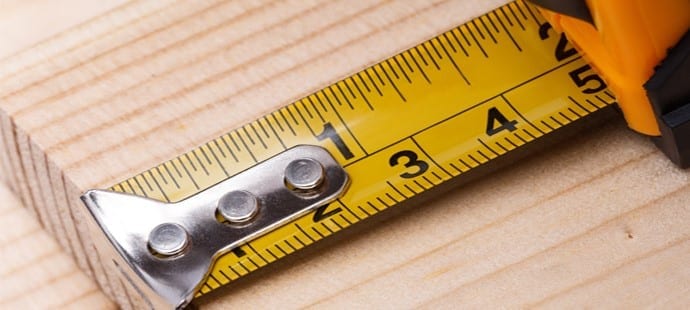
Cut a portion of the branch tree about 12 inches long. It does not matter if it is thick or thin, it totally depends on how the girth that you want. We can just peel off the excess thickness as we go along the process.
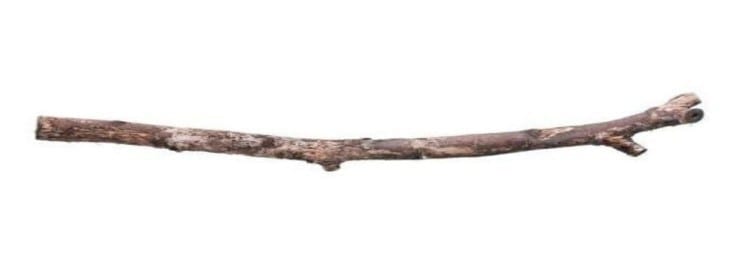
Credit Image: cdn.hinative.com
Step 2: Peel off the outer layer of the bark
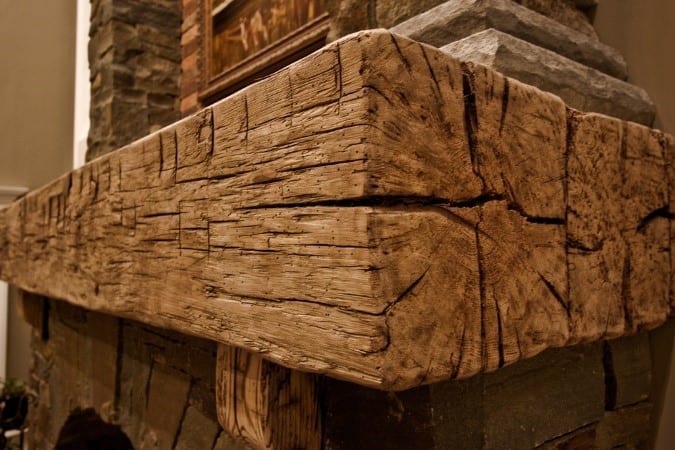
Using the knife, peel off the outer layer of the stick or bark to make it thinner, leave the other parts thick for the engraving purposes.
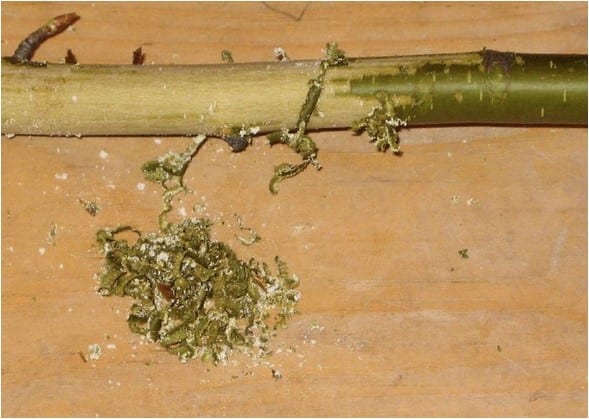
Credit Image: static1.squaresspace.com
Step 3: Mark the stick for the line between the shaft and the handle
Using the marker, mark a line in between the stick that serves as the border between the shaft and the handle.
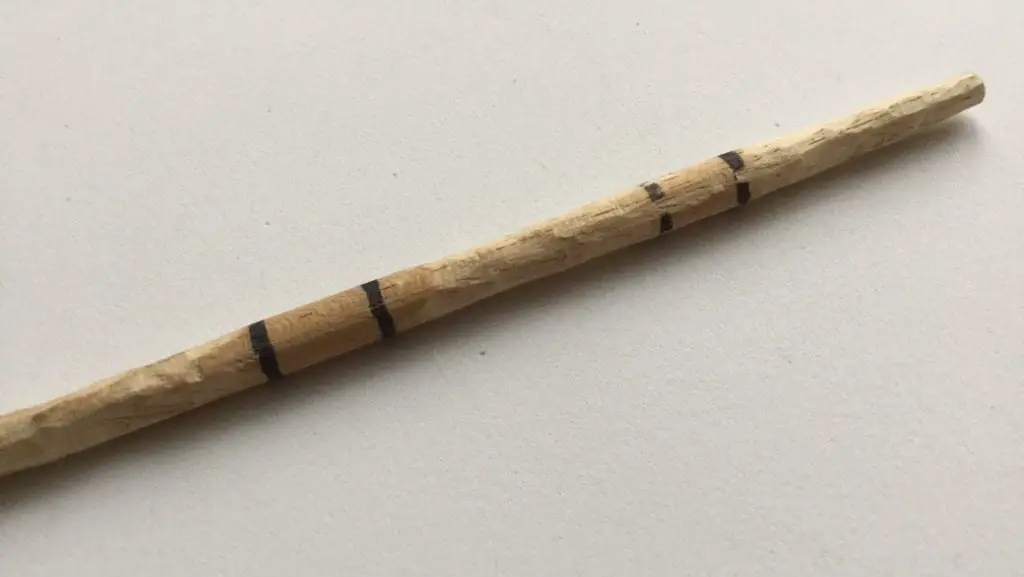
Credit Image: cdn.instructables.com
Step 4: Smoothen the Stick
Using the sandpaper, smoothen the rough portion of the stick. As mentioned earlier, you can make your own accent and design. For the handle, leave it thicker than the shaft.
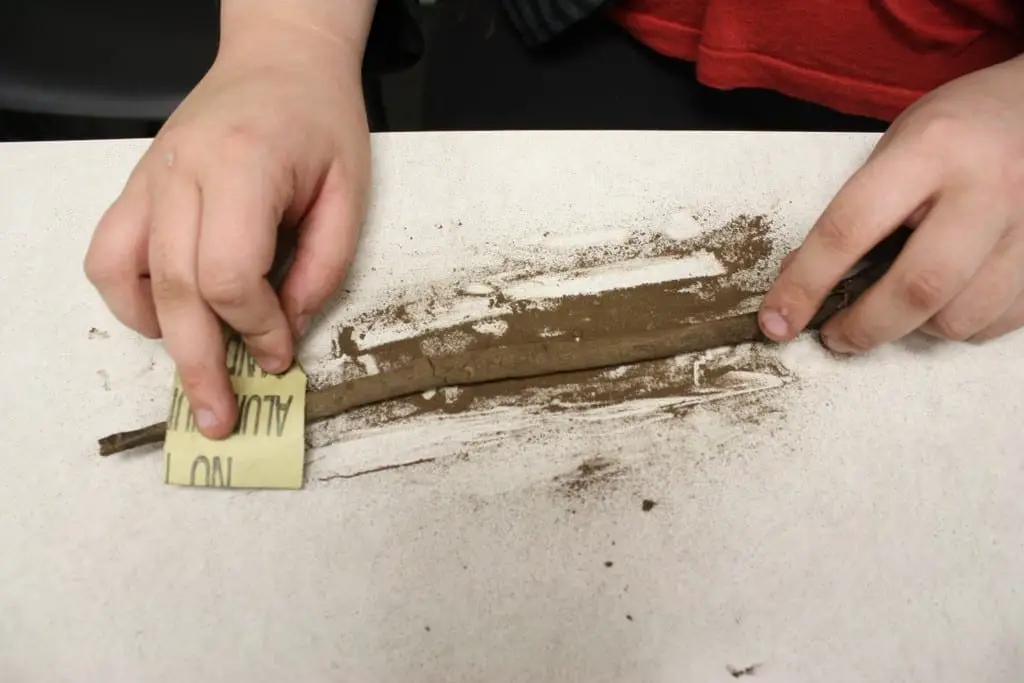
Credit Image: psaaustin.files.wordpress.com
Step 5: Engrave the handle with the desired design that you want
Using the knife, engrave the handle with the design that you wanted. This is the fun part since this is the portion of the tutorial where you can see the almost done piece. Unveil your creativity with different thoughts and ideas on how your wand should look like.
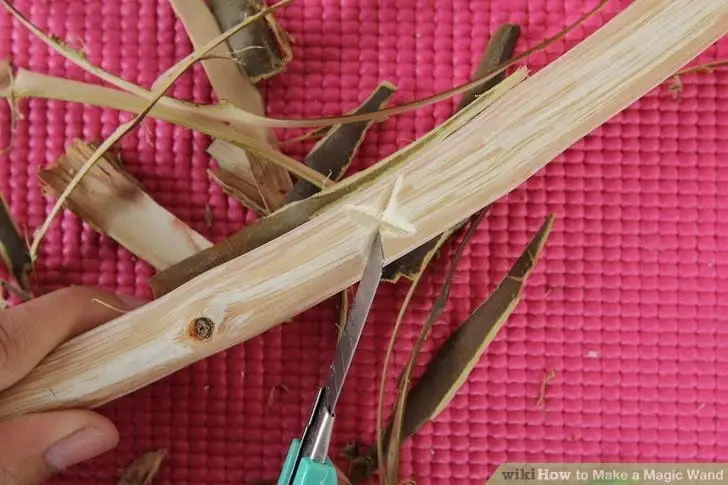
Credit Image: wikihow.com
Step 6: Finishing touch
Finalize your design. After the engrave designs done, you may now use the varnish to make your wand shiny and durable.
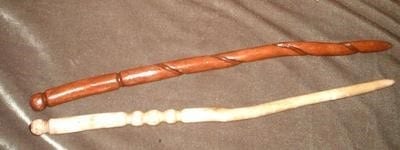
Credit Image: the-leaky-cauldron.org
And there we have it, a magical wand without an extra powerful sweat for making it. Even you too can make this in one swing away. Just follow the instructions then you are ready for the enchanting fantasy.
Did you have fun in making this? Please share and leave a comment for more article. Do not forget to hit the like button and see you in the next one!
