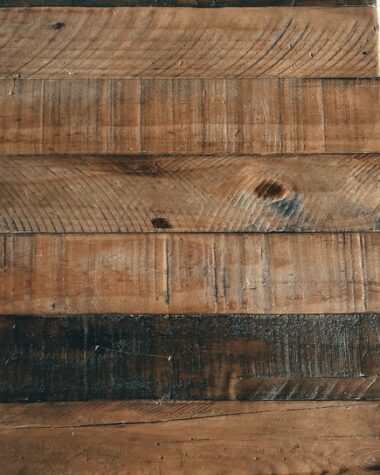
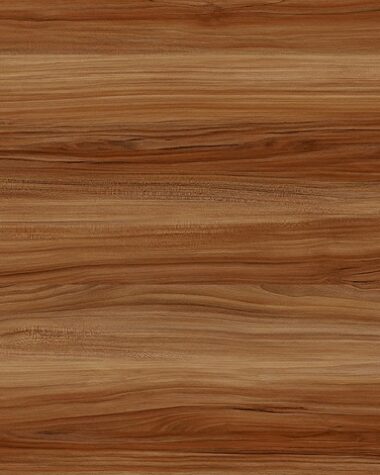
We must admit that beauty is not one of the best features of concrete. Concrete floors, walls, or any other constructions look cold, outdated, and boring.
But being the crafty DIYer that I am, I figured out that if I can learn how to make concrete look like wood, I will be able to bring life to the otherwise heartless concrete surface. In a nutshell, it does take some effort to make concrete look cozy and warm by making it mimic authentic wood.
However, there are certain tips and tricks which can save you the trial-and-error phase of the makeover. Do you want to check out the cheat sheet below? Read on and you will be ready to upgrade any concrete surface like a pro.
What You Will Need To Follow This Tutorial
- Aluminum foil
- Painter’s tape
- Duct tape
- Concrete primer
- Paint roller
- Paint (you will need 2 colors – the one must be a light shade and the other must be a darker shade)
- Paint tray
- Paintbrush
- Clean rags (or paper towels)
- Graining brush
- Sealer
- Dish soap
Quick Pro Tips
1 – Clean the surface of the concrete thoroughly
One of the most crucial factors for making concrete look like wood successfully is to examine and prepare the concrete surface precisely. If there are stubborn stains, you will need to remove these with degreaser. If you are dealing with oil spills, you will have to use bleach.
2 – Remove any traces of old finish
The concrete surface needs to be as porous as possible so that you can achieve the effect you are looking for. Test if the concrete has a top coat of sealer by dropping a few water drops on the surface. In the case the water beads, then you will need to remove the old finish with a chemical stripper.
3 – Give concrete sufficient time to dry and work with a partner
If you are about to work on freshly-poured concrete, then you won’t have to examine and clean the surface from old stains, sealers, grease, etc. However, it’s crucial to allow new concrete a minimum of 90 days to cure well. Nevertheless, in order to make concrete look like wood easily and beautifully, it’s best to work with a partner. While one of you is adding texture to the concrete surface, the other one will be in charge of glazing.
Step by Step Instructions for Making Concrete Look Like Wood
Step 1 – Prepare the concrete surface, prime, and apply a layer of paint
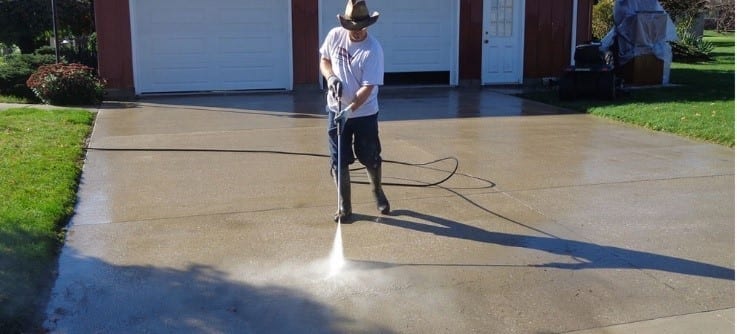
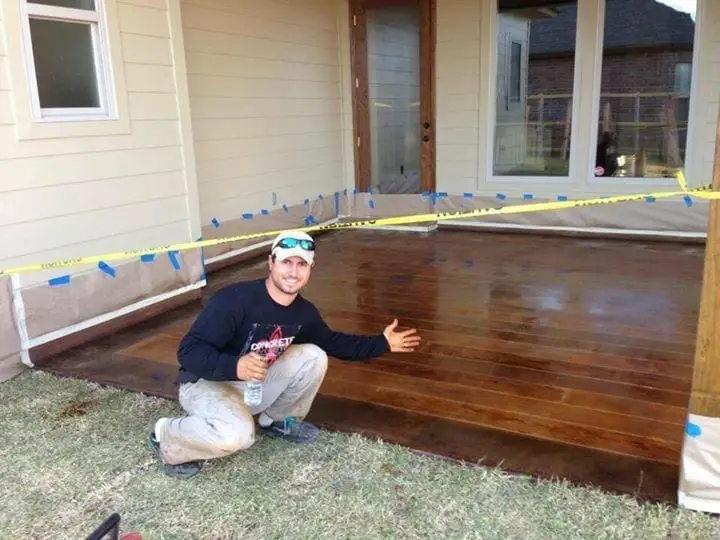
Image Credit: concretegrindersales.com
For a start, you want to make sure you won’t deal with moisture problems which are very wide-spread with concrete. Use aluminum foil to tape it over the concrete surface and let it sit for a full day. Remove it and proceed with painting if there are no visible traces of moisture on the foil.
Clean the concrete carefully with water and dish soap. Use painter’s tape to cover the areas you want to keep away from getting in touch with the paint you are about to apply. Prime the concrete by using a paint roller for the bigger areas and a paintbrush for the small zones.
After priming, it’s time to apply the first layer of paint. Use the lighter nuance of paint first. Allow it to dry completely.
Step 2 – Mix the second paint, glaze, and add the final touches
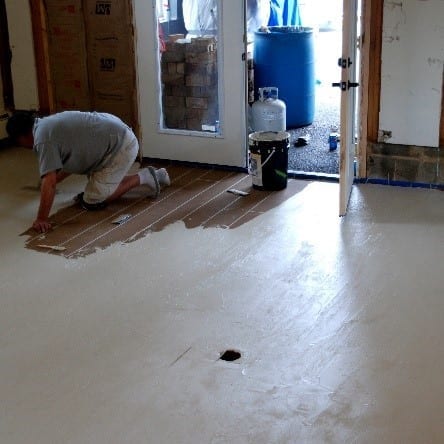
Image Credit: bruceramos.info
Here comes the most delicate part of making concrete look like wood. Mix the darker nuance of paint with the glaze. Working on small areas of the concrete only, apply a thin layer of the paint and glaze mixture. Your goal is to add texture to the concrete BEFORE the glaze has dried up.
You can use a coarse-bristle brush but mind that a faux wood painting graining tool works best. Don’t strive for perfection. In nature, the grain looks wavy instead of straight. Make sure to go in the same direction, though. Clean your tool from the glaze as often as needed.
Finally, wait for the glaze to dry and last touches, such as small knots painted with dark paint. Seal the concrete with a protective finish at the end.
Have you tried making concrete look like wood before? What are your personal impressions? Do you have any questions or valuable tips you wish to share?
We’ll be happy to hear back from you. Don’t hesitate to join us in the comment section below. If you did find this article useful, your thumbs up and shares will help us spread the easy-to-follow step by step instructions with other DIYers out there. We believe that being a DIYer is all about the sense of community.
