Whether I travel or not, I would love to capture the moments to treasure. I am a great believer that memories really lasts especially if we document it.
But how will I do it?
Yes, you got it right, through taking pictures. I would love to personalize every bit of the pictures not just on my social media, but I want it to hang on my walls at home.
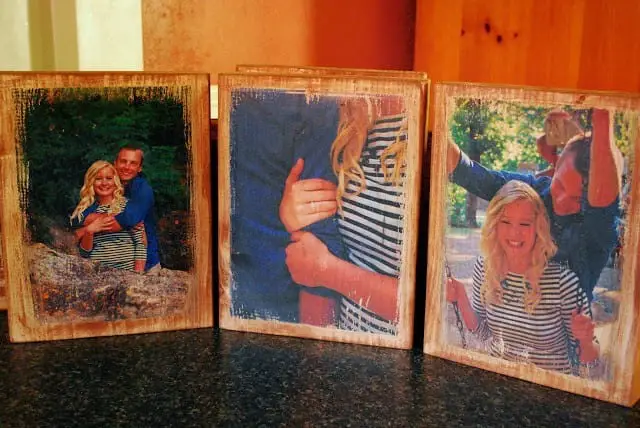
This gives me an idea to make a themed wood wall frames. One thing is my goal, I am not going to spend my money over expensive frames. I want it personalized and synchronized.
I am going to show you how to make this amazing art and craft idea like a pro. After all, this will make our wall more artsy and fancy. This is just like sticking a sticker on a sticker album but on to the next level. This will be fun and exciting, so go ahead, grab all the needed tools and materials and let’s do it together.
What You Need To Follow This Tutorial
- Wood Paint Panel
- Your chosen picture
- Mod Podge
- Gel Medium
- Sponge Applicator
- Damped Cloth
For the picture, I would highly suggest using the Photocopied Image on Regular Copy Paper, the picture will more likely to stick on the wood panel. Now take note in doing this procedure, the picture will be opposite to its original.
But this is not a big deal, however, if you are going to use a picture with words on it, it will look backward than the usual. You may use an application for images that will mirror the image itself to avoid sticking the pictures backward.
Step By Step Tutorial on How To Transfer Pictures to Wood
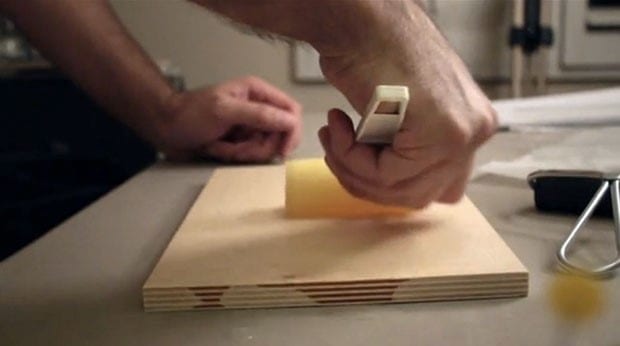
Step 1: Apply Gel Medium on the wood panel
Prep your wood panel before doing this, smoothen the surface. Gradually apply the gel medium on to the wood panel. This is why your picture will stick on to the wood. Apply evenly a thick layer of it to make sure your picture will stick well.
Credit Image: petapixel.com
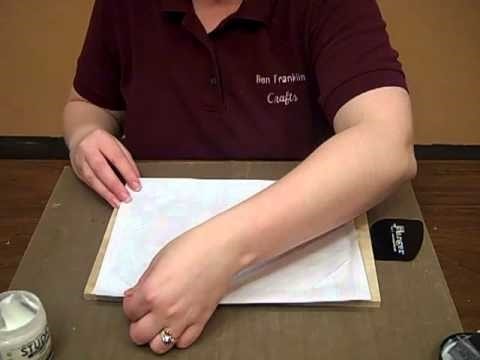
Step 2: Lay your picture on to the wood
Lay down your picture on to the wood. Lightly rub your hand on the picture to make sure that the image will stick on to the panel.
Be patient in doing this, this is going to be crucial since we are going to put on the picture.
Make sure all the surface are evenly laid on the panel. We don’t want some part of the image will be missing.
Credit Image: i.ytimg.com
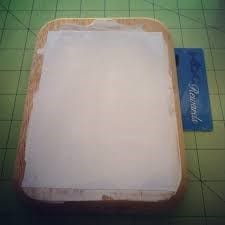
Step 3: Let the picture set on the wood panel
Wait for the picture to completely set on to the wood panel for at least 8 hours or more, so that all the images will be kept intact. Carefully check the picture if it is totally stuck on to the panel before going to the next procedure.
This is the longest part of the procedure. I know we hate waiting, but rest assured this is going to be worth it. Don’t be in a rush in this, the more you take time to it, the more it will be better.
Credit Image: hellocreativefamily.com
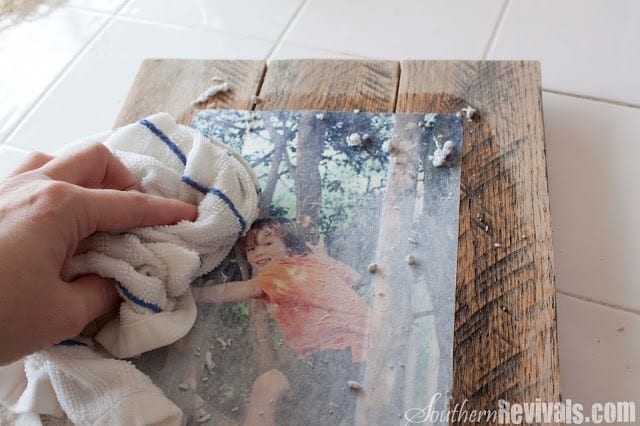
Step 4: Get the damped cloth and soak it on to the paper
Using the damped cloth, gently soak it on to the paper then gradually rub on the cloth in a circular motion, be patient in doing this. Then wipe out all the excess paper that is worn out from the wood panel. This is the fun part since we are now almost done of our project. You can now see the progress after the long wait of letting the image set on to the panel.
Credit Image: southernrevivals.com
Step 5: Put on the mod podge
Then put on the mod podge on to the surface to seal it all in. Put one coat and let it dry, and then put another layer for a total of two layers. Your image will look better after coating it. It will seal in the picture, it will look nice and silky. You may also add edge design you can just paint the edges to make it nicer. It’s all up to you, this is so simple and doable.
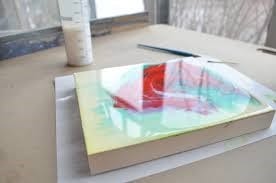
Credit Image: artshackartwordpress.com
And there we have it, this is a super easy personalized picture to hang on to the wall. You can also make this as a gift to your friends and family. You will definitely appreciate this kind of picture-perfect memory since you made it all by yourself without compromising your savings.
Did you enjoy this tutorial? Please give it a thumbs up for more tutorials to come. Please don’t forget to share this and let us know what you think about this creative idea by leaving a comment. Also, tell us your story about your project. Until next time, stay fun and creative!
