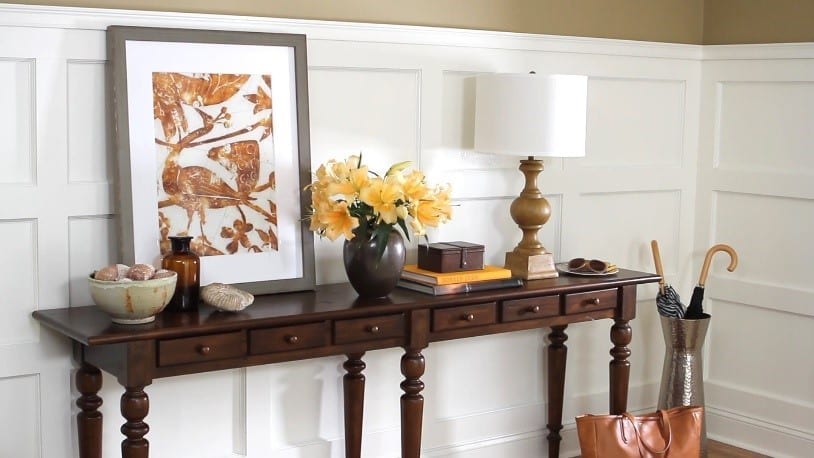
Just a year ago, I decided to opt for wall panels and refresh our living room while also hiding a few annoying flaws without having to start from scratch. This is when I first started learning more about molding.
So how to make wall panels with molding easily? Is this a beginner-friendly process at all? The short answer is a big, fat YES.
What are you waiting for? We are sharing the top 2 methods for molding wall panels like a pro in a short and no-nonsense step by step tutorial. Let’s dive in and bring the interior in your home to the next level.
What You Will Need To Follow This Tutorial
There are 2 methods we want to reveal to you, namely the wall paneling style and the raised panel style. Both of these options create a different finish. We’ll start with the easier one.
Things you will need for the wall paneling molding style:
- Construction adhesive
- Finish nails
- Finish Nailer
- Miter saw
- Stud finder
- Pencil
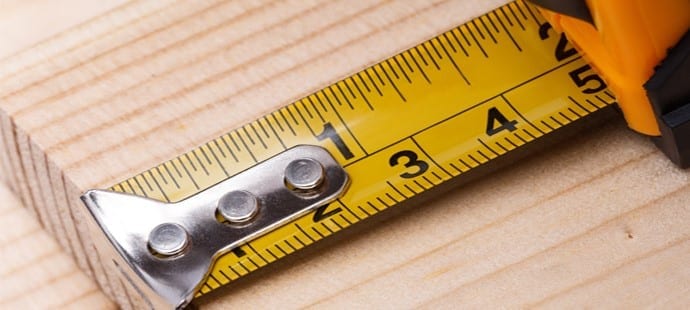
- Tape measure
- Carpenter’s level
A Quick Pro Tip
Take the time to consider the design you will strive to achieve by making wall panels with molding. It might be tempting to jump on the very first design which comes to your mind but I can assure you it’s best to wait for a week or 2. You will be surprised how much your vision can change.
Things you will need for the raised panel molding style:
- Scraper
- Wood putty
- 120-grit sandpaper
- ½ x 48 x 96 inches composite foam
- Pencil
- Tape measure
- Carpenter’s level
- ¾ x 2 ¼ x 96 inches picture frame molding
- Construction adhesive
- Table saw
- ¾ x ¾ inch board
A Quick Pro Tip
The raised panel molding style might seem more conservative as opposed to the wall panel molding style. However, you can bring a new wave of life and modern-day appeal to any raised panel with bold colors or easy DIY techniques such as antiquing wood.
Step By Step Instructions: Making Wall Panels With Molding
The Wall Paneling Method
Step 1 – Choose the design, measure the distance and cut your pieces of molding
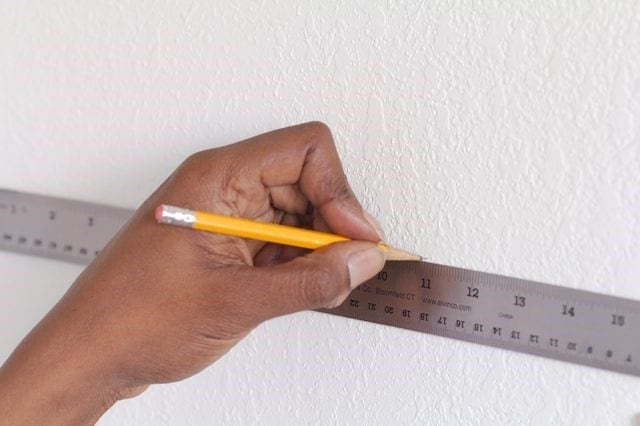
Image Credit: hunker.com
The design you will choose is very flexible and solely based on your personal preferences. However, you must remember that the perimeter width needs to be the same at the bottom and at the top of the panel. The sides will vary.
Once you choose a perimeter width for the panel, mark the exact spot on the wall with a pencil. Now, proceed with cutting the pieces with a miter saw. You may want to opt for a stud finder, too.
Step 2 – Place the pieces of molding with adhesive and finish nails
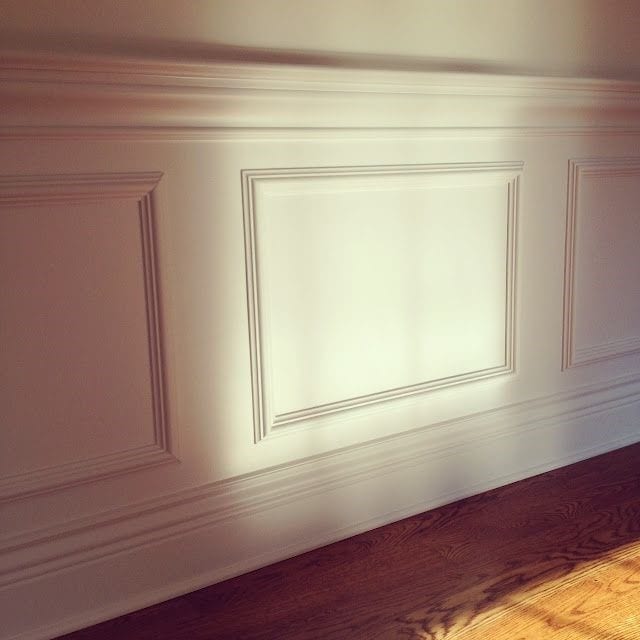
Image Credit: youtube.com
Let the gluing and nailing begin! Pour some adhesive glue to the back of the pieces. Press the piece firmly to the wall and proceed with nailing. Shoot nails through all of the 4 corners you have mitered. Doing so will help to secure the well-positioning of both the vertical and the horizontal pieces.
The Raised Panel Method
Step 1 – Measure, cut, and glue
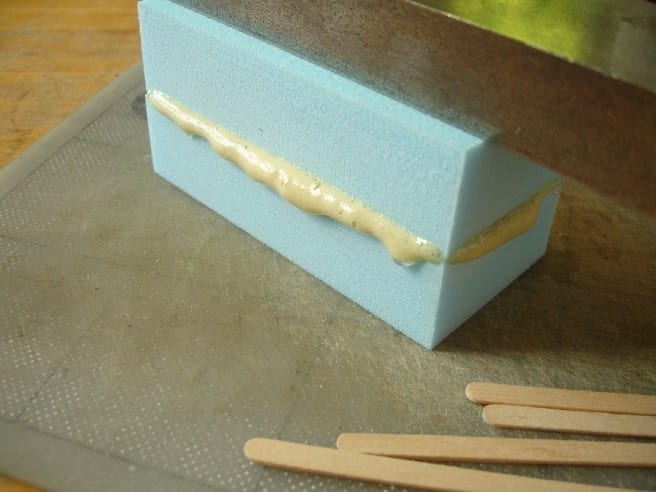
Image Credit: davidneat.wordpress.com
First, you need to measure the picture frame design. Next, cut the composite foam material. It’s important to cut a piece of foam material which is 1 to ½ inches less than the measurement of the picture design frame.
Afterward, glue the back of the composite foam. Here is where you will use boards to place these inside the picture frame.
Step 2 – Place the panels and sand the molding

Image Credit: tp-advisors.com
The boards will help you out to space correctly the composite panel inside the picture frame. Finally, just press the composite foam to the wall and remove the boards. Secure with finish nails and use wood putty to fill all nails gaps. Mold with sandpaper once the putty is completely dry.
Good job! You just went through one of the fastest wall panels molding tutorials. It didn’t hurt, right? Not only molding is easy, but you can also even accomplish this mission all by yourself without any extra help. Although, admittedly, 4 hands always work better than 2, do you agree?
If you want to see more articles like this one, don’t forget to like and share these instructions. We believe being a DIYer is all about helping others achieve more while paying (and sweating) less. Don’t hesitate to join us in the comment section below!
