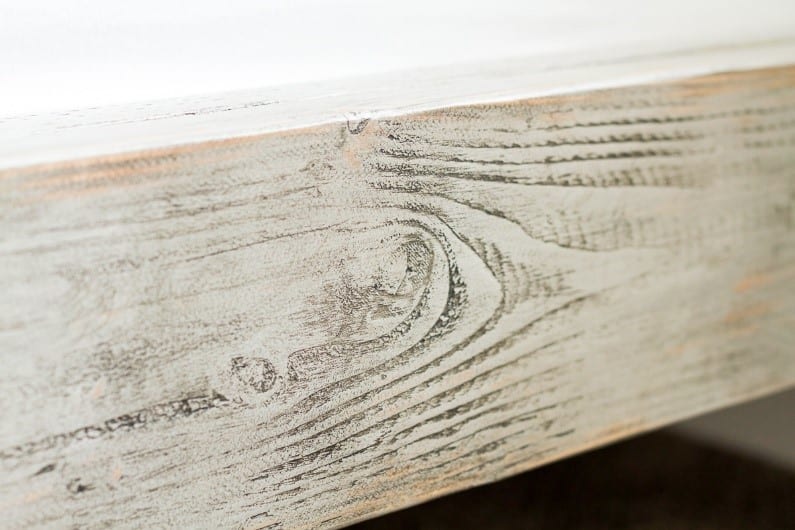
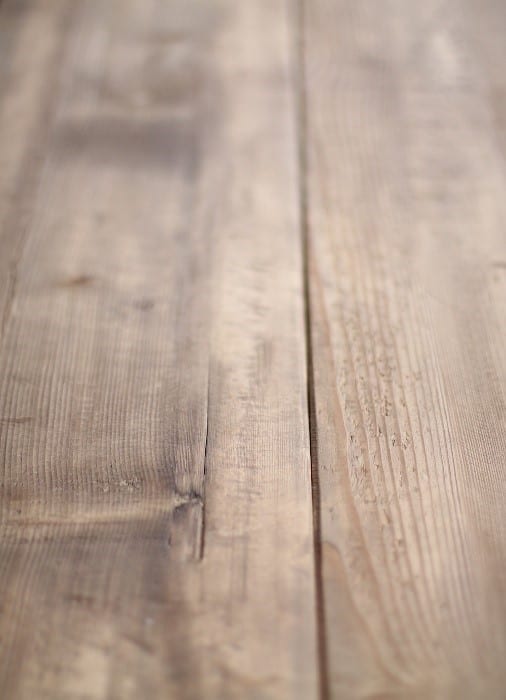
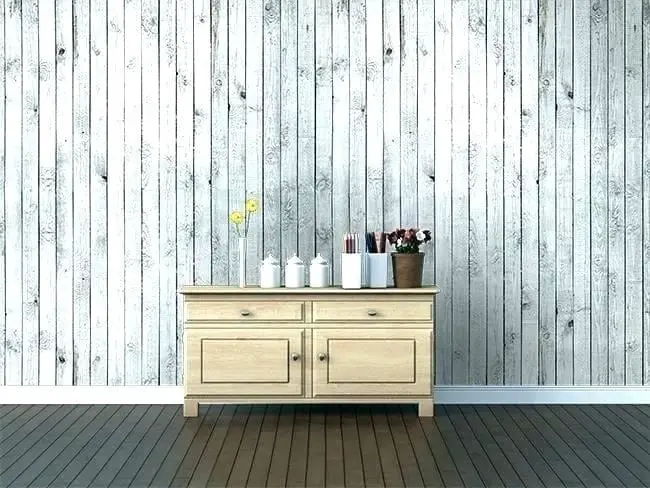
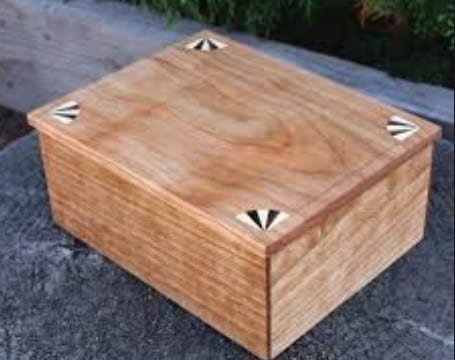
From whitewashing through applying a mixture of steel wool and vinegar to trying out the crackled wood effect using glue – I dare to call myself a pro whenever some of my friends have asked me how to make wood look rustic. But my top favorite effect up-to-date is the one I have been able to achieve with chalk paint.
Moreover, I consider this particular technique beginner-friendly and fun. Are you in the mood to learn how to do it yourself? Follow the step by step tutorial below and you can achieve a mesmerizing rustic appeal on just about any wood surface.
What You Will Need to Follow This Tutorial
- Chalk paint (the color you choose will be the basic coat and must match the color of the Chalk paint wax)
- Chalk paint wax
- Clear chalk paint wax
- Soft paint brush (a natural bristle paint brush works best)
- Wax brush
- Rag (tear a single rag apart or use multiple clean pieces of cloth)
- Sandpaper (depending on the wood surface you may need to use grits, varying from coarse through medium to fine-grit sandpaper)
- Power sander (optional)
- Wood stain (optional)
A Quick Pro Tip
Don’t worry about having to work simultaneously over unfinished and stained wood
One of the benefits of working with chalk paint to make wood look rustic is that you don’t need to fret in the case you are faced with a piece of wood which has both unfinished and stained areas. You can spare yourself the hard work, as well as the time to make these areas match. Simply proceed with the paint directly over the unfinished and the stained zones, and you won’t be able to notice much (if any!) of a difference once you are done.
Step by Step Instructions for Making Wood Look Rustic
Step 1 – Sand the surface and apply a coat of wood stain if needed
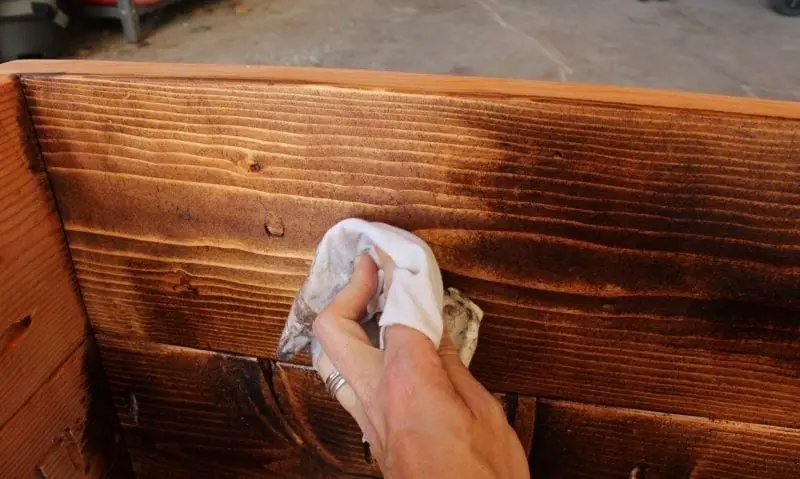
Image Credit: homedit.com
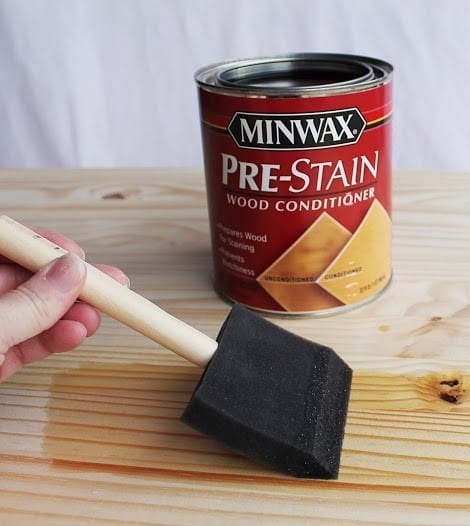
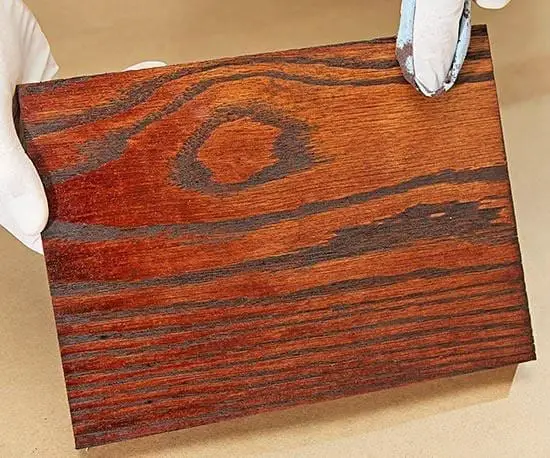
If the wood you want to make look rustic already has a thin coat of wood stain, you may skip this step. However, if you are about to treat bare wood or wood which is very damaged, with flakes or multiple rough, uneven patches, it’s best to apply a single coat of wood stain.
For this purpose, smooth the wood surface with coarse-grit or medium-grit sandpaper. Remove any of the dust completely and apply the wood stain. Let it dry out thoroughly.
Step 2 – Apply the basic coat of chalk paint
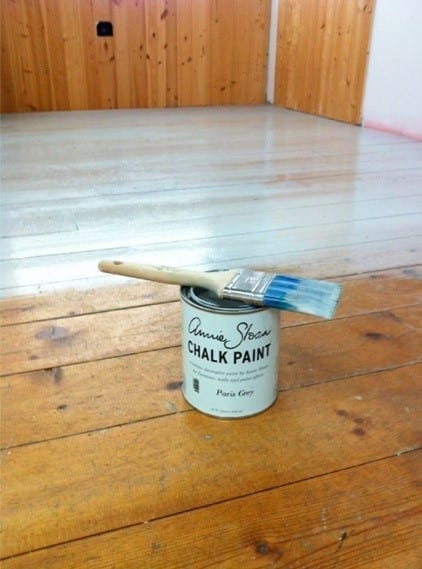
Image Credit: thepurplepaintedlady.com
Chalk paint works like charm, so application is very easy. Apply an even coat over the entire surface of the wood. However, don’t forget to read the instructions carefully before you get started. That’s because in some cases, you may need to go over only a small section of the wood at a time as to achieve the desired effect.
Step 3 – Apply Clear Wax
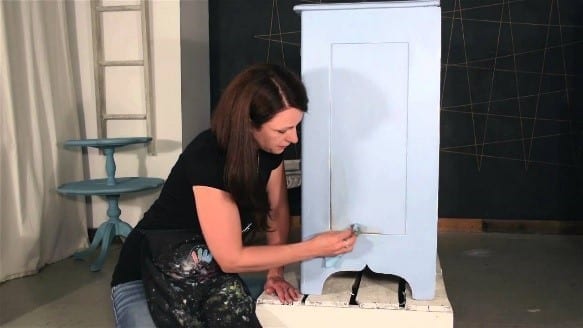
Image Credit: youtube.com
Once the basic coat is thoroughly dry, you can gently sand the surface with fine-grit sandpaper. This is simply optional. Don’t apply any pressure, though; just very light, soft strokes.
Go over the entire surface with a clean cloth and Clear Wax. Rub it well into the wood. This step isn’t about changing the color but about bringing out the grain for that amazing, naturally rustic appeal.
Step 4 – Apply a coat of chalk paint wax
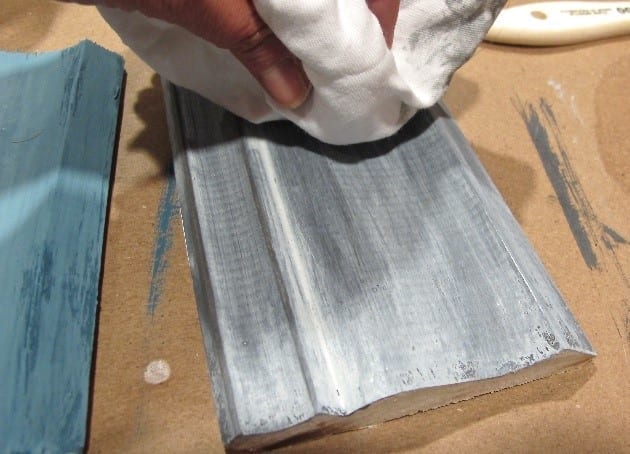
Image Credit: thecreativityexchange.com
Don’t wait for the coat of clear wax to dry out completely. Proceed immediately with applying the chalk paint wax with a wax brush. Aim for filling every tiny crack and crevice. Next, rub in the chalk paint wax as soon as possible, using a clean cloth.
Step 5 – Finish by working on small sections only
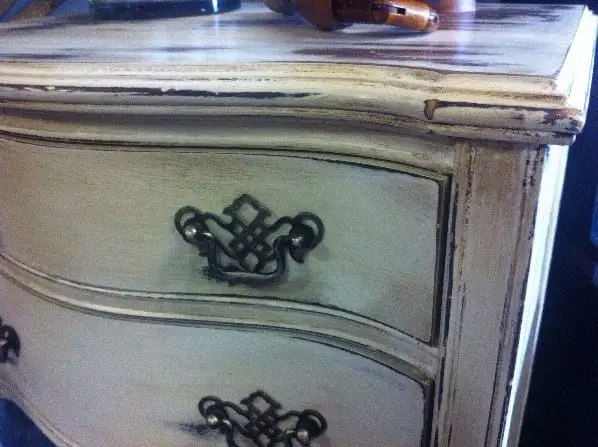
Image Credit: brushandpail.wordpress.com
Without any waiting, after you are done with Step 4, start working on smaller sections (not the entire piece) by adding a coat of clear wax. Rub it energetically. Remove as much as you want from the coat of chalk paint wax by rubbing the clear wax carefully until you achieve the effect you want.
I used black chalk paint wax and I rubbed vigorously as I wanted the color to settle mostly in the crannies. Let it dry overnight (24 hours). Finally, go over the surface once more with clear wax but make sure you remove any excess quantity (don’t be afraid that you are losing color).
What a funny, creative, impressive, and easy way to make wood look rustic! Do you agree? Have you tried working with chalk paint before? Do you have any ideas, personal impressions, insights, tips, or questions you’d like to share? We’d be happy to follow you up in the comment section below.
Don’t forget to give this tutorial a thumbs up. By sharing and liking this content, you can help us reach out to more of our fellows DIYers. Hooray!
