Okay, let’s get things straight from the very start: if you’re looking for a shortcut cheat sheet which will help you learn how to match wood stain, you’d better change your strategy. Matching wood stain is a form of art, or at least this is the best way I dare to call this process.
You’d better get prepared for some trials and errors. But there’s so much fun involved while experimenting!
What we can do to make your mission much easier is to share the tiny but essential tips and tricks we have learned so far which will decrease the number of possible errors you may face (and increase the joy of the entire gig!). So, are you ready to dive in? It’s time to get this party started.
What You Will Need To Follow This Tutorial
- Finisher’s color wheel
- Stain palette
- Containers (plastic cups work great for mixing the stains)
- Oral syringe (or an eyedropper)
- Sample board
- Paintbrush
- Wood spoons (you will need a separate spoon for each stain and a separate one solely for stirring)
- Notebook and a pencil
- Topcoat
A Quick Pro Tip
Always let your stain dry fully. What looks like a perfect color match right after the application may end in a completely different shade than what you are looking for once the stain has dried completely.
Step by Step Instructions For Matching Wood Stain
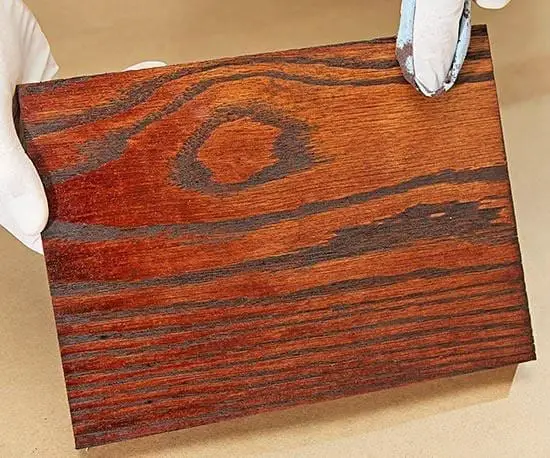
Step 1 – Pick a matching color with the help of a finisher’s color wheel and a stain palette
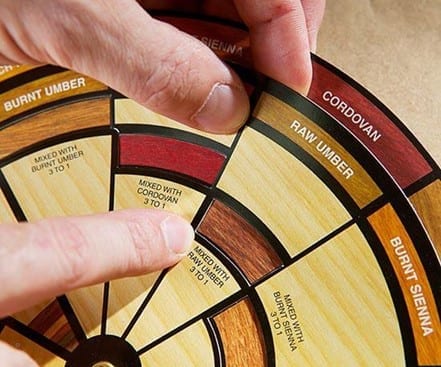
Image Credit: woodmagazine.com
A finisher’s wheel will help you understand what the final color of the stain will look like without much of a fuss. However, the windows on the finisher’s color wheel often suggest a few different blends which are closest to your target. In such cases, it’s best to go for the lighter blends.
That’s because it is much easier to darken a stain if needed then to end up with a darker shade which will be hard to lighten. Once you have come up with a suitable color blend through the finisher’s wheel, test the blends against a stain palette which is available in the store as you are picking the stains.
Step 2 – Mix and test the stains
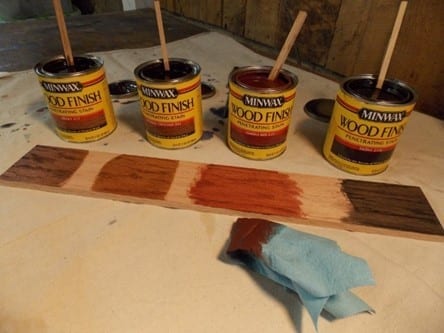
Image Credit: blog.minwax.com
You have to forget about hitting the target color right away. Instead, it’s all about mixing, testing, and adjusting the stains until you get to the perfect match. Start by adding only a single spoon of stain at a time in a 1:1 ratio.
Once you have mixed a small amount of the stains in a suitable container, stirring it well, proceed with testing it on a piece of scrap wood. For this purpose, it’s best to opt for an oral syringe or an eyedropper to make sure you only test a small and consistent amount.
Write up the exact amount of each stain which you have mixed and number the test board where you have applied the stain. This will help you adjust the colors easier but is also useful when you need to duplicate a particular batch.
Step 3 – Repeat
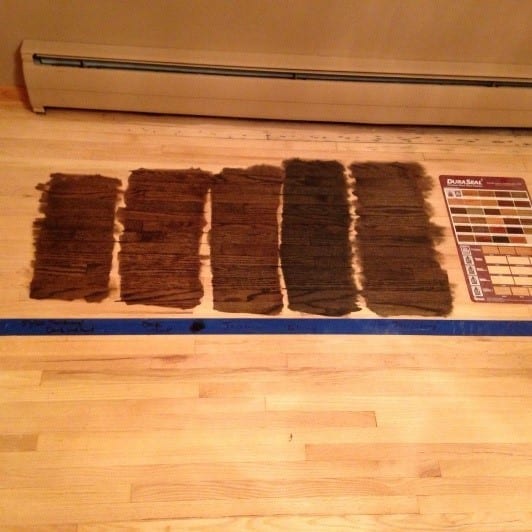
Image Credit: Pinterest
For a reference, paint-store professionals claim that it takes an average of 12-15 trials before you get a matching stain. So keep repeating the process of mixing, testing, and labeling the stains without fretting about the numerous possible trials.
Use the finisher’s color wheel by placing it against the test scrap board to get an idea what the color might be lacking and how to proceed when mixing the next batch.
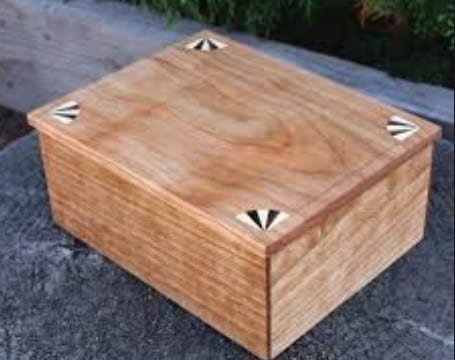
Step 4 – Apply the matching stain and seal it with a topcoat
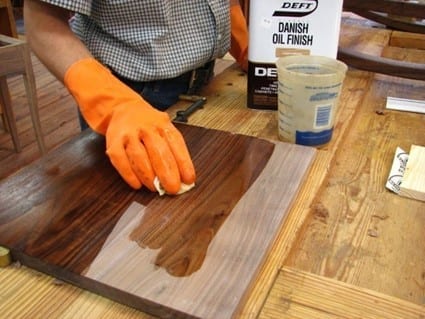
Image Credit: yukonstruct.com
Finally, once you get a matching stain you can proceed with applying it. If you want to darken the color of the stain, you may need to apply 2 coats instead of a single one.
When choosing a topcoat such as oil-based polyurethane or water-based polyurethane, keep in mind that it will also alter the final color of the stain. Thus, it’s best to test the way the topcoat affects the final results on your scarp board before sealing the stain at the very end.
Matching wood stain can be a delightful experience. As long as you are prepared to spend some time mixing and testing the stains until you get a wonderful match, nothing can ruin your good mood. I used to feel lost and confused during my first trials of learning how to match the wood stain.
However, I quickly figured out that this is more of an art process than a common task you can do mechanically. And what about you? Do you have valuable tips to share about matching wood stain? Join us in the comment section! Like and share this article to help us spread the positive vibes.
