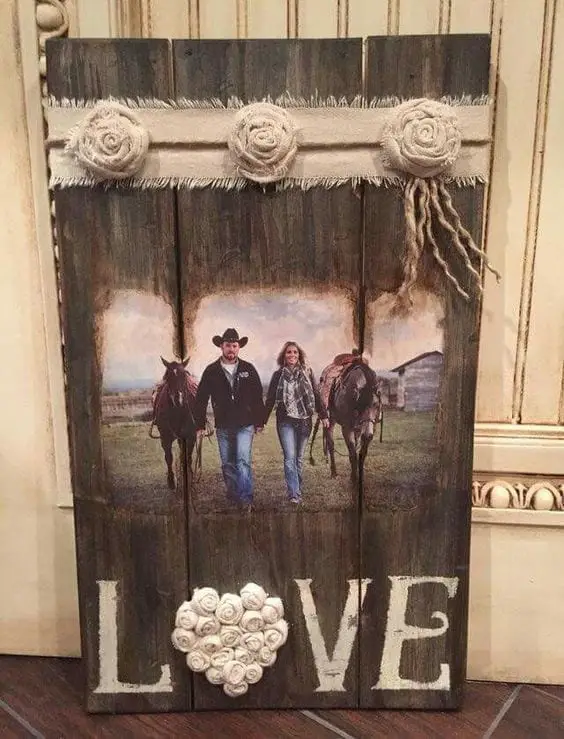
I was determined to figure out how to Modge Podge pictures to wood as soon as I first saw my best friend’s beautiful DIY family pictures project. While I have experimented with numerous ways of pictures’ decoration, no other technique can create the unique appeal of using Mod Podge.
However, I often tend to underestimate simple tasks and this is what made me end up disappointed after my first trial of working with Modge Podge on wood. Do you want to find the top 2 best working methods of applying Mod Podge for creating heart-warming pictures-and-wood designs?
Then read on!
What You Will Need To Follow This Tutorial
The How to Modge Podge Onto Wood Technique
- Fine-grit sandpaper (optional)
- Acrylic paint (optional)
- Paintbrush (optional)
- Mod Podge
- Foam brush (or a flat paintbrush)
A Quick Pro Tip
This particular technique will allow you to work with multiple photos on a multi-sided wood object. You can’t achieve the multi-sided effect with the decoupage Mod Podge technique. That’s because the picture you have transferred on the wood by the decoupage technique can easily melt down while you are working on the other sides of the wood.
The Decoupage Mod Podge Technique
- Fine-grit sandpaper (optional)
- Acrylic paint (optional)
- Laser printer and regular printer paper
- Mod Podge
- Rag
- Water
A Quick Pro Tip
Use a credit card to make the picture bond to the wood in order to be bubble-free and transferred perfectly. You can also opt for a boning tool but a credit/debit card will work great without having to spend a dime.
If you want to avoid any wood grain showing through you should go for a Mod Podge Photo Transfer Medium. If you want to accentuate on the looks of the wood grain showing through the picture you should go for regular Mod Podge in matte.
Step by Step Instructions for Modge Podging Pictures to Wood
Modge Podge Onto Wood
Step 1 – Prep the surface of the wood and apply the first coat of Modge Podge
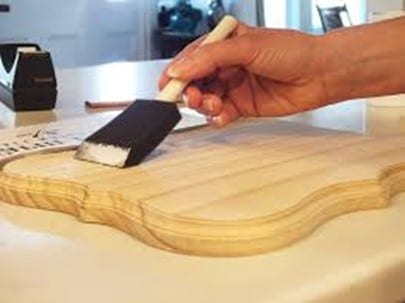
Image Credit: ctpropertiessouthcoast.com
Make sure the wood surface is clean of dirt and dust. Clean it well with a damp rag and let it dry. Sand the surface if you notice rough patches or certain spots which need to be smoothened. If you want to bring color to your DIY project, this is the time to paint the side edges with acrylic paint. Proceed with applying a thick coat of Modge Podge with a foam brush.
Step 2 – Place the picture and proceed with applying the next coats
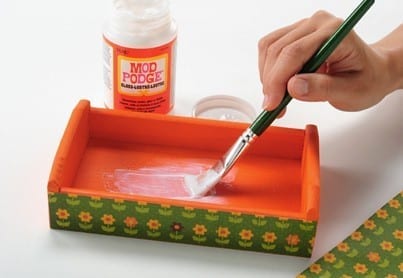
Image Credit: modpodgerocksblog.com
Position the picture on the generous coat of Modge Podge. Press it firmly and remove any bubbles with your fingers, working your way from the center to the outer corners.
Next, apply a thin and elegant coat of Modge Podge on the picture making straight, horizontal strokes. Let the 2nd coat dry for 30 minutes and apply a 3rd coat with vertical strokes. Let your piece dry and cure completely according to the instructions on the label.
Decoupage a Picture on Wood with Mod Podge
Step 1 – Apply a thick coat of Mod Podge on the laser printed picture
After smoothening and cleaning the wood surface (if needed), as well as painting the edges (if desired), apply a generous layer of Mod Podge on the front of the picture with a foam brush.
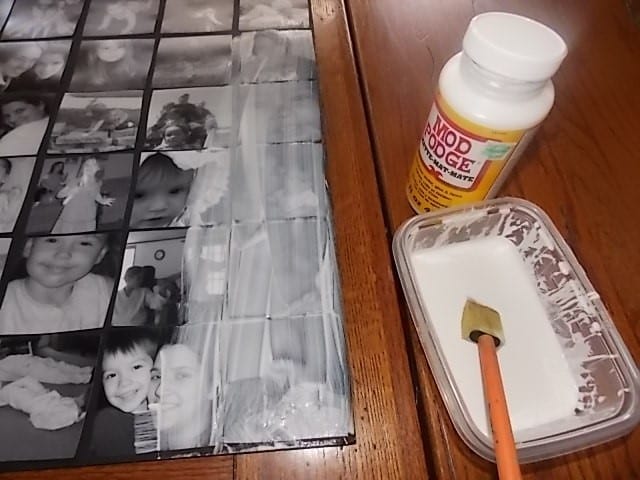
Image Credit: plainandnotsoplain.com
Press it firmly to the wood and go over the back of the picture with a credit card to remove any bubbles. Work from the center to the outer corners. Use a damp rag to clean any excess Mod Podge leaks. Do not rub; just gently wipe the leaks off.
Step 2 – Let the picture dry out for 24h and rub off with a damp cloth
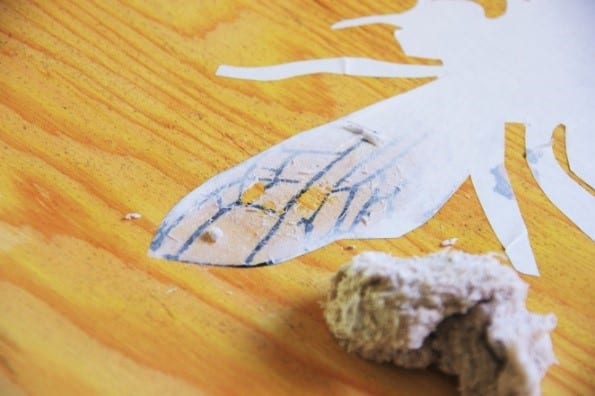
Image Credit: blacksprucehound.com
After 24 hours, you can finally see the picture transferred on the wood. All you have to do is rub the surface with a damp cloth (it takes about 5 minutes). Once done, let it dry completely to proceed with 3 coats of regular Modge Podge. Don’t forget to let each coat dry for 30 minutes before applying another and make sure you apply Modge Podge to the outward edges, too.
It’s such a bliss to work with Modge Podge to create wonderful combinations of pictures and wood! Do you agree? We hope this article was useful and we managed to help you learn how to modge podge pictures to the wood with joy and confidence.
Would you like to see more articles like this one? Show us some support! We’d be happy to hear from you in the comment section below, too. We believe that those who care share. And what about you?
