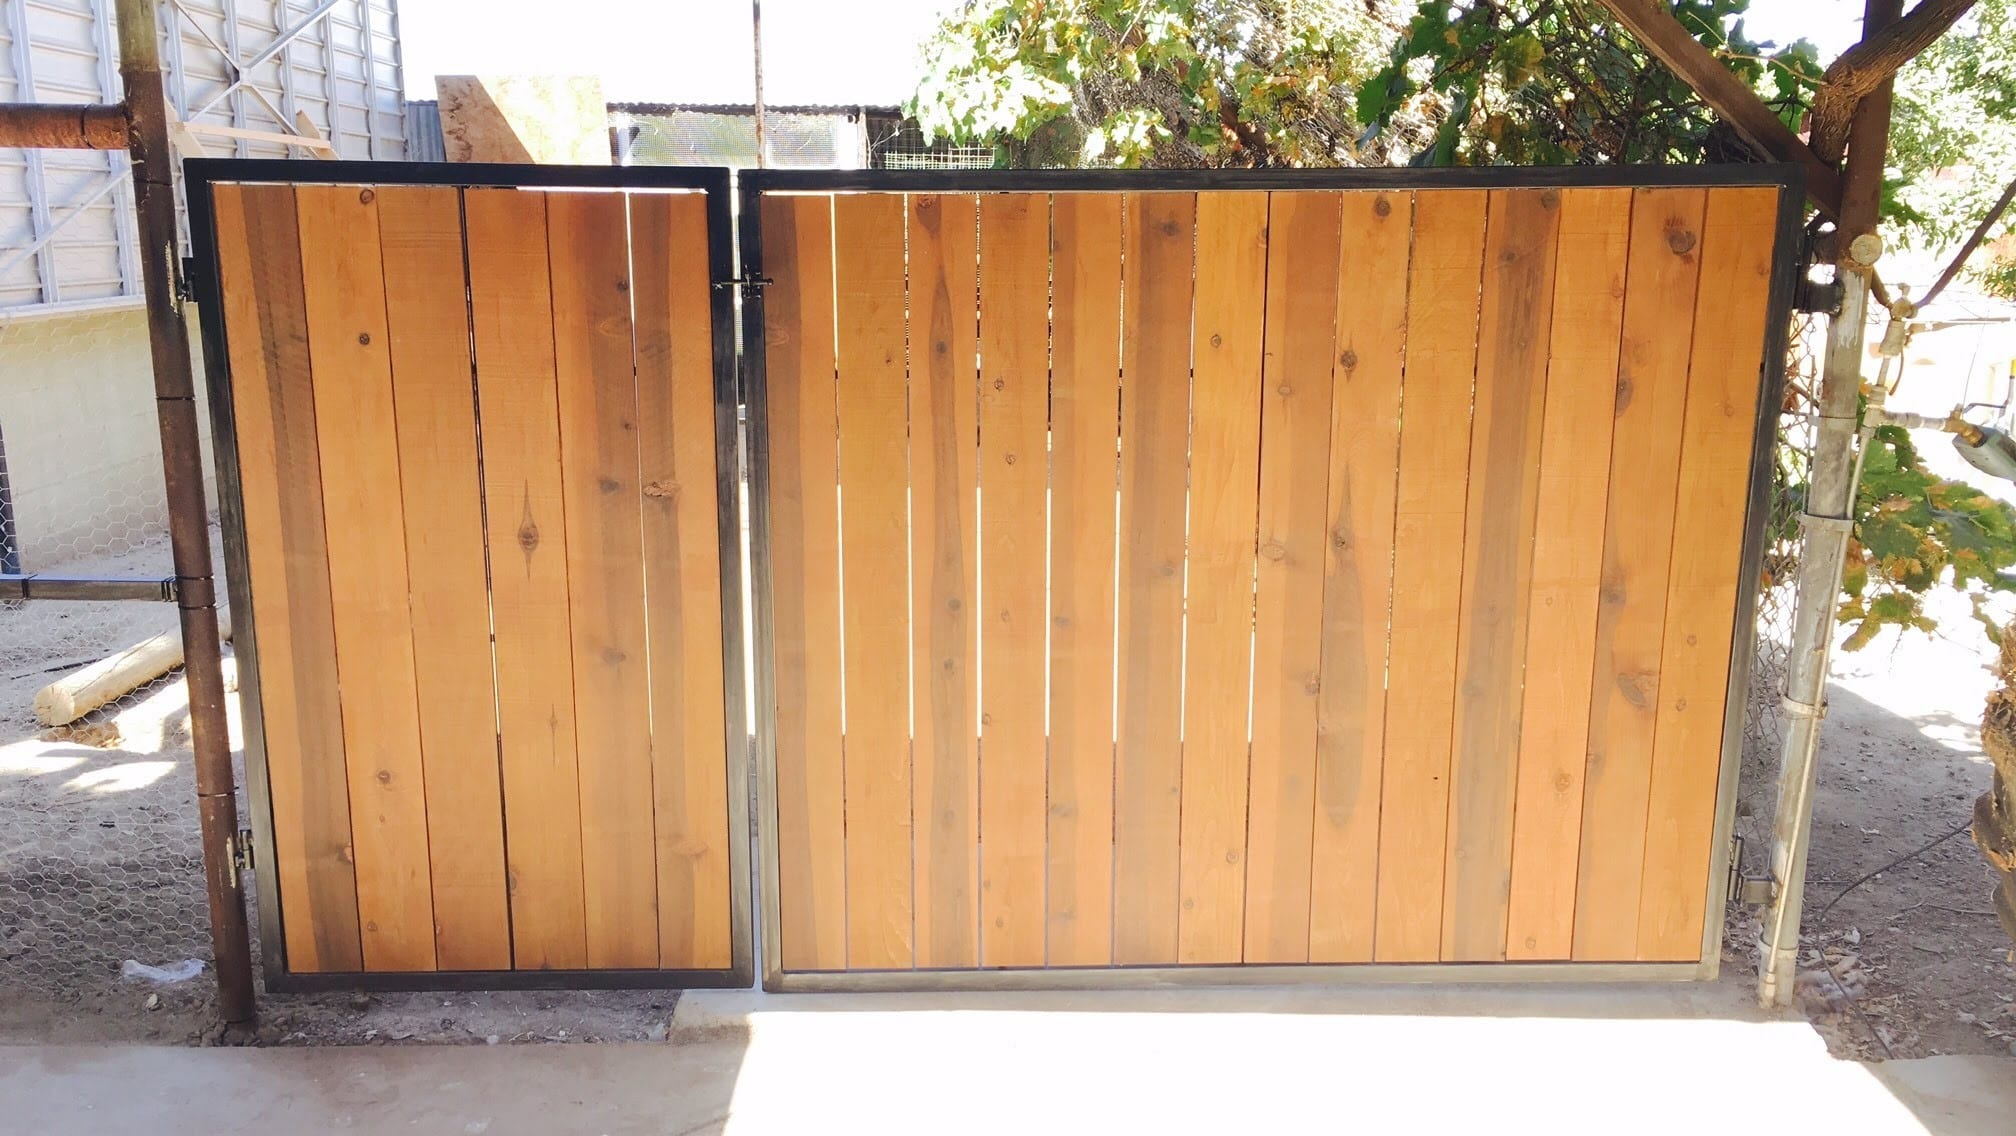
Lacquer is used to protect wooden furniture and hardwood floors. Aside from providing a lovely shine, it protects the wood from water damage, wood rot and from pests infiltrating the grain of the wood. Lacquer may be applied as a single coat or a number of coats depending on the wood finisher. But if you need to refinish your floor or you want to totally sand it to level or remove imperfections, you must remove lacquer from wood completely. This guide can help you remove lacquer from wood.
Lacquer removal from wood
Getting lacquer off wood is possibly one of the first steps in refurbishing and refinishing wooden furniture and floors. You need to learn the various ways it can be done as well as the right tools to use to be able to remove lacquer easily without affecting the natural appearance of wood.
Things you’ll need
- Safety gear (gloves, mask, and goggles)
- 150-grit sandpaper
- 220-grit sandpaper
- Steel wool #0000
- Drop Cloths
- Clean cloth
- Water-based solvents
- Mineral spirits
- Tarp
Instructions
1) Preparing the area you’ll be working on

Source: https://www.glassonequincy.com/residential/replacement-windows/woman-opening-windows/
Create good ventilation by opening windows and doors and by using a fan to create cross-ventilation. Place one fan so it’s blowing into the room and another one so that it is blowing out a window. This facilitates the removal of toxic air inside the room.
Cover furniture and other areas to protect these from dust, residue or stains. Spread a drop cloth on the wooden floor to protect it if you are removing lacquer from furniture or walls. If you are removing lacquer from furniture, remove any hardware like knobs and hinges. Place these in a safe place. Place in separate plastic baggies and label these so it won’t be hard to reinstall these on the piece of furniture when you are done.
2) Sanding the lacquer
Source: https://www.diynetwork.com/how-to/skills-and-know-how/painting/sanding-andpreparing-wood-before-staining
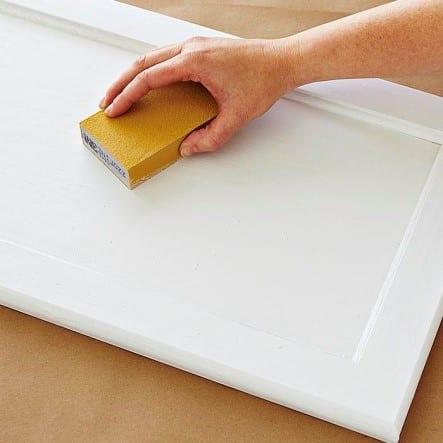
Use 150-grit sandpaper or sanding block. Work toward the grain of the wood and never against it. You must also make sure that you sand even the nooks and crannies of the furniture or flooring.
Move to a 220-grit sandpaper after you are satisfied with working with a 150-grit paper. Go over the whole piece or floor using this sandpaper. Stop when you have removed most of the varnish. The nooks and crannies of furniture will be more difficult so you need to pay special attention. It would be better to use a sanding block or sandpaper to reach these areas.
Remove any dust by wiping. Afterwards, use a damp tack cloth to go over the area. This step is crucial because you don’t want to leave dust or residue on the surface of the piece.
3) Removing varnish with solvents
Source: https://www.diynetwork.com/how-to/skills-and-know-how/painting/how-to-remove-paint-with-chemical-strippers
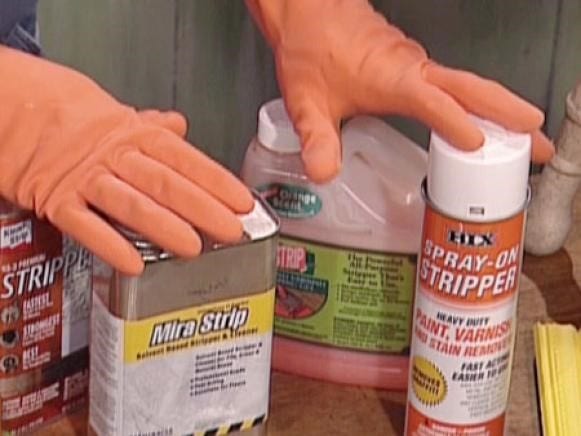
Use only water-based solvent or traditional paint-stripping solvent. If you don’t like stripper fumes you can use a water-based product like Safest Stripper or Citristrip. These are strippers that are gentle to use although won’t work as fast as strong solvents.
On the other hand, traditional brushable solvents or paint strippers would be enough. Use a coarse sandpaper to sand the area down. This will let the solvent penetrate better. Make sure to scrub the entire area before applying a stripper.
After a thorough sanding, apply the solvent all over. This will remove varnish on the whole area. You must paint this thickly in the whole area. This will help remove the varnish even on the nooks and crannies of the furniture or flooring. Let the paint stripper work on the area for as long as 2 hours.
Check the product information or manufacturer’s instructions on how to use the paint stripping product. You may use a tarp to cover the area if you need to leave. This is will prevent any dust or debris that can affect the stripping. The tarp also helps the solvent stays wet.
4) Use steel wool to completely remove all residue
Source: http://www.steelwool.biz/Steel_Wool_Stuff_to_know1.htmc
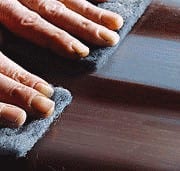
Rub the area with steel wool to completely remove the varnish. The best tool is a fine steel wool (#0000) because this will scrub the area down. Move in the direction of grain instead of against it.
But if you are dealing with thick varnish or layers of varnish then use a metal scraper or brush instead. Clean up the area using fine sandpaper. Use 150-grit sandpaper to take off any bits of varnish. You can also smooth out any rough areas. Wipe this with a wet rag to completely remove any residue.
Conclusion
Removing lacquer from wood involves important steps. You must never skip any step from preparing the wood to be stripped to the actual re-application of wood finish. The lacquer finish is important because it protects wood from water damage and decay so it must never be overlooked.
