Are you sick of the sad, outdated looks of a particular table in your house?
Do you want to learn how to restain a wood table and bring new life to it?
Maybe you wish to avoid spending too much time or money on refinishing an old table?
But still, you want to save your favorite table from oblivion (or even worse, throwing it in the trash).
Cheers up and get prepared for the fun part! Restaining is easy and it will not burn a hole in your pocket. You also don’t need to sacrifice a whole weekend for the purpose of refinishing a wood table. Instead, you simply need to go through the tutorial we are listing below.
What You Will Need To Follow This Tutorial
- Tack cloth
- Cleaning spray and a clean cloth
- Stain
- Paintbrush
- Coarse-grit and fine-grit sandpaper (360-grit, 120-grit, and 60-grit)
- Sanding block or electric sander
- Clear coat (polyurethane or polycrylic)
Quick Pro Tip
If sanding is not your thing, try priming and painting the table instead
Honestly, the hardest part of the restaining process is the preparation of the wood surface which includes sanding. I used to hate sanding all the way to my bones. That’s not because of the extra efforts (my electric sander does all the tough work for me!) but it’s because of all the dust.
So, if by any chance you don’t feel the least comfortable when sanding (or if you feel in a good mood for some colorful experiments), you can simply prime and paint the wood table instead of restaining it.
Step by Step Instructions for Restaining a Wood Table
Step 1 – Prep the wood surface and strip the old finish
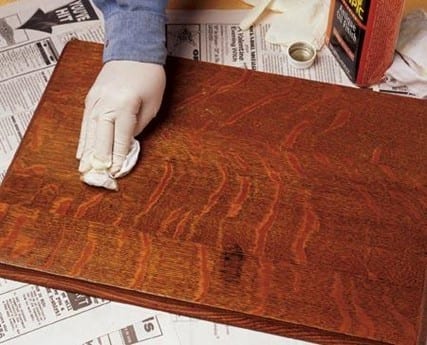
Image Courtesy of woodmagazine.com
What many newbies tend to neglect is the importance of cleaning and prepping the wood surface extremely carefully. However, if you fail to remove all the existing traces of dirt, grease, grime, and dust (which are often invisible to the eye!), the process of restaining a wood table will end up quite messy.
Start by cleaning the wood surface thoroughly and precisely. Using an all-purpose cleaner should do just fine.
Now, it’s time to get rid of any old finishes. This is when sanding steps in. Start with the 60-grit sandpaper. Once you have gone through the entire surface of the wood table, use a tack cloth to remove any dust and proceed with sanding once more.
This time, use the 120-grit sandpaper. Don’t forget to wipe off the dust with a tack cloth.
Step 2 – Stain and finish
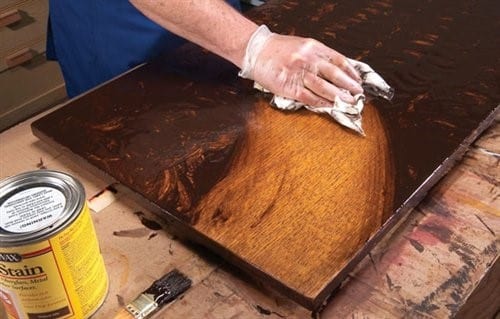
Image Credit: popularwoodworking.com
Okay, it’s time for some staining now! Many people tend to make the same nasty mistake: they try to duplicate the already existing color of the wood table. However, this is simply a waste of time.
Since you are restaining your table, it will be painfully hard (if possible at all) to duplicate the color which has been subjected to the influence of weather and age.
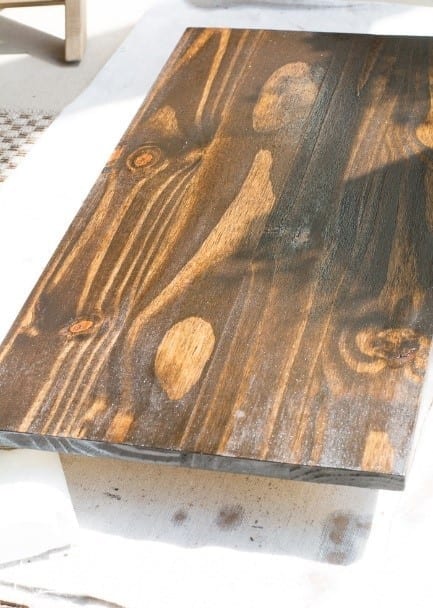
Simply choose a wood stain nuance you like and apply the first coat of stain using a paint brush. Always follow the grain of the wood and aim for long strokes. Once the first coat is applied, let it dry completely and use 360-grit sandpaper to smoothen the surface.
Apply a 2nd, and/or 3rd coat of stain until you get the desired depth of the color. Seal with polyurethane or polycrylic to protect the wood surface and to add an extra pinch of brightness.
Did we manage to inspire you to get down to work? Are you feeling more confident about how to restain a wood table? Will you finally give that it-could-be-really-great wood table a chance? If you answered YES, then our mission for creating this tutorial has been successful!
There’s only one more step we need to take. Help us spread the passion for all things DIY woodworking related by liking, sharing, and/or commenting on this article. We believe that we can make this world a better place together.


