Splitting wood properly and wisely is crucial. Yes, you do want to know how to split wood. What’s more, you want to learn how to do this faster, easier, and more efficiently. But why should you bother that much when it comes to splitting wood?
In a nutshell, well-split wood is a game changer; it provides a clear and consistent burn, and it’s ready to use whenever you need it. However, many beginner woodworkers (but, in fact, not only!) often stumble across difficulties, trapped in the battle with stubborn pieces of wood, waiting to be neatly cut and split. You get tired fast, you may end up with pain in the lower back, and the entire process can get pretty time-consuming.
The good news is that we’re here to help you out. In order to split wood like a pro, you don’t need to sweat off like crazy. Instead, you want to learn and apply some smart tricks and hacks. And we have listed all of these for you in the tutorial below.
What You Will Need To Follow This Tutorial
- Axe/ splitting maul / wood splitter
- Wedge (optional)
- Safety equipment (suitable shoes, glasses, and gloves)
Pro Tips
1 – Choose an axe which weighs less than 6 pounds
Personally, I think a splitting maul is a superior choice for splitting wood. However, an axe is a cult-classic, and it can work perfectly well, too. For best results, choose an axe which weighs 3 and up to 6 pounds. Opting for this particular weight range will decrease the pressure while swinging to split the wood, and it will save tons of your vital energy.
2 – Know the specifics of different types of wood
It’s best to work in a clever way than focus on hitting, smashing, and cursing the hard-to-split wood you are dealing with. Thus, it’s important to acknowledge the specifics of the type of wood you are about to split. For example, pine wood is easier to split once it’s well-dried. On the contrary, oak is more effortless to split when it’s still green.
3 – Split logs straight in the forest, whenever possible
If you are lucky to cut the trees by yourself, then splitting the logs while you are still in the forest is the best option. First off, this choice makes up for a quiet backyard but that’s only the bonus point. More importantly, you won’t have to deal with extra cleanup of the backyard, and you will also reduce handling the wood as much as possible (which is a HUGE plus).
Step by Step Instructions for Splitting Wood
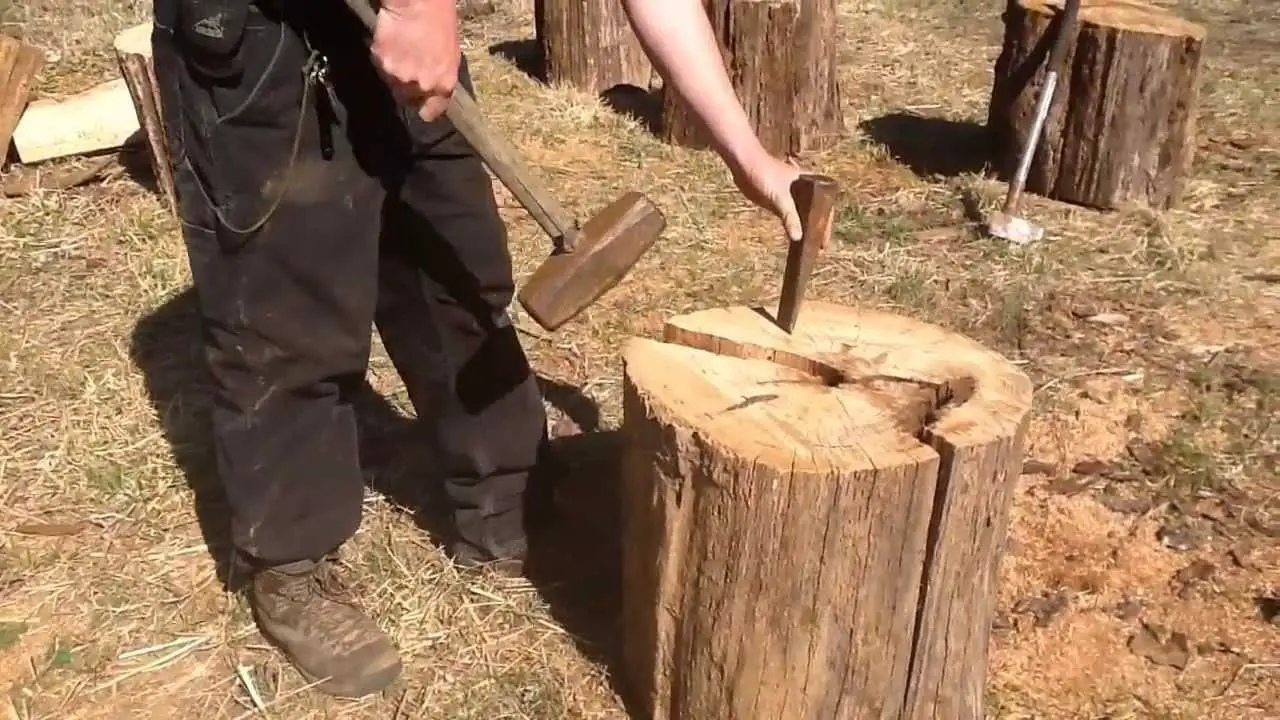
Step 1 – Master the perfect swinging technique
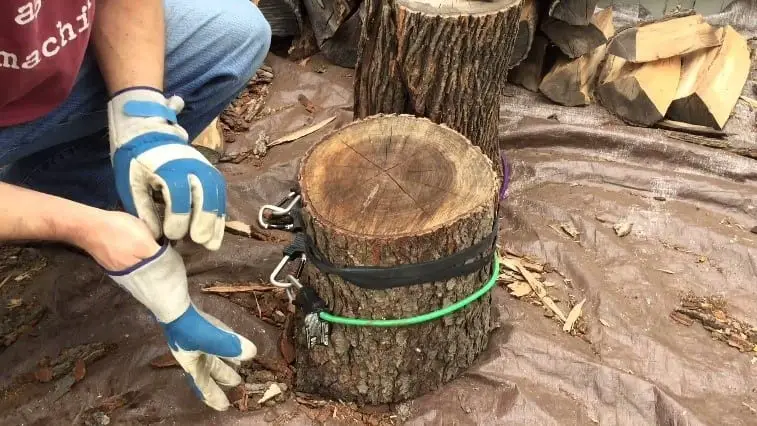
Image Credit: howtosurvivestuff.com
Woodcutting is the hardest part. It takes much more time and energy than splitting. However, splitting wood often seems more daunting simply because it follows up the cutting process, so you are already pretty much exhausted. Thus, before getting down to splitting wood, taking a break is a big must!
If you do have access to a wood splitter, then splitting wood is quite straightforward. At any time, do not underestimate the process, and work safely.
If you are about to split wood using an axe or a splitting maul, then you want to focus on the swing. It is through a perfect swing that you will be able to minimize pressure on the body while utilizing the entire power of your stroke.
Step 2 – Think twice, act wisely
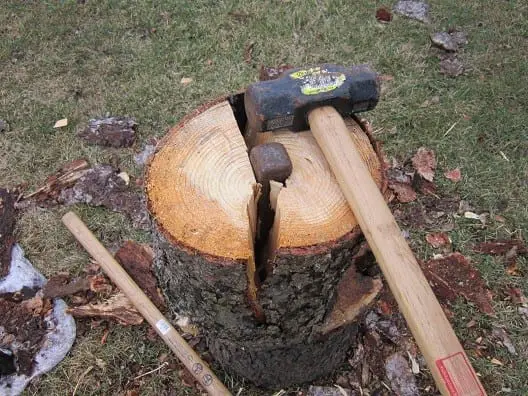
Image Credit: merchantandmakers.com
Instead of starting to hammer the wood with the axe or maul straight away, focus on finding the weak spots of the wood. Some pieces of wood are simply not worth wasting too much energy just to have your tools stuck in the tricky knots. If you notice the piece of wood is among the stubborn ones, use a wedge to split it easily after just a few hits with the maul/axe.
Do you feel ready for splitting wood more efficiently after reading this tutorial? Did you find useful tips and tricks which will help you out after reading these lines? If so, you just made our day!
Following the mission of easily accessible and digestible how-to guides for all thing woodworking related, we appreciate your time and support.
By giving this article your thumbs up and shares, you can help us, too. We want to keep spreading the positive vibes and be of assistance for our fellows DIYers out there. You can also add your comments in the comment section below at any time.
