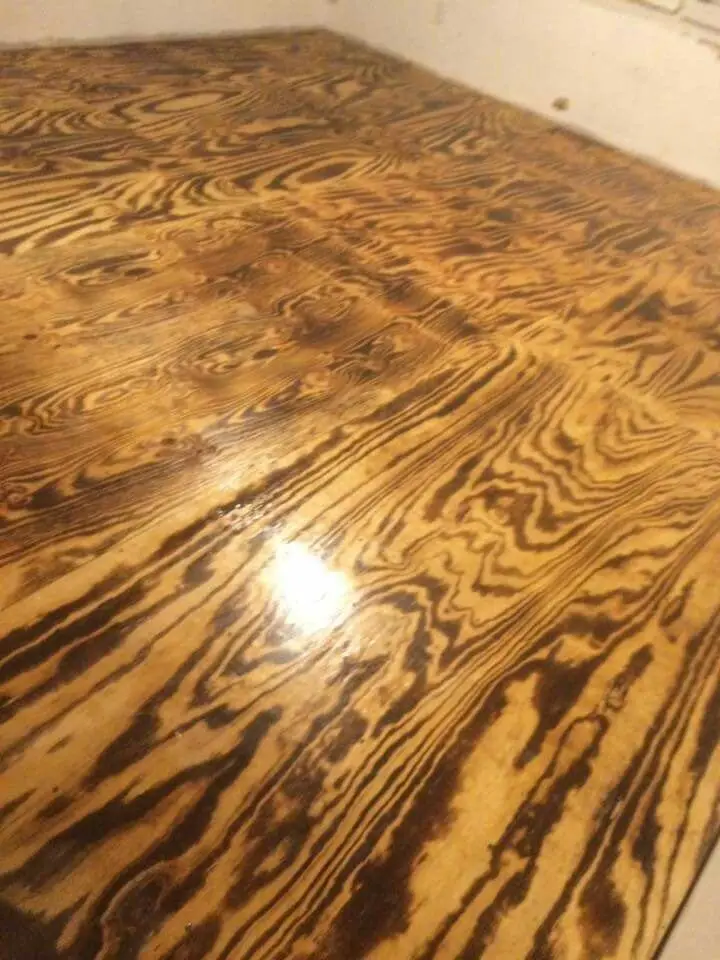
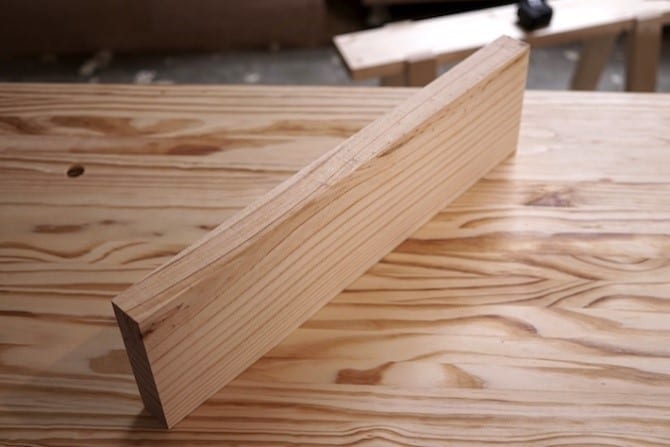
By the fact that you are reading these lines, I can bet that you want to learn how to stabilize wood. And it’s also important to mention that you are in the right place! On the one hand, stabilizing wood is not a difficult task.
However, it does involve a certain set of rules and steps you need to follow for best results.
My personal experience with stabilizing wood taught me that even beginner woodworkers can accomplish the process successfully without much of a fuss.
So if anybody is trying to make you think that it would be better to leave the process of wood stabilizing to the professionals, don’t be too shy to prove them wrong!
Ultimately, who doesn’t love to learn a new skill while also saving money? If you are already in the mood for the practical how do we have for you, let’s get started?
What You Will Need To Follow This Tutorial
- Stabilizing resin
- Color dye (optional)
- Aluminum foil
- Air compressor
- Oven (mind that the oven must be able to reach 200 degrees Fahrenheit)
- Air compressor
- Vacuum chamber
- Safety equipment (glasses, mask, gloves)
- Moisture meter (optional)
Pro Tips
1 – You can make your very own vacuum stabilization chamber
Being the restless DIYers that we are, we know that there is always a way to put your creativity to the next level. With this in mind, you can also make a vacuum stabilization chamber by yourself instead of opting for one available for sale.
2 – Take advantage of a DIY method for drying wood blanks
In many cases, the wood you are trying to stabilize may not have been dried to the desired rate. Instead of having to wait for weeks to season the wood, you can simply toss the blanks in a food dehydrator for 2-3 days. Nevertheless, you can also dry the blanks straight in the oven by placing them inside at 215 degrees Fahrenheit for 24 hours.
Step by Step Instructions for Stabilizing Wood
Step 1 – Prepare the pieces of wood you want to stabilize and place them in the vacuum chamber
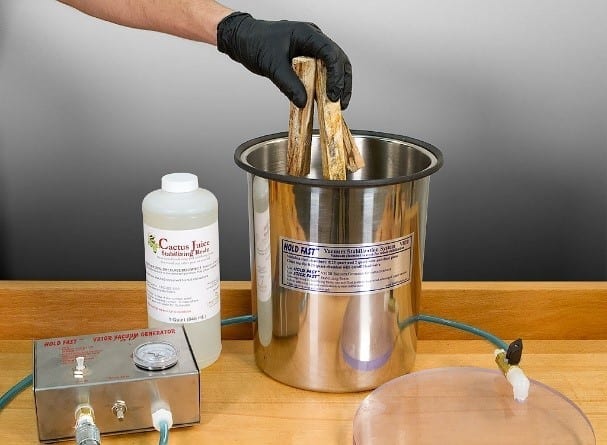
Image Credit: blog.woodturnerscatalog.com
Before you get started, you must make sure that the wood you are about to stabilize is dry enough.
Use a moisture meter. Check out if the moisture content is less or equal to 10%, and proceed with stabilizing. If the moisture content is above 10%, you will have to dry the wood properly.
Now, it’s time to place the wood for stabilizing in the vacuum chamber. Use the anti-float plate to prevent the pieces of wood from floating during the process.
Next, pour the resin, making sure to cover the wood blanks about an inch. Any resin which is left behind after the stabilizing process can be reused. After pouring the resin, you add color dye if you intend to color the wood.
Seal the chamber following the manufacturer’s instructions. As bubbles slow or stop, you are almost done.
Step 2 – Cure the wood properly using Aluminum foil
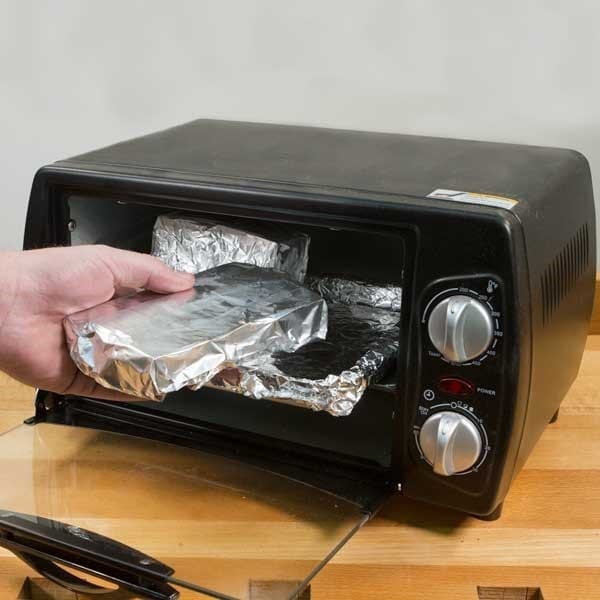
Image Credit: blog.woodturnerscatalog.com
Once the bubbles have stopped forming or slowed down significantly, you need to leave the wood for 1-2 hours in the resin before you proceed with curing.
After you open the lid, successfully stabilized wood will not float. If it floats, however, this means you will need to repeat the process over again.
Don’t forget to clean the vacuum chamber as soon as you take the wood blanks out.
Finally, set the oven to 200 degrees Fahrenheit and wrap each piece of wood in Aluminum foil.
Check if the wood is cured every 10-15 minutes. The curing process is done once the resin has fully crystallized and doesn’t feel wet to the touch.
Lastly, leave the wood blanks aside for 24 and up to 48 hours by unwrapping the Aluminum foil and letting them rest on open air.
All in all, even though it may sound complicated, stabilizing wood is anything but a difficult task. Admittedly, it does require some focus, proper understanding, and a healthy dose of patience.
But simultaneously, once you learn how to stabilize wood, it feels extremely rewarding. Plus, it is also cost-effective, and interesting if you are the type of person who carries a curious mind.
Do you have any suggestions, useful tips, or any questions you’d like to add? We’d love to hear from you in the comment section below and to feel your support by liking and sharing this article.
