Do you want to stain and seal wood floors? Or maybe you are looking for the easiest way to stain and seal wood furniture? No matter if you are about to work on a wood surface which will be placed indoors or outdoors, we have compiled a smart and quick how to stain and seal wood tutorial for you.
Admittedly, my very first attempt to stain and seal my awesome DIY farmhouse coffee table was a big, big mess. Even though there’s nothing complicated with the process of staining (as well as sealing) wood, there is a handful of tips which I’d like to call game changers.
Yep, I mean those tiny but crucial little hacks which can turn even the most annoying task into a joyful experience. So, are you ready to get started? Let’s dive in straight away.
What You Will Need To Follow This Tutorial
- Paintbrush (optional)
- Rags
- Paint roller (optional)
- Clean containers (one for the stain and one for the sealer)
- Medium-grit and fine-grit sandpaper
- Sanding block or a sander
- Drop cloth (optional)
- Breathing mask (optional)
- Rubber gloves (optional)
- Shellac primer (optional)
- All-purpose cleaner and water
- Tack cloth
- Polyurethane
Pro Tips
1 – Use Nitrile gloves if you experience adverse reactions to Latex gloves
Nitrile gloves are labeled as a medical grade for some good reasons. First off, Nitrile gloves provide the highest puncture resistance. That means it’s unlikely to end up with blotchy spots on your hands, even though you did wear protective gloves. Nevertheless, a huge percent of people are faced with an increased chance of exhibiting an allergic reaction to Latex gloves.
2 – Apply a layer of Shellac primer if you’re staining an aged piece of wood
As years pass by, silicone residue can gradually build up on the surface of the wood. That type of build-up is invisible to the eye but it can remain intact even after sanding the surface carefully. Thus, if you notice any cracks, resembling tiny spots where the stain can’t adhere despite sanding the wood well, you can take advantage of a Shellac primer before staining. Spray formulas are my personal favorite choice, as they are very easy to use.
Step by Step Instructions for Staining and Sealing Wood
Step 1 – Clean and sand the surface of the wood
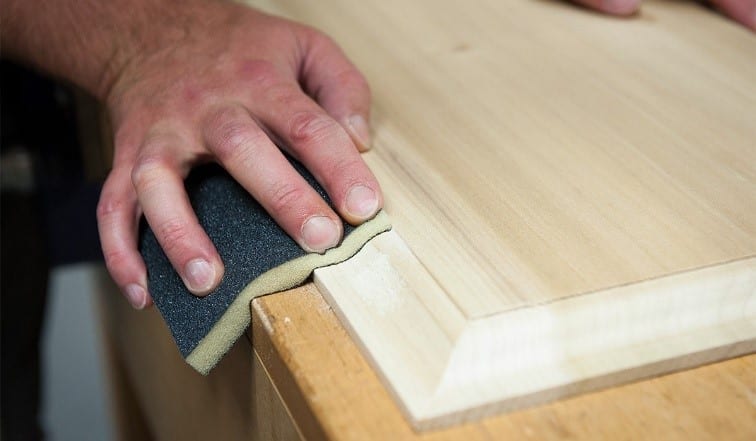
Image Credit: knowledge.axminster.co.uk
Regardless of whether you are about to stain treated or untreated wood, you will have to prep the surface carefully. If you are dealing with finished wood which has been in contact with the surrounding environment for a particular period, you want to use an all-purpose cleaner, water, and clean rags first.
The next step for both finished and rough wood is to sand off the wood precisely.
Work your way from coarse-grit through medium-grit sandpaper and finish with fine-grit sanding.
Follow the grain of the wood and remove the dust before switching the grit of the sandpaper using a tack cloth or a vacuum cleaner.
Step 2 – Stain the wood with wood stain
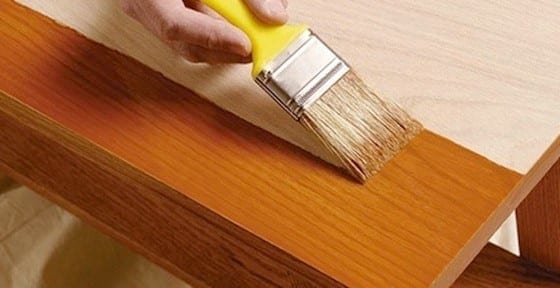
Image Credit: bobvila.com
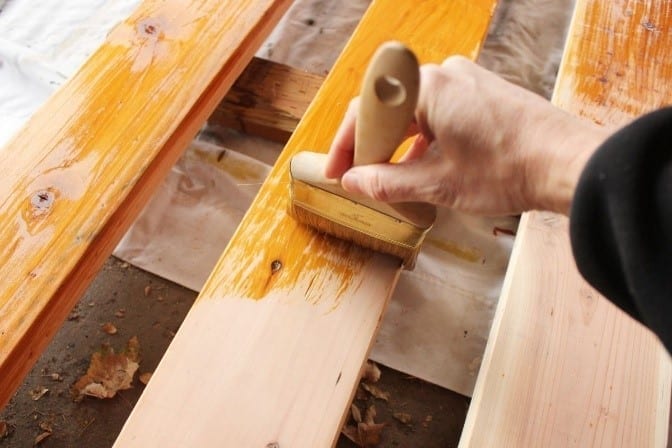
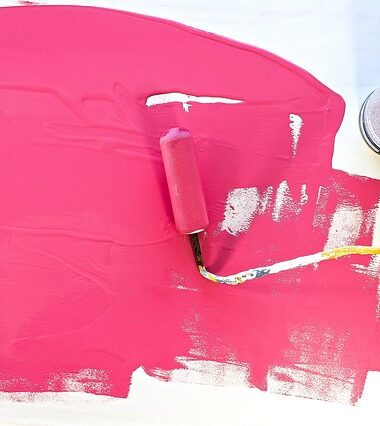
After choosing a suitable color of wood stain depending on your personal preferences, you can start applying the first coat. You can use a rag, a paintbrush, or a paint roller for this purpose.
Apply an even layer along the grain of the wood and don’t go over the same areas twice. You can repeat the staining once the first coat is already completely dry.
Step 3 – Seal the wood with polyurethane
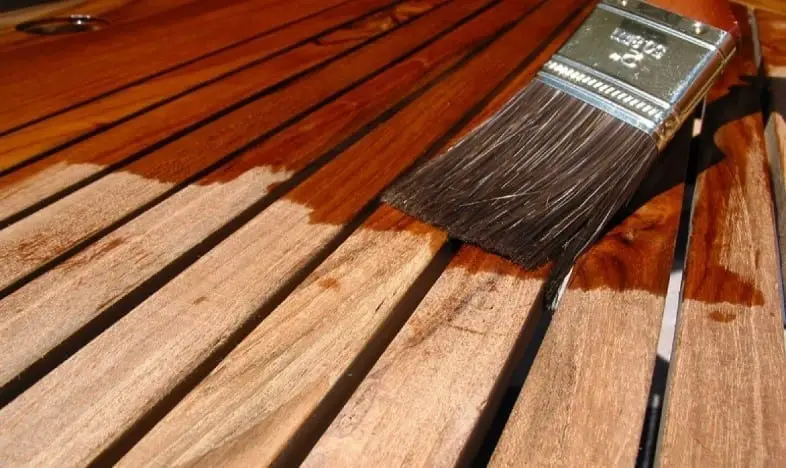
Image Credit: rexdixon.com
Polyurethane provides a smooth and durable sealing of the stain. You can choose the type of finish you prefer, such as matte, semi-gloss, or high-shine. Always seal the wood once the stain is thoroughly dry.
Use a paintbrush and make long, controlled strokes following the grain of the wood for best results. You can apply a second coat of sealer if you wish. Keep in mind that it’s beneficial to lightly sand the surface of the wood with fine-grit sandpaper between each coat of sealer.
Do you feel more confident with your skills when it comes to knowing how to stain and seal wood? Was this tutorial helpful? We truly hope that we have been of your assistance! What’s more, if you did enjoy this article as much as we enjoyed compiling it, then our mission as passionate woodworkers and DIYers is successful.
Do you want to help us out, too? Like, comment, and share this tutorial! That’s the best way to spread the love and enthusiasm for all things DIY & woodworking related made easy and accessible.
