If you’ve ever tried stenciling on wood, then I can already bet you have dealt with the annoying issue of paint bleeding beneath just to ruin your masterpiece.
On another note, if you are just about to stencil on wood without any previous experience, then we’re happy you’re taking the time to learn how to stencil on wood without bleeding.
What’s the secret of master stenciling on wood? Fortunately, it’s no secret at all! All you need to know is a handful of useful tips and tricks to prevent paint from bleeding.
Are you ready to jump in? Let’s head straight to the tutorial we have compiled for you below.
What You Will Need To Follow This Tutorial
- Acrylic paint
- 1-inch foam brush (you can use a bigger size of brush depending on the size of your DIY stencil on the wood project)
- Paint palette (or any other suitable plate for the paints you are working with)
- Stencil
- Wood board
- Round bristle brush
- Medium-grit and/or fine-grit sandpaper (optional)
Pro Tips
1 – The smoother the surface of the wood, the more successful the stenciling
Paint will stick and match wood best when you apply it over a clean, smooth, untreated wood surface. With this in mind, you want to sand the piece of wood you are working on before you apply the paint of your choice and proceed with stenciling. In the case you want to work on bare, untreated, rough wood for a more rustic touch, your wisest move is to use Mod Podge to prevent bleeding.
2 – Avoid stenciling over conditioned, painted and/or sealed wood surface
Craft paints correspond well when it comes to stenciling on wood. However, if you are planning to work on a wood surface which has already been painted over with a type of paint which is unfamiliar to you, chances are you’ll end up disappointed.
Most paints have particular pigments which are added to provide increased durability as well as moisture and environmental damage protection. But these same pigments will mess up with the stencil and prevent it from sealing well without bleeding.
The same goes for working over wood which has been primed or conditioned, and/or sealed with a protective coat. In such cases, you can use the piece of wood after you have sanded off any paint, conditioner, or sealer residue thoroughly.
Step by Step Instructions for Stenciling on Wood Without Bleeding
Step 1 – Apply the basic layer of paint for a colorful touch
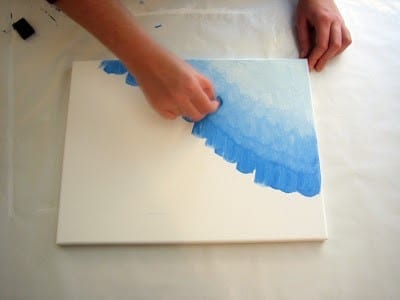
Image Credit: techniquespark.blogspot.com
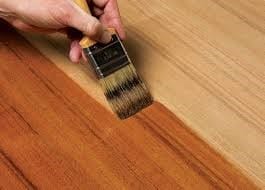
Using a foam brush, apply an even layer of the paint. Make sure the strokes are going in the same direction. Let the first layer of paint dry completely. It’s best to restrain from adding another layer of the paint over the first one. Doing so increases the chances of paint flaking off, later on, affecting negatively the stencil.
Step 2 – Place the stencil and use the round tip paint brush to block and prevent bleeding

Image Credit: viewalongtheway.com
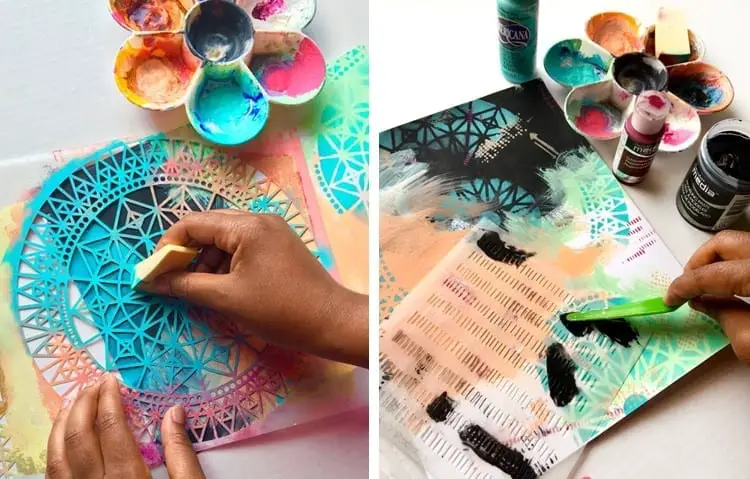
Peel the stencil and place it over the thoroughly dry piece of wood. Press firmly and use your fingers to apply extra pressure on the inner contours of the stencil. Grab your round tip paint brush and dip it in the paint you want to use over the stencil. Your aim is to create a dry brush effect.
For this purpose, you want to dip a tiny bit of paint and work it into the brush by wiping the excess amount away on the paint palette. The brush will appear as if there’s almost no paint left intact. This way, you will prevent paint from clumping and eventually bleeding.
Tap the paintbrush over the stencil. BY doing so, you will seal the stencil and block any bleeding. Lastly, let it dry for a couple of minutes and apply an even layer of the paint.
How do you feel about the no-bleeding technique we just shared above? Have you tried it before? Would you recommend it to a friend?
Ultimately, remember that there are many different ways to prevent stencil on wood from bleeding. Just choose the one which fits you best, without sparing yourself the research.
We’d love to hear more from you with any tips, insights, questions, or personal experience. Drop us a line in the comment section below at any time. By choosing to like and share this article, you will help us keep inspiring DIYers all around the world.
