How do you straighten a cupped wood? As wood gives off or absorbs moisture, it shrinks or expands on average along the growth rings like in the direction that is perpendicular to the growth rings or in the direction it is tangent to.
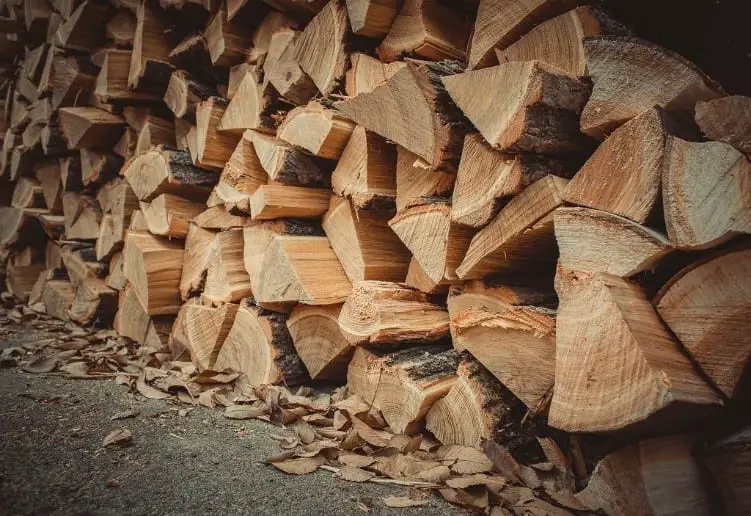
From a log, almost every disk cut eventually split because of various tangential-radial shrinkage.
From a log, almost every disk cut eventually split because of various tangential-radial shrinkage.
Lumber is usually sawn from the green logs, that is why new boards have a high moisture content. To dry most boards, kilns are usually used to about a 7 to 10% moisture content. A rough lumber is never truly straight and flat. It actually may have a cup, curl, or twist, which are all warp examples.
In this article, we will tackle how to straighten cupped wood.
What Is Cupping?
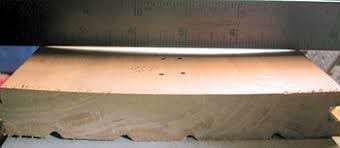
Cup or cupping is a deviation from flat and straight across the width of a board.
A curl is considered a deviation from a flat state along the board length.
A twist is a deviation from a flat diagonal along the board length.
Ideally, pieces of wood are made straight and flat before being incorporated into a piece of furniture.
The clamps force warped boards in proper alignment, however, boards will always revert to their original warped state, so this will incorporate unnecessary stress into wood furniture, leading to splits, poorly fitting doors and drawers, and failure of a glue joint.
What You Will Need to Follow This Tutorial
You will generally need the wood furniture, board or lumber for this tutorial along with the tools and materials. The machine you need to use include a two-sided planer or a four-head molder. You also need a saw and measuring tool.
Steps to Produce Straight and Flat Pieces of Wood
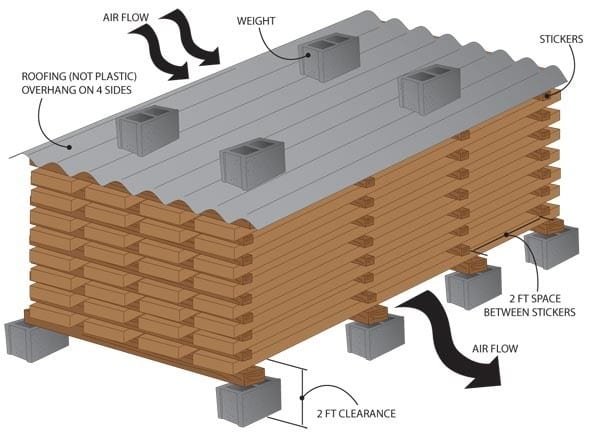
After moving, the new lumber should be stacked for allowing air movement while acclimating to the new environment. Usually, lumber is horizontally stacked with ¾ x ¾ inches stickers between boards. This may require a few weeks to a year or more.
By comparing the new board’s metered moisture content to some boards that have been on location and are already acclimatized show when that the new boards are ready to use.
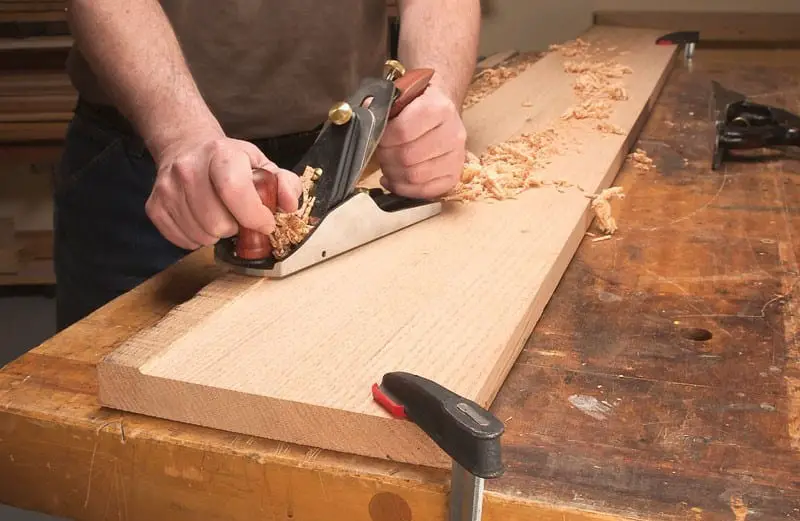
When flattening and straightening pieces of wood, you can start by cutting rough lumber into wider and longer pieces than needed. Carefully flatten just one side of each piece.
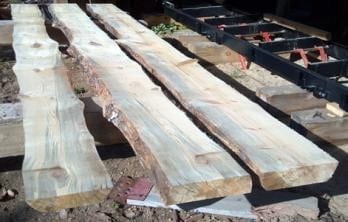
Once finished, it should straight and flat without any force or pressure being applied.
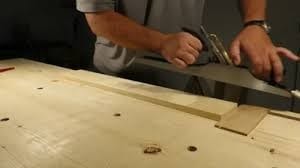
After which, you can bring the second side so it is parallel to the first. Straighten one edge, bringing the second edge that is parallel to it.
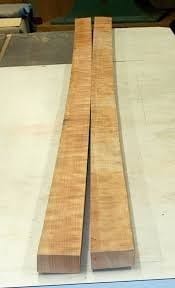
Finally, the piece of wood is now straight and flat. When it comes to a production setting, running full-length boards approximate flattening through a four-head molder or a two-sided planer. This process won’t completely remove twist and cup.
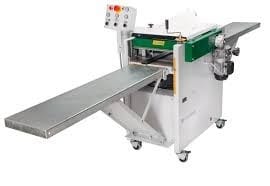
How to Straighten and Flat Cupped Wood
This is a good example to illustrate straightening and flattening of cupped wood. A cherry board (11 ft) run twice through a power planer simulates the work of a production two-sided planer or four-head molder.
On each end, two inches were cut off, and the remainder was cut into three pieces. A dark dye is applied to the wood pieces faces to highlight the next step.
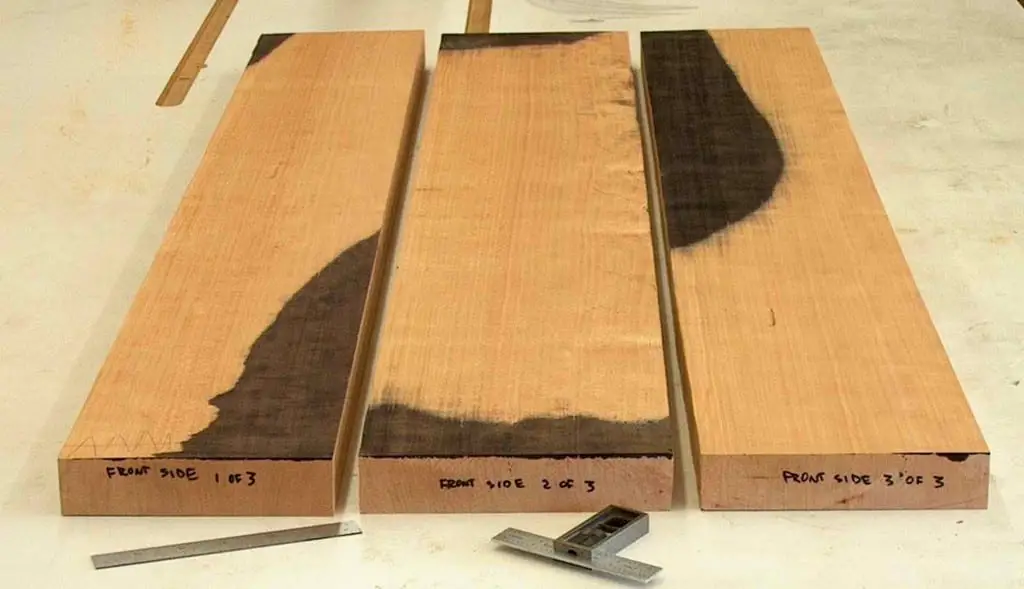
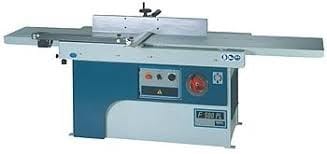
One dyed surface was passed over on a power jointer, which is the best machine for straightening and flattening. A power jointer removes wood from the lower face, from the face parts touching the jointer bed.
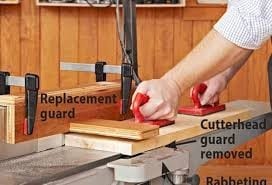
The right and left shown faces were passed over the jointer thrice, removing 1/8 inches in total, and the middle piece showed face was passed once over the jointer.
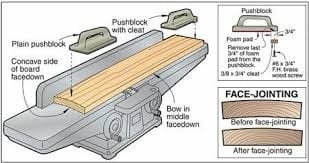
For removing all of the low spots and make the faces truly flat, the right and left pieces should be passed over the jointer thrice, removing ¼ inch in total from the highest spots.
For the middle piece, it needs to be passed over the jointer thrice, and remove 1/8 inch from its middle. The boards are sent through the power planer to make the other face parallel to the flat one. Another ¼ inch had to be removed from the highest areas of the outer boards. Also, another 1/8 inch has to be removed from the middle board ends, until the two faces are truly parallel and flat.
Conclusion
Every piece of wood comes with internal stresses and internal moisture that greatly affect its shape, as well as how straight and flat it is. A dried board that has acclimatized to the environment and in equilibrium with internal stresses may not be straight and flat, but won’t change shape.
Moving the lumber may lead to a disruption of equilibrium with the new environment leading to cupping, twisting or curling. However, there are ways to flatten and straighten cupped wood as discussed above.
Did you enjoy reading this post? If yes, share your new learning with family and friends, and you may also leave a comment below.
