Using even the most basic household tools like the utility knife, you may be able to start woodcarving easily without any fuss. I may have given you something to think about that you may be wondering and curious to know the answer to this question: Exactly, how to start wood carving using a basic utility knife?
Well, the process is not any different than using any fancy wood carving knives, perhaps only convenient and accessible. The great thing about woodcarving is, its origin is dated way back when resources are scarce, hence, it does not necessarily require any high-end equipment to work with.
Aside from that, this article also aims to answer these questions, what are the things needed before starting? What are the things to bear in mind to achieve the desired outcome efficiently by using only this basic tool? Will the output be the same? I can hear my voice with these questions, as trying something different, and yes, queer can be daunting.
Woodcarving is an exercise of creativity and inventiveness. Hence, there is no reason why we cannot be all resourceful and bold in trying different techniques and procedures. And by doing so, knowing these step by step guide can help you maximize the use of these resources and achieve optimal results.
For this, you need to have an intermediate level of knowledge about operating woodcutter, miter saw, and hand saw.
What you will need to follow this tutorial
The most basic and essential items on your list:
- A sharp utility knife
While there are many kinds of fancy knives used for woodcarving, it is possible to create a masterpiece by using only this one kitchen tool. Just make sure that your utility knife is sharp enough for an easy and smooth glide when carving.
- Wood
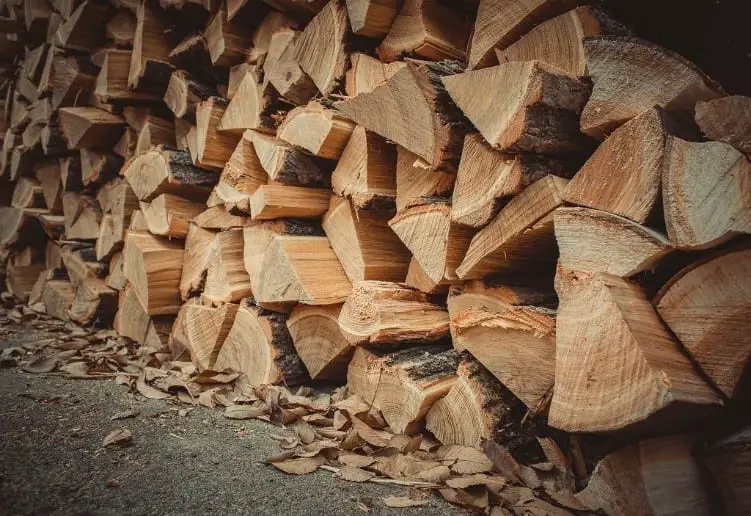
Any wood is possible to use. And anywhere around you, you can find any wood lying that can be used to carve. Before choosing, however, you may need to ask yourself these questions:
- What is the size of the wood? Will it be sufficient to fit in my whole vision?
- Can the shape of the wood accommodate my design?
- Is this wood durable enough?
But for some who wants something else, some wood especially ideal for woodcarvings such as the basswood, white pine, and butternut is also available. For an efficient performance and quality result though, we would recommend the use of Basswood, as it is easier and softer to carve with, yet at the same time sturdy and stable enough to hold your design in place.
Aside from the two essential elements, you may need the following as well:
- Pattern
I said before since woodcarving is an exercise of creativity, you have the liberty to choose any design or figure that you want to create. Whether it is a leaf, bird, house of anything at all, it is essential to the process to be able to already have the pattern ready for an efficient and continuous work.
There are books available for different design ideas and figures that you may want, but we would highly suggest making use of your larger facility, which is your creative brains for some unique and fresh ideas.
- Gloves
Some may prefer not to use this, but as a safety precaution given you are dealing with knives, it wouldn’t hurt to use one as there is absolutely nothing wrong with being cautious and safe.
- Sandpaper
To make sure that end product is smooth, sanding it will even and straighten the rough surface and remove any grits.
- Paint, Oil, or Wax
A splash of color or some shine will give your masterpiece a more sophisticated and luxurious finish.
Tips
I always find starting a new or different hobby or endeavor tough and confusing until you get the hang of it. Take advantage of these tutorials, as it will help you get through the nitty-gritty of things. When starting to carve wood using only the utility knife, you may want to use these following pro tips to get you by:
Don’t rush.
This is not something you can finish in a few minutes, nor something you can expedite doing, as you need to be very exact with every cut and shape.
Stay focused.
To avoid any miscalculations and possibly cut your fingers, you have to concentrate and put your mind in the game.
Always check your blade.
Be wary of your knife if it isn’t gliding as smoothly as it is from the start, then you may need to sharpen it again, so it will not affect the quality of your work and performance.
Use gloves when carving.
For some safety precaution especially beginners, we would suggest using a glove until you get comfortable with the strokes and using the knife. You may not like the feel of it, but you will get used to it later on.
Step By Step Instructions
How do I start? Now that you have everything you need ready, you will find these steps useful and helpful to get started and for an organized work.
Step 1: Measure, Mark and Cut the Pieces
What is interesting about woodcarving is how it molds and hones your creativity and imagination. The possibilities are limitless, as you can create anything you can see and picture in your head. The more unique and inventive your ideas are, the better.

Step 2: Trace your pattern
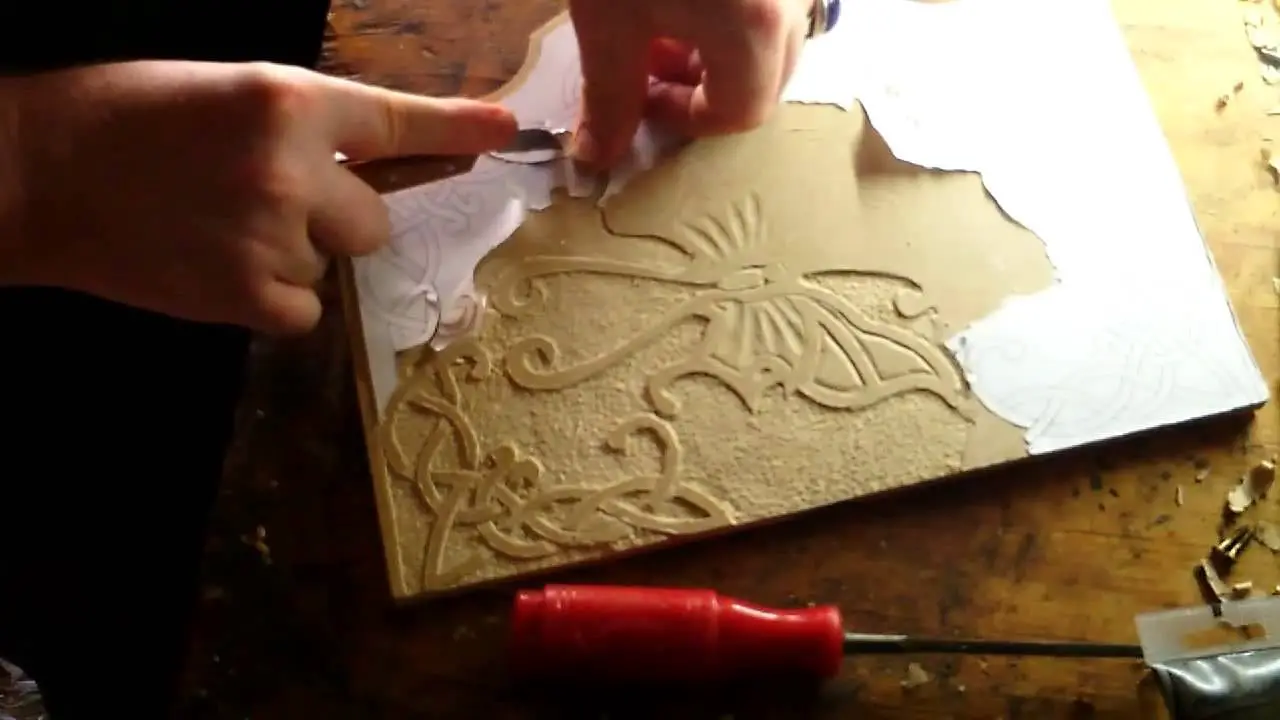
Most wood carvers, if not all make use of a pattern to transfer their vision to the wood. You can use a carbon paper, stylus or a pencil to trace. You have to be extra careful in doing so to avoid any unnecessary movements that may ruin the whole design. You may pin or use adhesive tape to keep the pattern in place.

Step 3: Carve following your pattern
Be precise, mindful and take the time to cut and shape the wood within the outline using the utility knife to achieve the desired outcome.

Step 4: Sand the surface
Once the cutting is done, clean up your piece by sanding it entirely to remove the grits on the surface and give it an even and smooth finish.

Step 5: Add additional finishing
For added depth and quality to your piece, you may want to add stain, paint or oil to complete the look. And yes, to also make it more fancy and beautiful to the eyes.

Most professional woodworkers are very particular about caring for their utility knives because these are versatile and simply a good and handy tool to have around.
Follow these tips and it’s a guarantee that you will have a sharp and reliable utility knife for all your woodworking projects and beyond,
Utility Knife Care Tips
- For stainless steel utility knives simply rinse using tap water to remove any dirt, grime or oil. After rinsing, sanitize by using ethyl alcohol and then dry off. You must do this after every project to make sure that your stainless steel knifes stay in tip-top shape for all your projects.
- For high carbon knives, you will notice a little discoloration on the blade as you use it from time to time. This is not rust but rather a patina which is a natural discoloration of the metal. This is natural so you don’t have to scrub it or oil it to remove the discoloration.
- Always clean, sanitize and completely dry your carbon knife. Aside from these, you must also give it some TLC. Apply mineral oil and not food-based oil.
- If you do not want your high carbon knife to develop a patina, polish the knife once a week using metal polish and apply oil after using on a project.
- Do not put knives in a dishwasher. It has to be washed by hand. Never keep wet knives away. These have to dry completely to prevent rust formation
- Aside from the blade of the knife the handle should also be cared for. Do not expose the handle to extreme heat and cold. Extremes in temperature can affect the strength of the handle. So make sure to avoid anything that can melt the handle.
- Sharpen a utility knife regularly and for any irregular bits along its edge, reshape it with the use of a grinder. You may also have this sharpened professionally.
- Keep your knife inside a sleeve or a box that came with it especially after it has been sharpened. Keeping a utility knife together with other metal tools can affect its sharp edge and can also expose it to dirt, grease, paint and more.
- If you prefer carrying your knife anywhere you want to go, use a sleeve and attach this around your belt. Use a knife sheath to cover and protect your utility knife.
- Do not attempt to chop, cut or pare wood with a small utility knife. This will only damage the blade and can make the edges irregular.
- Along with ensuring that utility knife is sharp, you must also make sure that it maintains a pointed tip.
- A utility knife is a personal tool, do not let anyone use your knife or borrow it.
- A utility knife usually has a number of purposes and it’s up to you to understand how these work. by learning all you can about your utility knife you will be able to utilize all its functions for any woodworking project
A utility knife is an all-around tool that has to be maintained and cared for so it would be ready for any woodworking project. It has to be sharp and strong and therefore must be sharpened professionally to maintain its good sharp edge. And whether you are new to woodworking or you are a professional, you will surely keep a utility knife in your person even if you are not working on a project. With proper maintenance techniques, you will have a good cutting, paring, chopping and peeling tool to use all the time.
Conclusion
How did you find this tutorial? As I wrap up, I can only hope you find this useful and entertaining and possibly inspire you to unleash your creativity and make more awesome and amazing pieces. Woodcarving may look complicated and intimidating, but a fun and artistic activity and experience. Doing the process strategically and systemically makes this entire course organized and productive. It is important for you to follow it to the latter to achieve your desired outcome in a timely and orderly manner.
I would like to hear your thoughts as well. You may want to share some tips perhaps to improve our outcome or some enjoyable experience when you start woodcarving using an essential utility knife where we can draw ideas from in the comments section below. We aim to inspire, thus if you like this article, hope you can take the time to help us share this to others as well.
