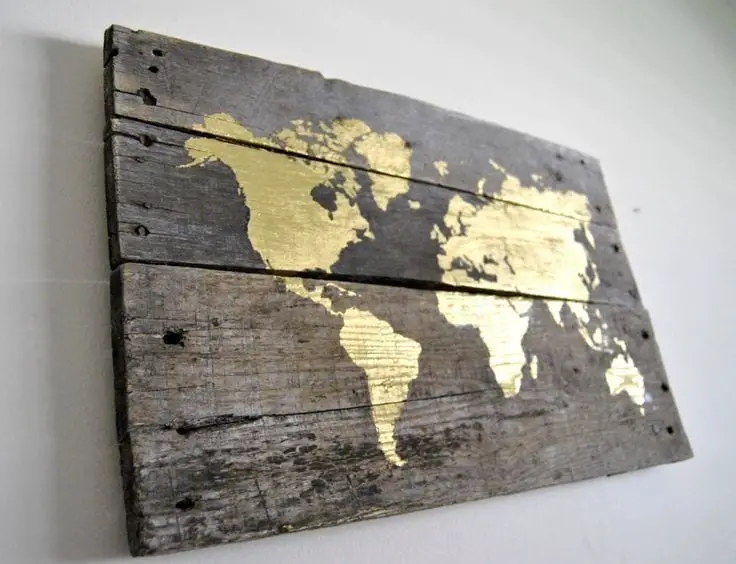
While there are so many different techniques you can apply in order to decorate wood, using gold leaf is an evergreen method which dates back to the ancient Egyptians. And indeed, the exquisiteness of the golden nuances can turn any humble DIY project into a masterpiece.
Fortunately, nowadays we can opt for synthetic gold leaf as the original gold leaf can get pretty expensive. However, the final effect remains quite the same.
Are you wondering how to apply gold leaf to wood the best way?
What are the tiny tips and tricks you need to keep in mind?
Below, you can find a short guide to learning the small secrets of using gold leaf on wood like a pro!
What You Will Need To Follow This Tutorial
- A very soft brush
- Gold leaf
- Acrylic paint
- Glue
- Gesso or sealer
- Sandpaper (fine-grade)
Quick Pro Tips
1 – When it comes to picking a suitable brush, it is best to opt for a natural bristle brush.
The softness of the bristles is incomparable to that of a synthetic brush. Thus, you can make gentler, smoother strokes and apply the gold leaf better on the wood surface. My personal favorite is a squirrel’s hairbrush.
2 – The acrylic paint you choose can come in just about any color.
However, keep in mind that shades of red, black, or yellow complement the golden nuances best. Nevertheless, you may also consider opting for silver or copper leaf.
Step By Step Guide To Applying Gold Leaf to a Wood Surface
Step 1 – Paint the wood
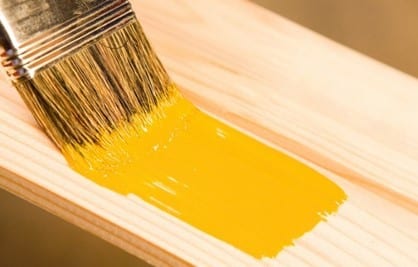
Image Credit: pro-painting.co.za
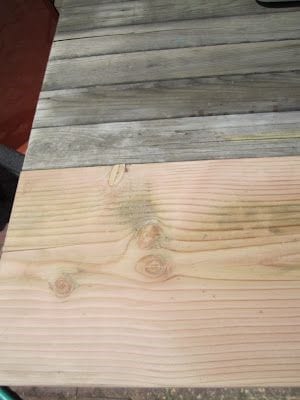
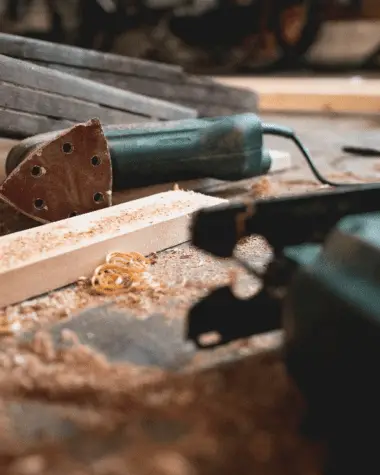
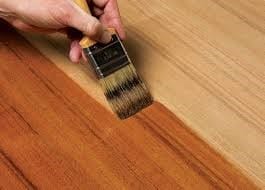
For a start, you need to make sure the surface of the wood where you are about to apply gold leaf is smooth and clean. First off, you want to sand the wood well. Next, you can proceed with utilizing gesso or varnish. Wait until the surface is completely dry and sand the wood once again.
Once you have varnished and sanded out the surface of the wood, it’s time to apply a layer of acrylic paint. If you are in the mood for experimenting, you can try out adding a few colors instead of a single one. Allow the paint to dry.
Step 2 – Let the Gluing Begin!
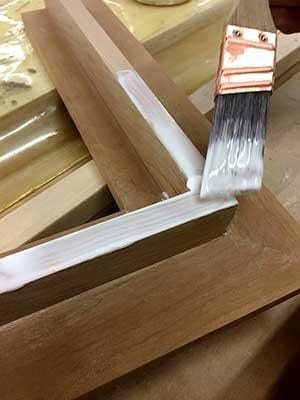
Image Credit: astreetframes.com
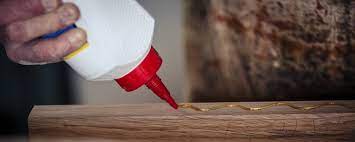
Before you proceed with applying the gold leaf to the painted wood, you need to coat the surface well with adhesive glue. For this purpose, you can opt for water based or oil based glue. The type of glue you will choose is simply a matter of personal preferences and does not affect the quality of the final result. You need to allow the glue to dry until it becomes sticky enough but not wet.
Step 3 – Place the gold leaf
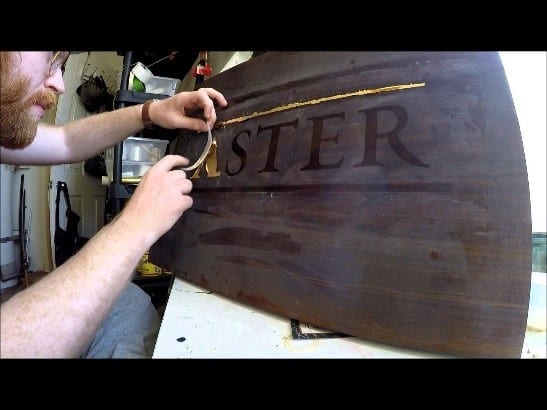
Image Credit: youtube.com
Applying the gold leaf can be tricky. That’s mostly because gold leaf is very lightweight and delicate. Even though this is a task which will require some of your attention and care, it is fairly effortless.
In the case you have difficulties transferring the gold leaf from the original package, you can dab a cotton pad in petroleum jelly. Doing so will help you lift the gold leaf and apply it to the tacky surface of the wood. Nevertheless, there is also a specific tool which is used to assist artists to transfer the gold leaf easier – a gilder’s tip brush.
Step 4 – Add the final touches
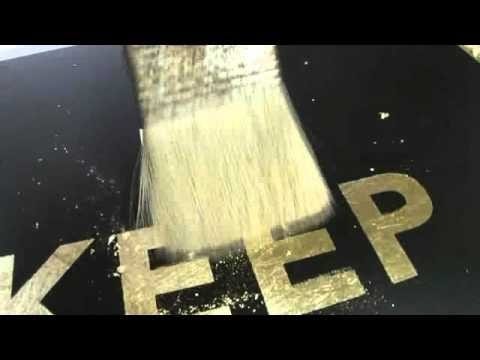
Image Credit: youtube.com
All you have to do now is to focus on filling all the gaps on the wood surface which will make the gold leaf effect truly stunning. By using a very soft brush, you can imagine you are massaging the gold leaf to the wood by brushing it (or at least this is what I like to picture when working with gold leaf!). Finally, remove any excess gold lead, and apply the sealer (optional). Good job!
To me, experimenting with gold leaf decorations on wood is a small celebration for the senses. This is one of the ways I like to relax after a long day. I believe the process of applying gold leaf to wood serves as a mini-meditation for my mind. It is easy, fun, and rewarding.
What do you think? Have you tried surprising a friend with a DIY gold leaf gift? Do you want to share some of your insights? Like, share, and join us in the comment section below!
