Once you discover the joy of crafting beautiful items for cheap with your own hands, it’s impossible not to get excited about more experiments! Plus, reusing various materials is environmental-friendly.
So what about those bottle caps left behind?
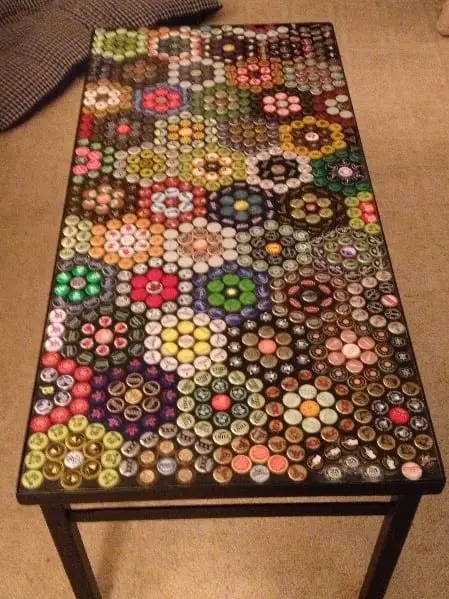
We will show you how to attach bottle caps to wood and create a piece of art from scratch. Wondering if you will need any special skills and/or complex tools to get started? The answer is NO.
Just equip yourself with a healthy dose of enthusiasm and positive vibes, and let’s get down to the fun part, shall we?
What You Will Need to Follow this Tutorial
- A Glue Gun
- Epoxy
1 – Attaching Bottle Caps to Wood With a Glue Gun
Utilizing a glue gun for attaching bottle caps to wood is one of the easiest methods you can try out.
Why? Because it’s fast and cheap. But before you get started, we will share a few Pro Tips with you.
Quick Pro Tips For Working With a Glue Gun
Tip #1 – Use Protection Gloves
As obvious as it may seem, underestimating the risks of getting burnt while working with a glue gun is a common practice. Just use protection gloves and enjoy the process with no fuss or stress involved.
Tip #2 – Shape The Design Before You Get Down To Work
Let’s say you want to create a fish out of bottle caps attached to whatever piece of wood you want to utilize for this purpose.
Before starting to work with the glue gun, take the time to arrange the bottle caps in the exact shape you wish to achieve. Afterward, it will be so much easier to stick to the design!
Bonus Tip: use a template if needed.
Tip #3 – Avoid Unpleasant Marks Left Behind
Even though an easy and pleasant method to apply, opting for a glue gun when attaching bottle caps to wood requires both patience and precision. Otherwise, you may end up disappointed by the marks left behind from the excessive glue.
For best results, take a deep breath and skip the hurry.
2 – Bottle Caps and Wood Attaching with Epoxy
The benefits of opting for Epoxy include not having to worry about eventually burning your fingers. Plus, no traces will be left behind once you finish attaching the bottle caps but only a clear, mirror-like surface.
1 – The Glue Gun + Bottle Caps Method
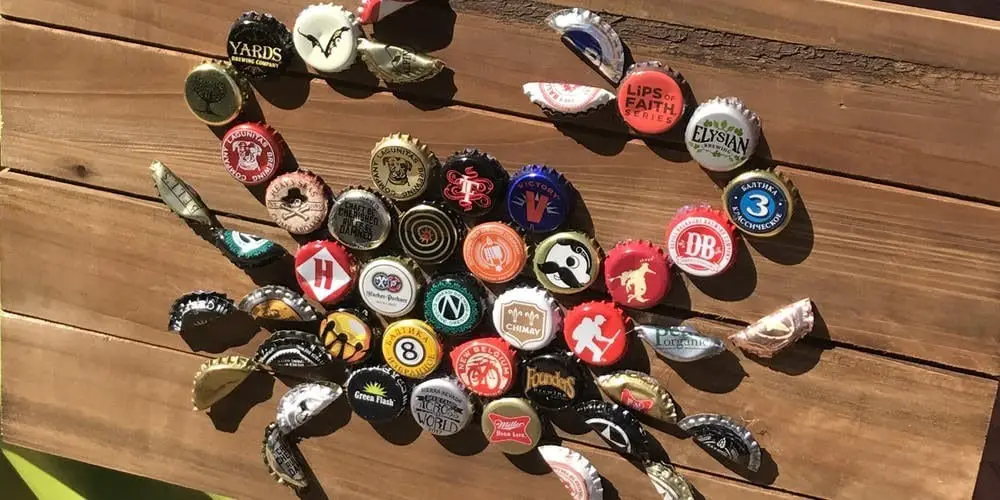
Image Credit: eventbrite.com
Single-Step-Guide
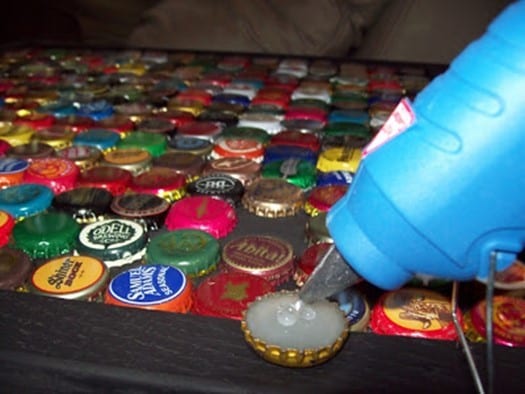
Image Credit: windfarmisrecords.blogspot.com
First, shape the design you are aiming for by placing the bottle caps on the wooden surface. Secondly, turn on the glue gun and wait until it’s ready to get down to work. Put on your protection gloves and let the party begin. Last but not least, be quick but precise.
2 – The Epoxy + Bottle Caps Method
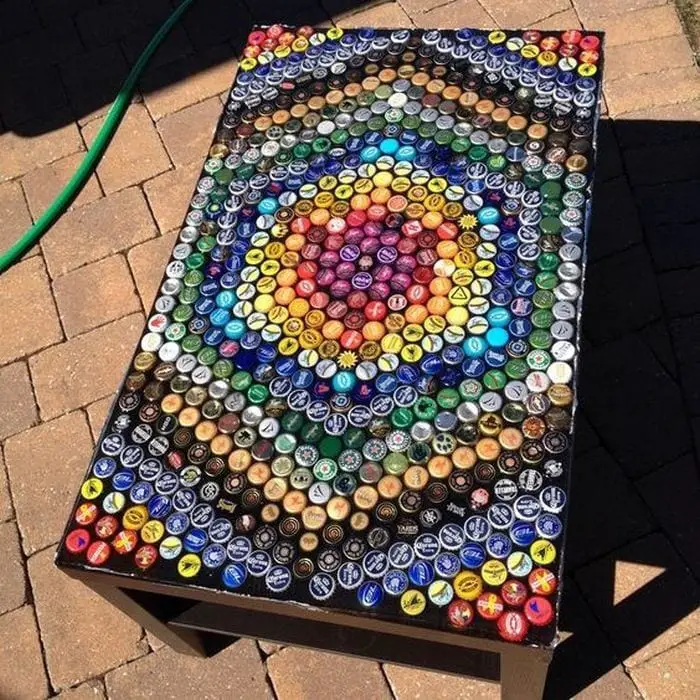
Image Credit: Pinterest
Step 1: Mix a batch of epoxy and paint and proceed with arranging the bottle caps
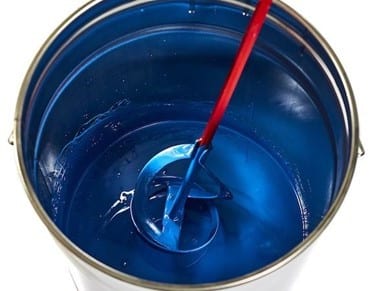
Image Credit: epoxycentral.com
You only need enough mixture as to cover the wood surface and act as a seal coat. Put a good amount of epoxy on the brush while creating the seal coat to help the bottle caps stick well.
After applying the seal coat, start placing the bottle caps immediately. Press each one gently. Leave for at least 24 hours to harden.
Once the seal coat has hardened, mix the Epoxy flood coat which will serve to create the mirror-like surface effect we mentioned above. Mix it straight before pouring it over the bottle caps. Do not mix it ahead of time at any cost.
Step 2: Even the surface
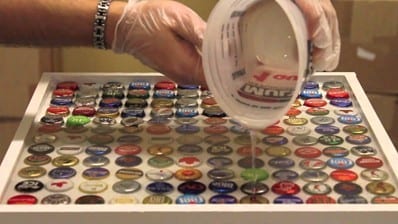
Image Credit: youtube.com
Pour the Epoxy flood coat evenly, making sure all bottle caps are well-covered. Now, pop air bubbles with a Heat Gun or Plumber Torch. You need to be ready with air bubbles popping within no more than 15 minutes.
Allow the surface to cure for 72 hours and you’re all set and done!
I can’t wait to finish my new bottle caps creation and surprise my friends. After all, DIY gifts are so much more personal than anything you can find already available in the stores. And how about you?
Did you like the article? Join us in the comment section below and don’t forget to share this piece with other DIY enthusiasts. Let’s make DIY crafting as accessible and social as possible.
