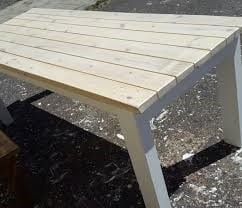
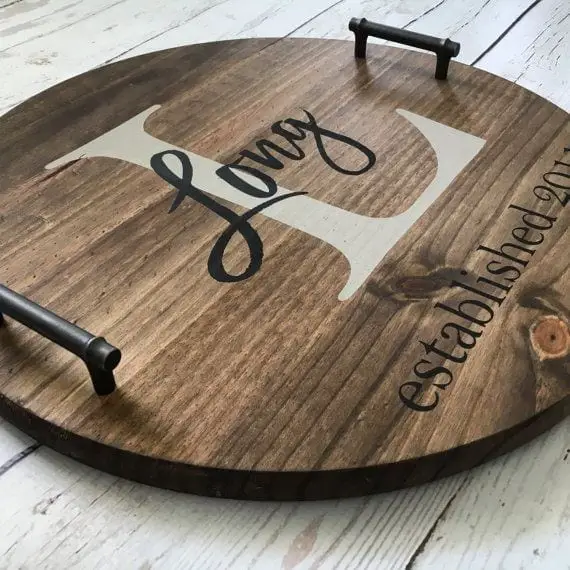
There are numerous ways to join wood. Learning how to connect a simple 2 x 4 side by side is the first step to create more intricate or complex wood pieces for various projects. If you need to join 2 x 4 wood side-by-side to make a larger piece, you don’t need to call a contractor to do it for you. You can combine wooden pieces together with the use of simple tools and the following easy techniques.
Connecting 2 x 4 techniques
2 x 4s are the most common wood sizes that are mostly used for different constructing projects. You must learn how to join wooden pieces together to be able to work on more complicated projects in the future.
What you need to follow this tutorial
You need the following to be able to connect these wooden pieces side by side
- 2 x 4 wooden boards
- Chalk
- Glue
- Clamps
- Drill
- Wrench
Using an edge joint
1) Arrange your wood
Source: https://www.youtube.com/watch?v=jxvOepMFtbA
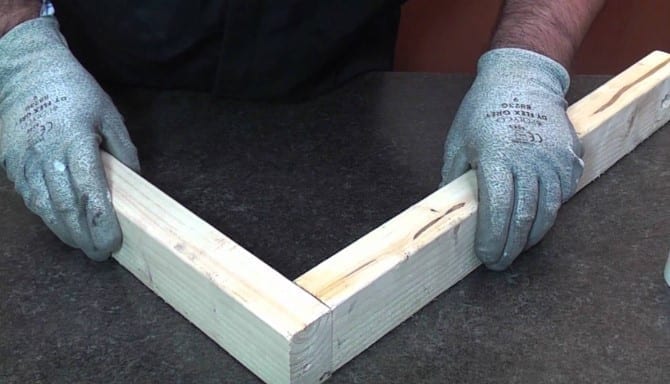
Arrange your 2 x 4 boards and mark these with chalk. Shift the boards until these are aligned by their grains in an attractive natural pattern. When you’re satisfied make a big V-shape across them with chalk. Place the boards across strips of scrap wood. Add a strip of scrap wood at the middle of the planks or boards to prevent bowing.
2) Apply glue and clamp
Source: https://www.familyhandyman.com/woodworking/wood-joints/how-to-glue-wood/view-all/
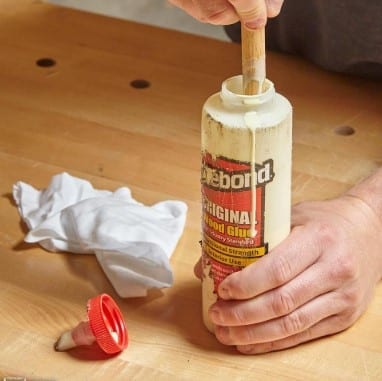
Apply an even amount of glue along the edge of a board. Don’t apply glue to both edges; too much glue will only cause a mess. Clamp the boards. Add a clamp at each end and additional clamps in the middle if necessary. Make the boards flush so you don’t have to deal with any imperfections. After the glue has cured. The glue still needs several hours to cure.
In humid conditions, you need to wait an hour or more to remove the clamps.
Let the glue cure overnight. The glue needs to reach maximum strength for several hours. So let it dry overnight before you do more work.
Using pocket holes at corner joints
1) Arrange the wood
Source: https://sawsonskates.com/pocket-holes-miter-joints/
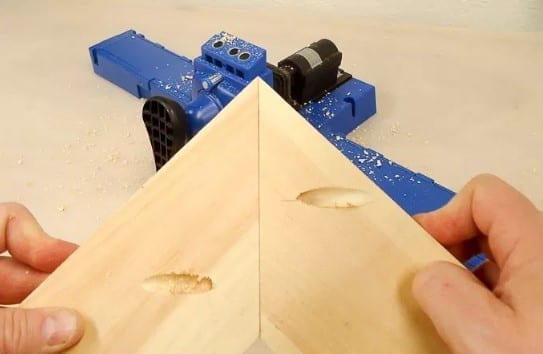
Lay out the boards you’ll be joining according to what you want them to appear in your final project. Mark the places where pocket holes will be drilled. You must drill into the face or edge grain. Drilling on the edge can produce a weaker joint.
2) Drill holes
Source: http://mominmusiccity.com/how-to-make-pocket-holes-without-a-kreg-jig/
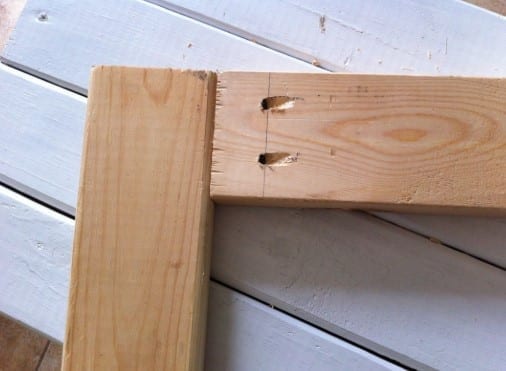
Drill pilot holes into a board from the first to the second board. If this is your first time to drill a pilot hole then practice on scrap wood instead. Set the depth of the jig according to your wood’s thickness. Insert the bit into the jig’s guide hole to adjust the collar. A pocket hole drill bit has a collar to control the hole’s depth.
Use an Allen wrench to loosen the collar from the bit. Insert the bit into the jig’s guide holes until the tip is about 1⁄8 inch (0.32 cm) from touching the base.
Place the collar over the top end of the bit. It should sit flush on the jig, and then tighten the collar.
3) Clamp wood and drill
Clamp your board into the jig then tighten the clamp to lock it into place. You’ll be drilling into the side that faces the jig’s guide holes. This won’t be visible in your final work.
Drill the pilot holes at high speed to create cleaner holes. Insert the bit into one of the jig’s guide holes and drill to the midpoint which is the spot at the end of the bit and the collar.
Pull out the bit to remove wood shavings. Insert the bit back into the guide hole and continue drilling until you feel some resistance. Insert your bit into the guide hole lined up with the other side and repeat the process.
4) Gluing the boards
Source: https://iheartponyup.com/2018/05/06/strongest-woodworking-joint/strongest-woodworking-joint-awesome-351-best-joinery-techniques-for-woodworkers-images-on-pinterest/
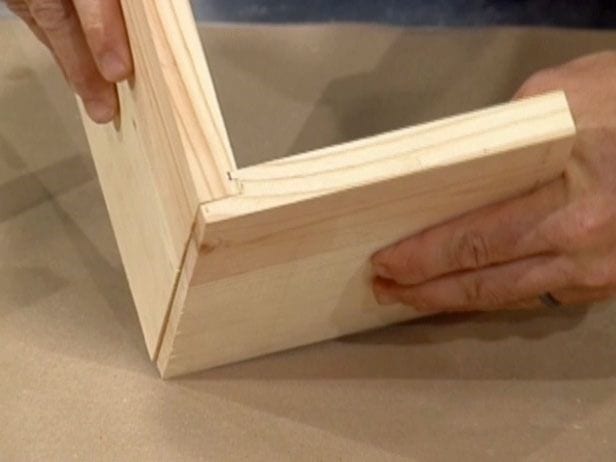
Arrange your boards and clamp them. Line up your boards to double check you drilled your pilot holes in the right direction. Apply an even bead of glue to an edge of the boards you’re joining, press the edges together, and then tighten a clamp over the joint to lock these in place.
Drive screws through the pilot holes slowly. Then drive the next screw into the other pilot hole you drilled. Remove the clamp when you’ve finished.
Conclusion
Connecting two wooden pieces together is easy when you know the basic techniques. You will be able to connect wood to make different projects like a snap when you follow these simple but effective strategies.
