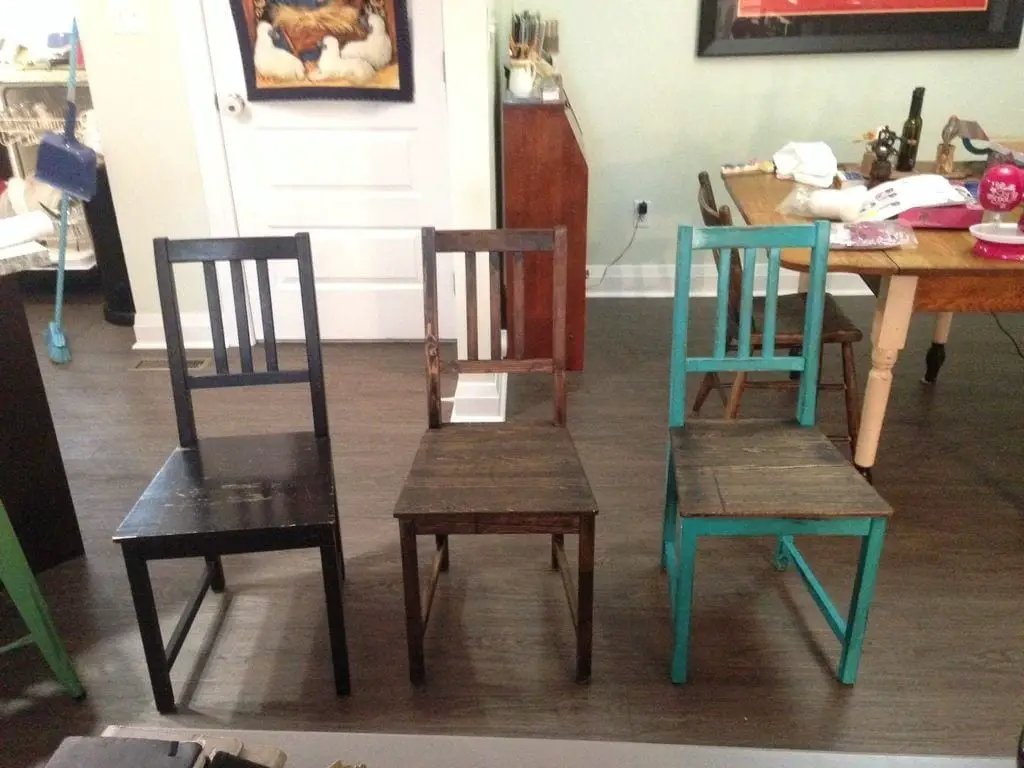
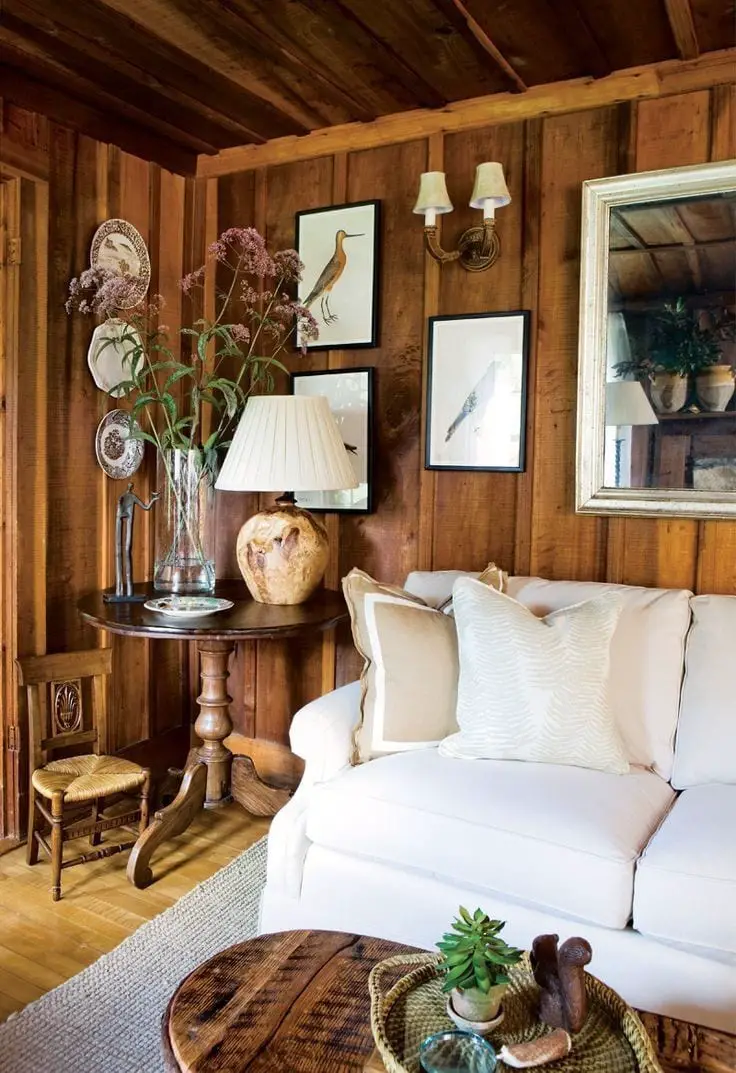
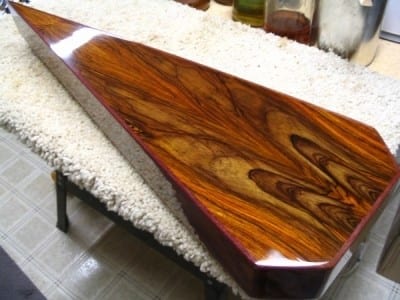
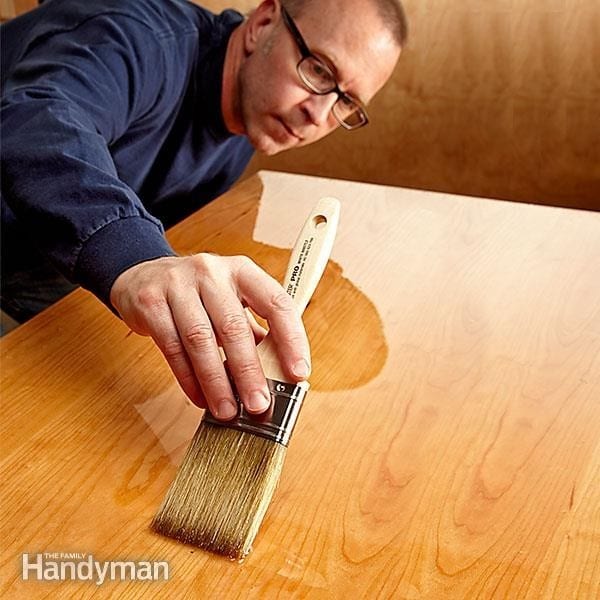
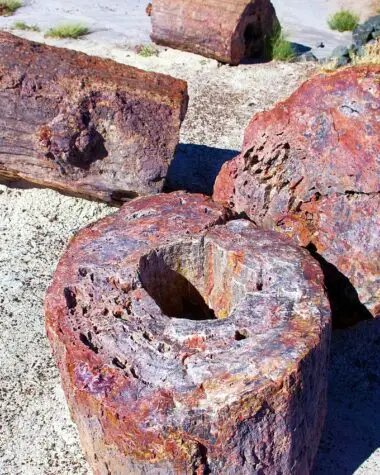
Are you in love with antique wood? There is a certain charm in old furniture that you can never find in brand new and modern furniture pieces.
The fact that antique pieces cost a fortune, you need to save a lot of money before you can purchase an antique cabinet or dresser and no one has time to wait for wooden furniture and wooden accessories to age naturally. This is why woodworkers and furniture lovers turn to distressing techniques.
Distressing wood is simply making a wooden furniture look older than what it actually is. It is applying certain special techniques to make new or not so old furniture look and feel older and thus achieve that interesting old charm. There are many ways to distress wood and the most common ways will be discussed in this guide.
Distressing wood basics
In any technique for distressing wood, the first part is about inspecting the overall condition and appearance of a wooden furniture that you want to treat. Check for the type of wood used, the kind of technique used to preserve it and marks of natural wear and tear found on the wood grain. There may be more important things to check out but no doubt that these are the most common ones you need to initially check out.
You need to find out what type of wood your piece is so you can apply the appropriate treatment and distressing technique for it.
For example, some wooden furniture does not take paint and stains very well and thus you may need to apply a different or special kind of finish for it. Some wooden furniture pieces have a very smooth finish and therefore this has corresponding finishing products that will work for this kind of surface.
Still, you need to identify marks and spots on wood to decide if you want to distress the wood further or you would simply add more wear and tear marks.
There are a number of techniques to distress wood, each of these uses a certain type of material or tool that will create interesting aged marks on wood. The steps for these techniques are discussed here.
Things that you will need
- Sandpaper
- Hammer
- Gravel
- Chains
- Chisel
- Base coat paint
- Top coat paint
- Chalk paint
- Paintbrushes
- Final clear coat
- Rags
Creating general wear and tear techniques
In this technique, you will be distressing wood by depicting the natural effects of nature, traffic and the wear and tear of the furniture piece. Wooden furniture naturally warps, crack and change color as it ages.
Because of traffic and constant use, pieces like tables, chairs, and desks receive regular stress and can develop scratches, stains, marks, and dents. The following steps may be used but be careful not to overdo it. You are trying to make a distressed furniture piece, not furniture that’s ready to be hauled to the junkyard.
1) Sand down the edges
The edges of the wood are the first area to give way to wear and tear because of constant use. Go over the angled edges with a sheet of sandpaper. Use a high-grit sandpaper and vary the amount of pressure on each area for more natural-looking wear. You may also use sanders with different grits.
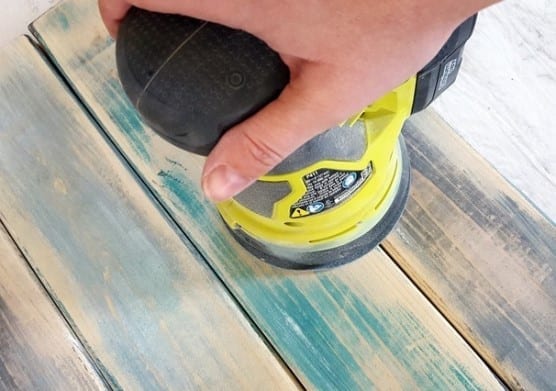
Source: https://realitydaydream.com/how-to-make-your-own-barn-boards-diy/
2) Use gravel to distress wooden furniture
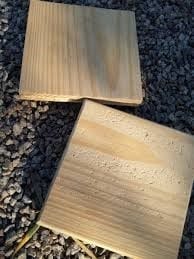
Lay a board flat on the ground and cover it with gravel. Place the second board over the top and stand, walk or jump on the upper board. Your weight will grind the gravel into the surface of both boards which will leave behind distinct marks in a random pattern.
And don’t just walk on the boards, you can rock it forward and backward, jump up and down or even dance on top. When you are done, flip the boards over and repeat on the opposite surface. This step is important if you want to use both sides of the board. This method is a good idea especially if you are working with raw lumber than furniture or some other item.
Source: https://acraftymix.com/blog/2015/10/20/moroccan-coasters/
3) Use any blunt object to gouge the wood
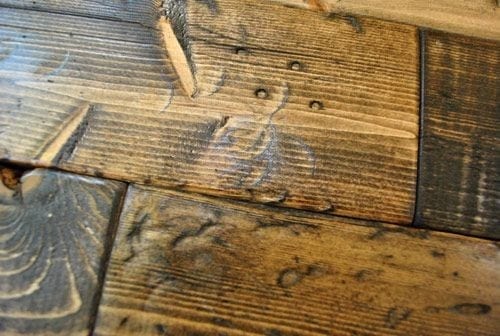
This is a creative way to recreate bumps, dents, gouges and deep cracks on wood as a result of drops and falls or stress over the years of use. You can use almost any tool such as a hammer, screwdriver, a heavy chain, high-heeled shoe or any kind of tool and use it to strike the wooden surface. Chains can be very useful if you want the distressing to be as realistic as possible since the chain links will hit differently as you swing it many times.
Source: https://www.pinterest.ph/pin/241927811208669085/?lp=true
4) Use wood screws to create wormholes
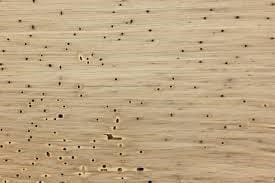
Drive wood screws through a piece of scrap board so that the sharp ends stick out the other side. Strike a hammer on the piece in varying amounts of force. This will open the wood and will look as though insects tunneled through the wood.
Turn the piece and strike the opposite side in multiple angles. Wormholes don’t tunnel in the same pattern and may create tunnels in different directions along the wood.
Source: https://wunderwoods.wordpress.com/2014/06/30/how-to-make-realistic-worm-holes-in-wood/
5) Use a chisel to all against the side of the piece
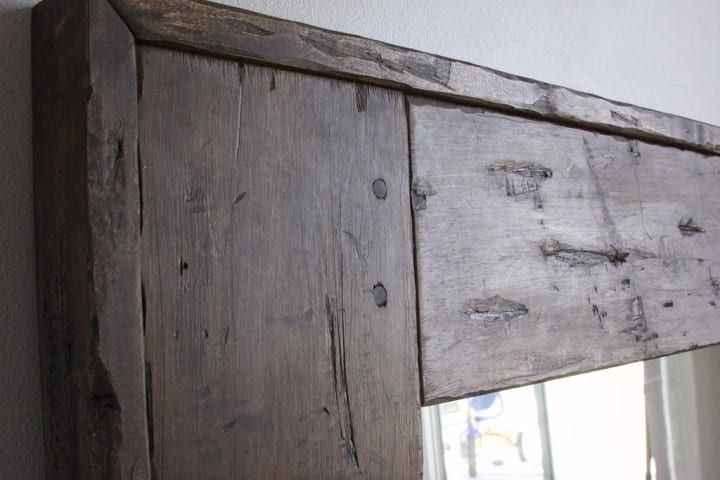
Use a hammer to tap the handle of the chisel at different intervals and with varying amounts of force. Create a severely distressed surface by working the chisel differ into the wood. Use the chisel to take off larger chunks.
Create nicks on wood by using different tools. Nicks can give wooden accessories extra personality especially on load-bearing wood parts like beams, dining tables, door frames, and desks.
Source: http://www.u-createcrafts.com/diy-distressed-mirror-by-kris-kraft/
Using paint to distress wood
Another way to distress wood is to use paint. This technique involves layering paint and then applying distressing techniques to let the first layer shown. You can also use one coat if you want to let wood peek through paint. This is very easy to do and you don’t need to be an expert to distress wood with paint.
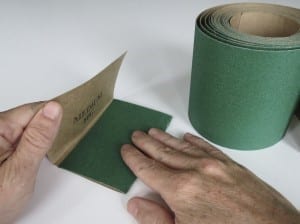
1) Sand the wooden surface lightly
Run a sanding block or high-grit sandpaper over the surface that you want to distress. A thorough sanding will open up the pores of the wood and will improve its ability to take on paint. Take the sandpaper and fold it. Use this to sand with a gentle circular motion. Start standing on a central spot and gradually move outwards. Slide the entire sheet back and forth using smooth strokes.
Source: http://www.juliancassell.com/2950/using-sandpaper
2) Paint the surface a light color
You can choose from shades like white, eggshell or opal. Apply only one coat of the first paint; you don’t even have to apply it well because you are going to sand this later anyway.
Source: https://www.videoblocks.com/video/applying-white-paint-over-wooden-surface-with-a-flat-brush-close-up-s6d2jeavliylf59rd
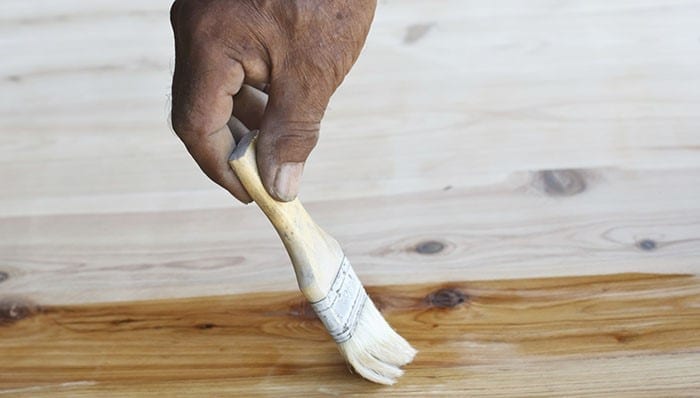
3) Now apply the base coat
This is usually a darker shade of paint than the first coat. Use a good brush and work the base coat into corners and other hard-to-reach areas. Let the base coat dry completely before distressing it. Leave the painted furniture in a cool, dry place for about 8-10 hours but if possible, wait till it’s completely dry up to 24 hours. Once the paint has fully cured you may now apply the second coat of paint.
Source: https://www.lowes.com/projects/other-activities/refinish-wood-furniture/project
4) Brush on a second coat of paint
Choose a bolder color for the topcoat which will contrast the lighter base coat. Paint the entire piece. You may use multiple coats to reach the desired depth and smoothness of the color. Change the direction of your strokes to work the paint into the small crevices and other textured areas of the wood. Go with a topcoat in a pastel shade like brick red, powder yellow or robin’s egg blue to follow common distressed furniture colors.
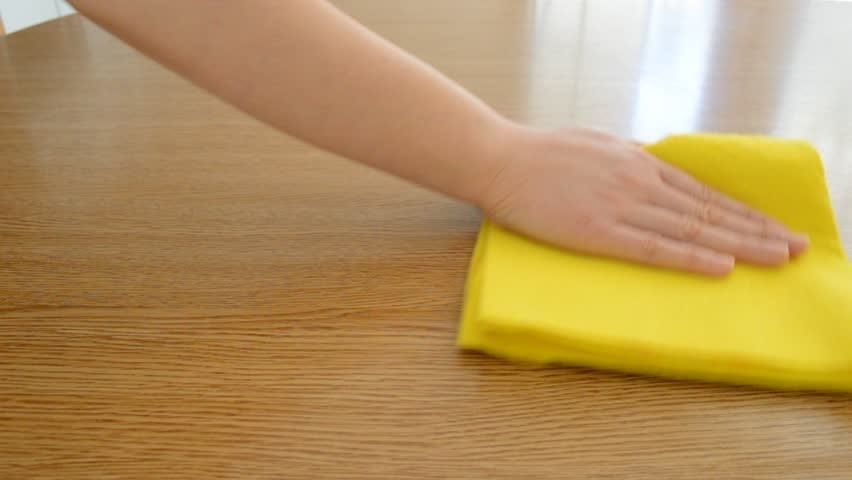
5) Use a damp cloth to wipe the paint
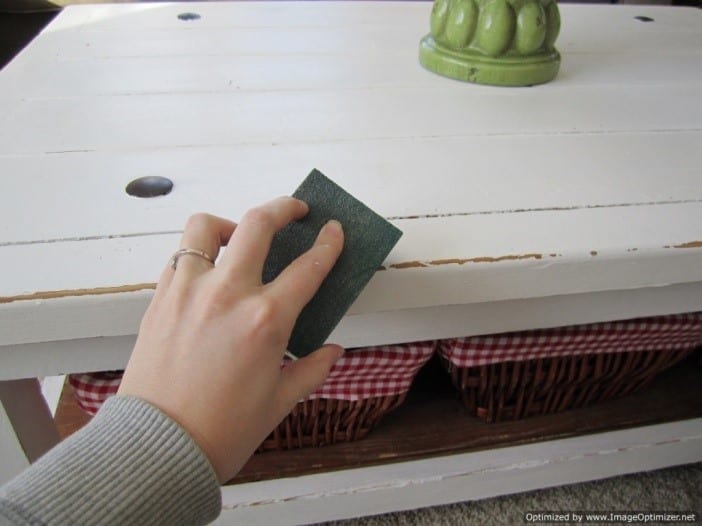
Wet a rag or a kitchen scrubber and wring out the excess water. Use this to smudge the paint while it’s still slightly sticky. This will expose the lighter paint underneath. This will seem that the piece has been repainted over the years. Use minimal pressure to rub the paint and to avoid taking off too much paint at one time. Do this slowly but efficiently. But If you accidentally remove more paint than you need to, just apply a fresh coat of top coat paint and start smudging it again with a damp rag or scrubber.
Source: https://www.shutterstock.com/video/clip-5118167-woman-cleaning-furniture-table-yellow-cloth
6) Dry the paint outdoors if possible
Let this dry for about 24 hours. For a more distressed effect, use a high-grit sandpaper after the paint has completely dried.
Source: http://extrm.us/gallery/distressed-painted-furniture-on-distressing-optimized-x/
Staining wood for a distressed look
Staining will give wooden furniture an antique or vintage effect. There are different kinds of strains and different shades of stains and varnishes as well. You can also make your own stain on untreated wood using simple everyday materials like coffee, tea or using rusty nails. Be careful with a stain on your hands, clothes, carpets, and upholstery because this could be very hard to remove.
1) Choose the stain and color
Choose the ideal type of stain and color of stain according to the type of wood you have. Select a stain that complements the natural grain of the wood you’re working on and will also fit the use of the furniture piece.
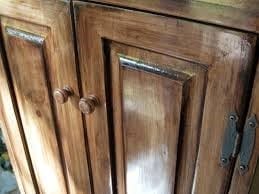
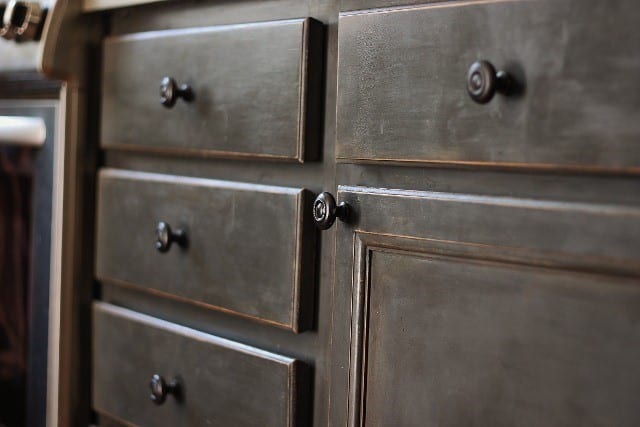
For example, a rich chestnut or mahogany stain will make a chest of drawers look like it’s a priceless heirloom while softer colors can produce a weathered effect on outdoor furniture and also on wooden structures. Stains can also conceal the drab color of the new wood. This can also accent the distressed marks made, giving the piece a timeless effect.
Source: http://peekbrotherspainting.com/painting-contractors/can-i-stain-my-cabinets-a-different-color/
2) Apply the clear coat
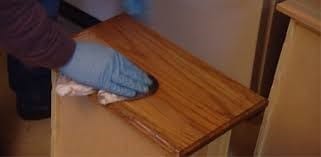
Brush on a clear coat using a small moderately hard brush to put the finishing touches on the piece. Stain the piece using a soft-bristled brush or you may use the corner of a clean cloth. Blot the stain over the surface of the wood. Spread the stain until it’s evenly distributed all over the piece. You may apply additional coats as needed.
Source: https://furniturelivehood.com/search/applying-wood-stain.py
3) Now distress the stain to create the appearance of age
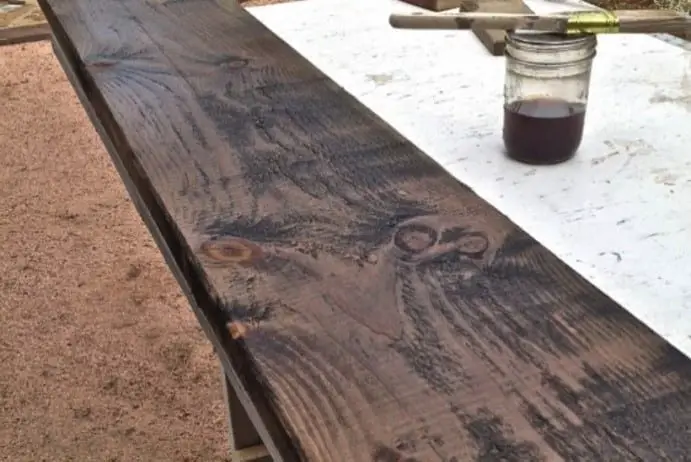
Immediately after applying the stain, use a dry cloth to wipe wet areas and remove some of the pigment. The strain that is left behind will settle into the grain, highlighting its unique textures while still looking somewhat faded.
Source: https://countrydesignstyle.com/how-to-distress-wood/
4) Add more stain for a darker tone
If you want to have a darker tone, let the stain soak into the wood for several minutes before using distress techniques and before stripping it. Add more stain a little at a time until you reach the desired tone from the start rather than remove it using other means at the end stages of the project.
Source: http://www.chantalism-art.com/distressed-painted-gray-kitchen-cabinets/12/gray-distressed-kitchen-cabinets-roselawnlutheran/
5) Preserve the distressed surface with a final clear coat
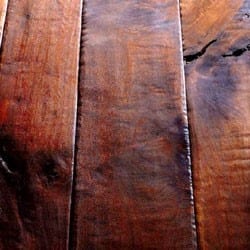
Brush polyurethane or varnish over the entire surface and let this dry completely overnight. In the morning, apply a second coat. A second coat is not just to enhance the distressed state of wood but will also protect it from dust, scratches and from the elements. Use only weather-resistant varnish for outdoor furniture or fixtures as well as wooden pieces meant for display.
Let the clear coat to dry for 4-6 hours before moving, mounting or handling the piece. Clear coats can sometimes take up to 4 weeks to completely dry so if you are willing to wait, store the piece inside to prevent moisture from affecting the curing process.
Source: http://greenhomeguide.com/know-how/article/selecting-healthy-and-environmentally-sound-finishes
Using chalk paint for distressed wood furniture
There are a lot of ways to distress your piece and using chalk paint is fast becoming very popular. Chalk paint is simply painted but has additional ingredients to make it look and feel like chalk or a chalkboard. Chalk paint comes in different colors just like regular paint too.
1) Choose and prepare your workspace
Source: https://www.diynetwork.com/how-to/skills-and-know-how/painting/how-to-paint-a-room
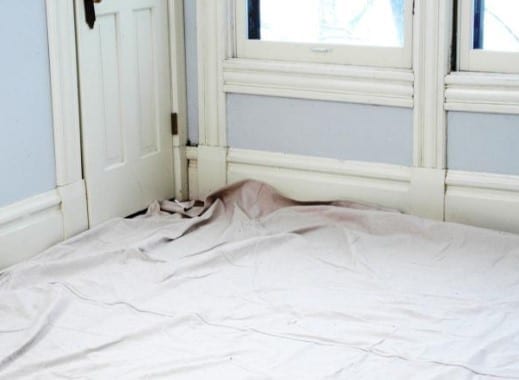
As much as possible, work at room temperature. Open windows, doors and ventilation fans to remove air as the paint dries. Improve lighting inside the room so you can apply chalk paint in a more efficient manner. You may also work outside if the weather permits. Use painters tape to tape down builder’s paper on the area of the furniture that you won’t be working on as well as on the furniture and flooring to prevent coating these with chalk paint.
2) Prep and clean your furniture piece
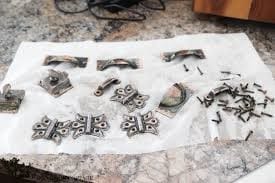
a. Remove any pieces that you don’t want to paint on like hardware, shelves, and drawers on the furniture piece.
Source: https://www.thewoodgraincottage.com/2015/07/22/how-to-remove-paint-from-cabinet-hardware/
b. Work on the present imperfections of wood. Locate rough patches that might need sanding. Remove any sticky residue on wood with soap and water. Clean your furniture first with some warm soapy water. Fill visible holes with wood glue.
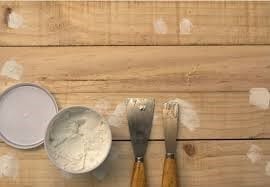
Source: https://www.bobvila.com/articles/best-wood-filler/
3) Aging your wooden furniture
a. Sand with a drill or use a high grit sandpaper to rough the piece up
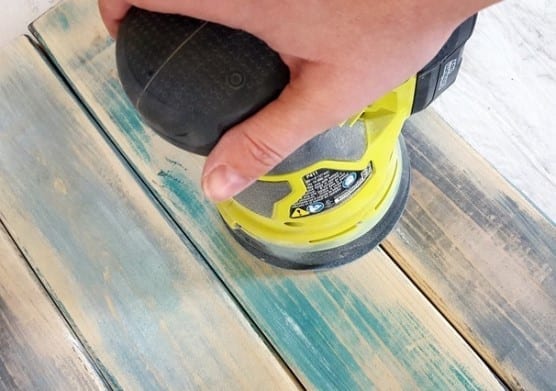
Source: https://realitydaydream.com/how-to-make-your-own-barn-boards-diy/
b. Use a hammer to create dents and marks on the piece especially on the edges. Hammer with a large screw flat against the table but use a block of wood as a buffer.
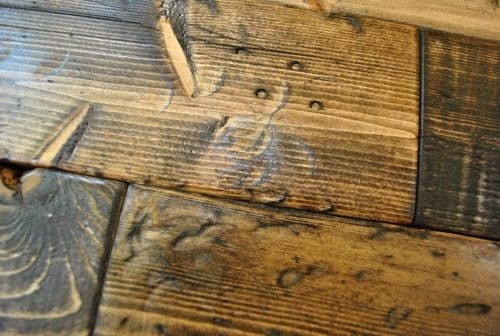
Source: https://www.pinterest.ph/pin/41927811208669085/?lp=true
c. Hammer with nail or screw into the table to make wormholes.
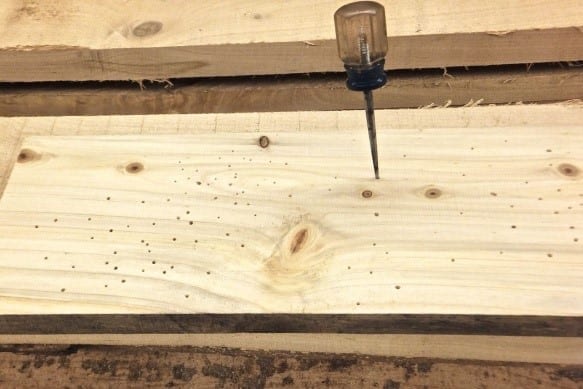
Source: https://wunderwoods.wordpress.com/2014/06/30/how-to-make-realistic-worm-holes-in-wood/
4) Apply your first coat of chalk paint
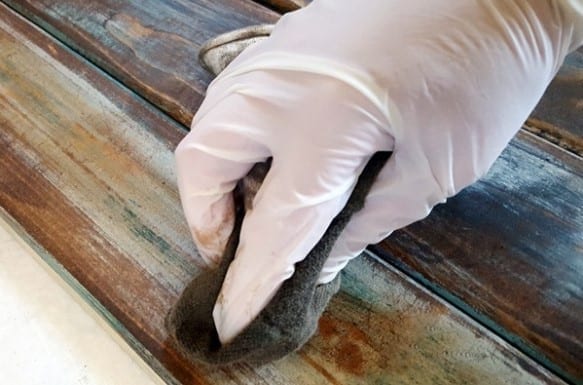
a. Start applying the chalk paint on a side of the furniture or on the legs to first test the paint. This is done before applying the paint on the surface. Condition a new brush to prevent bits of hair from detaching from the brush as you work.
Source: https://realitydaydream.com/how-to-make-your-own-barn-boards-diy/
b. Chalk paint is thicker, therefore, a small amount can go a long way. Dip just the tip of your brush into the paint and work it into other sections with the same brush. You may also dilute the paint with water if it is really too thick to use.

Source: https://www.ehow.com/how_7681002_dilute-waterbased-paint.html
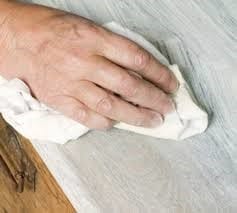
c. Paint against the grain for a more textured finish.
Source: https://www.anniesloan.com/techniques/bringing-out-the-grain-in-wood
5) Apply your second coat of chalk paint
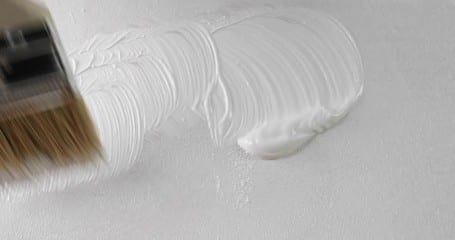
a. Apply your second coat of paint after the first one has completely dried.
Source: https://za.fotolia.com/tag/%22second%20coat%22
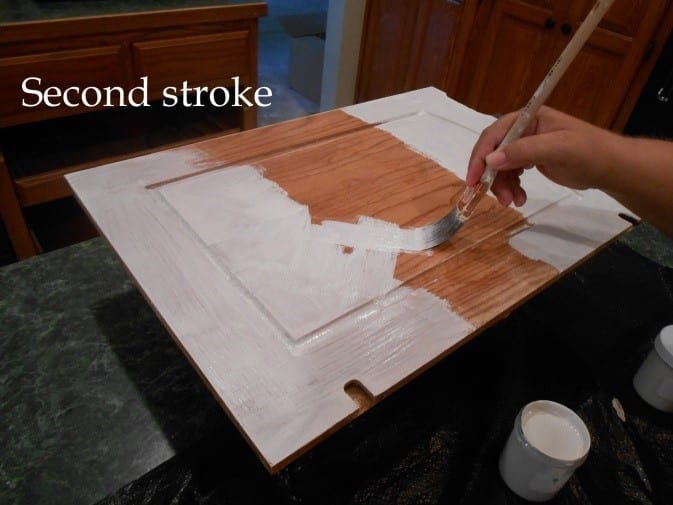
b. The second coat should be able to cover all the surfaces and it does not have to be perfect because you have to distress your project in the end.
6) Distress your piece
a. Apply one layer of wax before distressing because chalk paint can be too powdery and may produce a lot of dust.
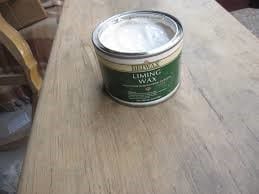
Source: https://paintbyuser.com/briwax-over-chalk-paint-concept/introducing-briwax-liming-wax-houston-furniture-refinishing-3/
b. Distress with a damp rag if you want to have a bit more control with the final appearance of your project. Afterwards, distress with a 100 to 220 grit sandpaper. Glide the sandpaper on the surface of the wood with just the right amount of pressure.
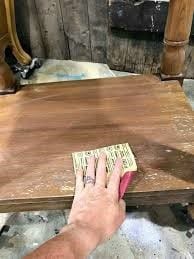
Source: https://www.justthewoods.com/distress-painted-wood/
c. Apply Annie Sloan Soft Wax to seal the paint.
This will complement the Annie Sloan chalk paint it will seal and protects your piece. However, make sure to use it fast because it can harden when it dries in just 24 hours or less. Keep your table clean using a non-ammonia, non-bleach multipurpose cleaner. If you are distressing chairs or other furniture pieces, you must also use wax to seal the paint. This will make your distressed piece last longer.
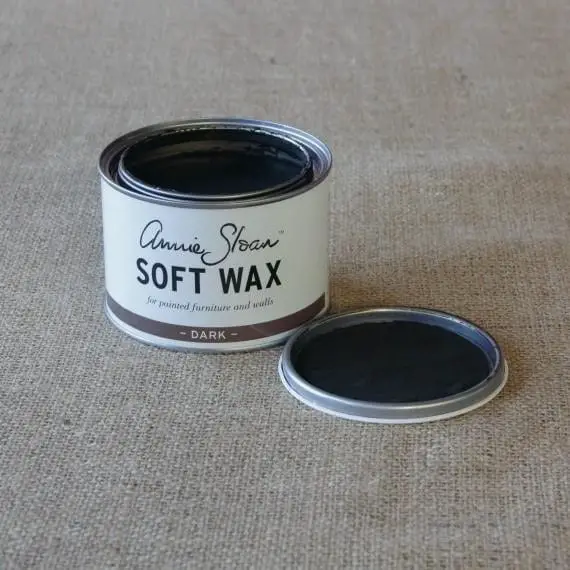
Source: https://www.royaldesignstudio.com/products/annie-sloan-soft-wax-dark
Conclusion
Distressing wood is a process to make the wooden furniture appear as though it has aged. There are many ways to distress wood: you can use physical distressing techniques, by painting, by chalk paint and by using wood stain to name a few.
