Wood can be subjected to different processes and techniques to improve its appearance, durability, strength, weight and so on. It can be stained, distressed, seasoned, painted or inlayed to create unique designs and effects.
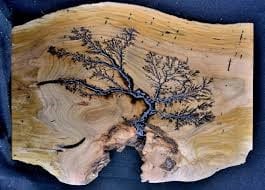
One unique way to enhance the beauty of wood is by electrifying it. Here is a technique that you might consider for your next woodworking project.
Making fractals by electrifying wood
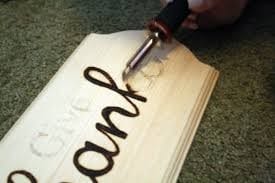
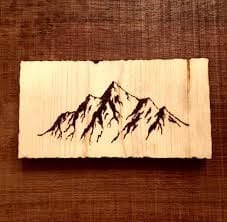
You may have done some woodworking projects in school before like wood burning. This is burning the surface of the wood to create different designs. However, this method is time-consuming and may be unappealing to some people. Electrifying wood can be a wonderful alternative. Here is a guide to help you create fractals using high voltage electricity.
You’ll need the following
- Fan
- Small Water Container
- Brushes
- Microwave Transformer(s)
- Extension Cords (Optional)
- Jumper Cables
- Bucket or Stand
- Electricity Supply
- Wood
- Water
- Baking Soda or Salt
Create a safe environment
You should exercise extreme caution when harvesting the microwave transformer from an old microwave. Remove this with extreme caution. When it comes to wiring, unless you have 10+kV high voltage insulation on your wiring you must think of your wires as bare copper. The insulation can and will burn through quickly.
Work on your project outside. You will likely generate hydrogen in the vicinity of your project and hydrogen may explode. Please be aware of the risks with this project and proceed only when you have a clear and safe environment to work on.
1) Your power source
Source: https://www.mostcraft.com/5-best-wood-burning-tools/
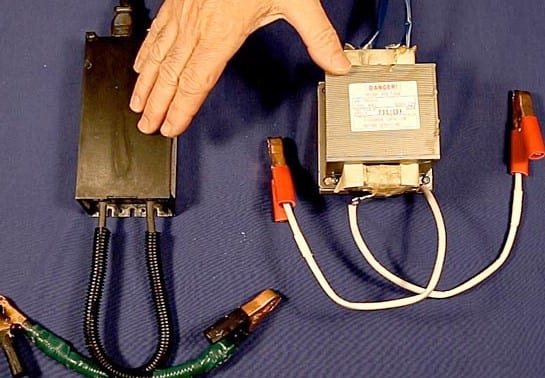
Prepare your power source. Any high voltage power source will work not just a microwave transformer. Check out videos and guides on how to dismantle a microwave transformer from the appliance. If possible, use two transformers especially for larger pieces. Just one will not supply enough power. Locate diagrams and guides on how to wire the two transformers.
2) Finding the right wood
Source: https://www.mostcraft.com/5-best-wood-burning-tools/
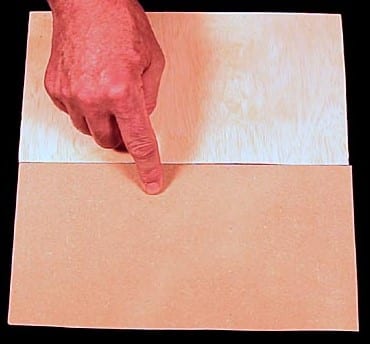
Choose the right kind of wood. Keep in mind that wood has varying thickness, species and grain direction that will result in a variety of looks and designs. The best type of wood is thin plywood or underlayment.
This is because only the thin layer of wood on the top and bottom absorb the water solution which results in a burned pattern. Going against the grain can create mixed results. Electricity will always move to the path of least resistance or towards the grain.
3) Increasing the conductivity of wood
Source: https://www.mostcraft.com/5-best-wood-burning-tools/
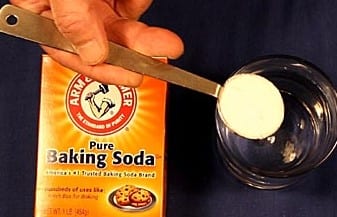
To let electricity flow, the material should have a low resistance. Use a water and baking soda mixture to create a good conductor. Use one tablespoon of baking soda per cup of water. Because baking soda is a chlorine component of salt, this can be detached from the rest of the compound and create a poisonous gas. Mix this well.
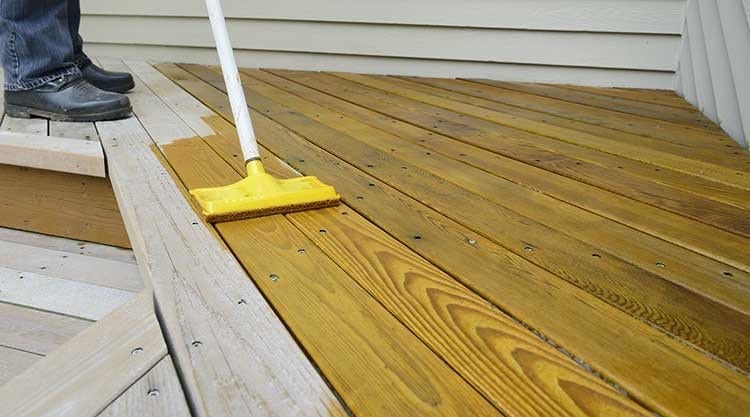
Apply a coat of the mixture onto the wood. Saturate the piece with the mixture. Take note that depending on how much water you add, there will be different results.
4) Wiring your project
Source: https://www.mostcraft.com/5-best-wood-burning-tools/
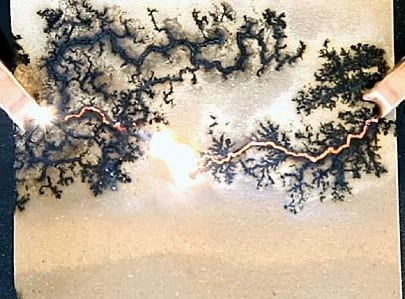
After brushing the solution on wood, you may now wire everything up. Connect the positive and negative leads of the transformers to each of the ends of the wood. The leads are connected so that the electricity follows the grain.
Use a fan to the electricity coming from your house. This will make the area safe and free from toxic fumes and will also tell you that the circuit is live.
Plug in the transformers. You will see almost immediately electricity burning wood. You can turn the power off when you are satisfied with the results.
5) Cleaning and finishing
After burning wood, you need to clean it completely ASAP. Use a soft brush to remove the charred material from where it was burned. Use a hose with water, just let the water flow through the pattern to remove charring wood and expose the pattern.
Use a brush if there are stubborn charred bits. You can also coat the piece with a thin layer of polyurethane over the surface to seal the pattern.
Conclusion
Electrifying wood is a unique way to create burned or charred patterns on the surface of the wood. You must exercise extreme caution when handling electricity. Creating a safe environment is crucial for the completion of this project.
