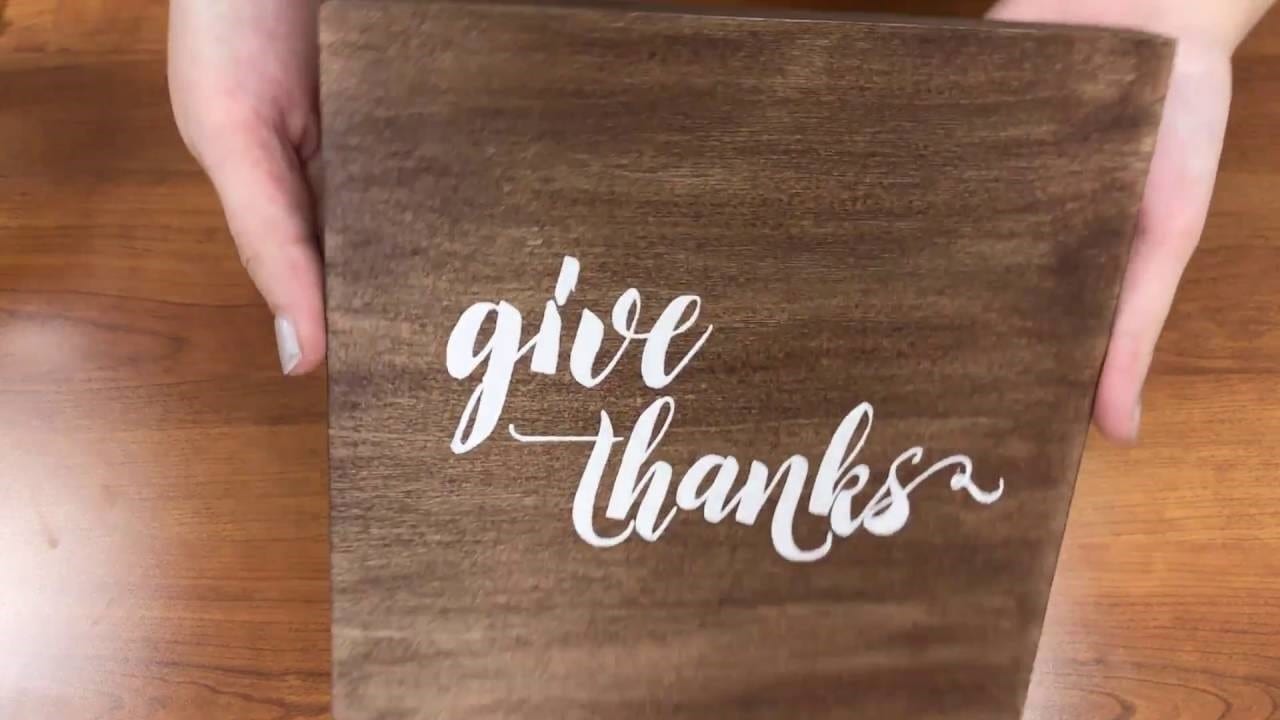
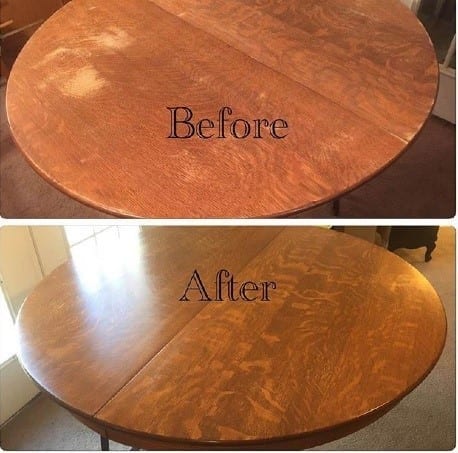
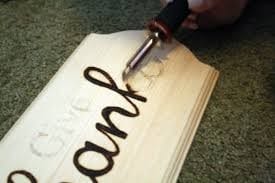
I assume that since you are reading these lines, you are (most probably) dealing with the same issues I encountered with vinyl not sticking to the stained wood. Well, in fact, vinyl may also refuse to stick to unstained wood just as well. But why is this happening?
Is it with a practice that you learn how to make vinyl letters stick to wood? Or maybe there is some sort of a secret ingredient, huh? I’d say it’s the latter!
Although practice makes perfect, when it comes to the vinyl lettering on wood signs, there are simply a few important factors which you need to take into consideration. We’ll get you familiar with these factors by showing you all the tiny (but crucial) tips you want to know in the tutorial below.
What You Will Need To Follow This Tutorial
- Fine-grit sandpaper
- Enamel paint (optional)
- Vinyl letters
- Paintbrush
- Clear coat spray (optional)
Pro Tips
1 – Acrylic paint can also work great!
Even though enamel paint is the best option (at least as far as my personal experience has brought me into thinking), acrylic paint can work wonderfully well to help you make vinyl stick to wood. But where’s the catch?
Many of the modern-day acrylic paints are manufactured with a mind to resist stains. That means the technology used to make acrylic paints resist stains will also prevent vinyl from sticking well. Just check out the paint can carefully and you can get a clear idea whether the type of acrylic paint provides extra resistance to stains. If it is not labeled as such, you can use it for making your vinyl and wood masterpieces with confidence.
2 – Try out Heat transfer vinyl
If you have had a hard time trying to make vinyl stick to wood (and you feel as if you can’t bear even one more unsuccessful trial) – then heat transfer vinyl is what you need to try out! Not only does it work like charm to stick to wood perfectly but it also provides a matte finish which I personally adore.
3 – Make sure the paint has dried and cured completely
Paint which has not been dried and cured thoroughly will react with vinyl in such a way that it will prevent the adhesive from sticking well to the wood surface. That’s because fresh paint emits the so-called VOCs which make the adhesive of the vinyl degrade.
Step by Step Instructions for Making Vinyl Letters Stick to Wood
Step 1 – Examine the surface of the wood carefully and act accordingly
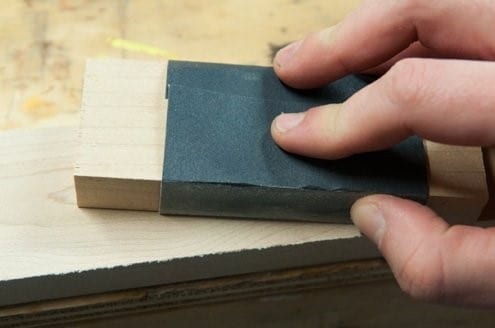
Image Credit: bobvila.com
You might be lucky to hold in your hands a piece of wood which has been treated with a suitable paint (plain acrylic or even better – enamel paint). However, more often than not, you will hold a bare piece of wood which will require further treatment. First off, you must sand the surface very carefully and make it as smooth as possible. Vinyl has a much greater chance to stick to a surface which is perfectly smooth.
Apart from checking and prepping the surface of the wood for the vinyl lettering application, you can also check the vinyl itself. Vinyl which is made with a solvent-based adhesive stands a bigger chance of sticking to the wood.
After sanding, remove any dust left behind with a dry paintbrush and go on with painting the wood. Let it dry and cure thoroughly (at least 24 hours).
Step 2 – Proceed with applying the vinyl lettering
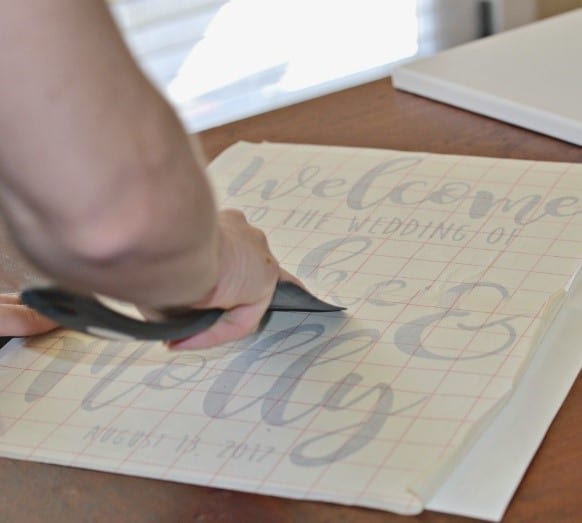
Image Credit: rachelteodoro.com
Press the vinyl lettering to the wood firmly. Start peeling the tape carefully. If you notice any parts which refuse to peel well, press them with your fingers once more and carefully pull the tape little by little. You can seal the vinyl lettering with by spraying over the surface with Clear coat spray.
Okay, as a sum up, vinyl and wood are not BFFs. However, if you pay attention to the tiny details we have listed above, you will be one step closer to (finally) making vinyl letters stick to wood and put an end to the uneven battle you have been involved in.
Did you enjoy our cheat sheet as much as we enjoyed every bit of creating it? We’d love to feel your support. Like and share this article, and do join us in the comment section below at any time!
