Planning to do a project with pallet wood and wondering how to seal pallet wood? Well before that, you need to know what type of pallet wood you have in hand. Surprise? Did you think all pallet woods are the same? Sadly not!
There are a lot of things about pallet wood that are not known to too many people. Did you think only a particular kind of wood is used for making pallets? Well, it’s quite the opposite. Pallet woods are not globally standardized either.
Wood pallets can be made from hardwood of deciduous trees like oak, mahogany, teak, ash, walnut, and beech. They can also be made from softwood of evergreen conifers like fir, pine, and spruce. Don’t let the words hardwood and softwood get you worried and think that hardwoods are stronger and provide more durability when turned into pallets. Softwoods have similar durability and strength as hardwoods. In some cases, softwood species prove to be better pallet woods.
Your finishing technique, the kind of finish you will get, everything depends on the type of wood your pallet is made of. When you start dismantling pallet wood and finishing them, you will notice a lot of differences in weight, wood grain, and texture. Some will appear fuzzy, some will have more knots, and some might warp. Before you start working with pallet woods it is important to know the type.
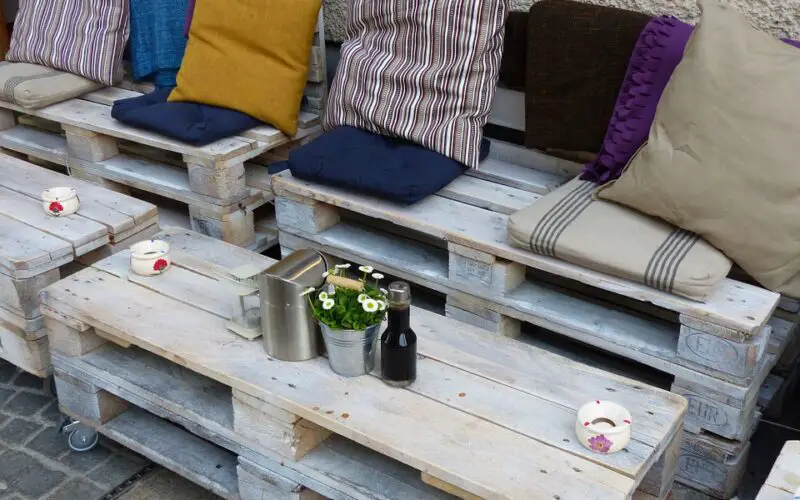
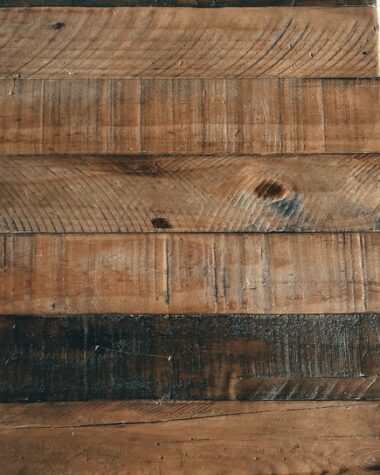
Many DIYers use pallet wood for making indoor and outdoor projects like tables, bed headboards, bookshelves, planters, distressed wall panels, potting benches, and similar things. Hardwood pallets are good for this purpose. Raw pallet woods are not a favorite with DIYers for nothing, they have several advantages –
- Natural grains don’t need distressing
- They usually have a rich patina
- They are extremely economical
- Easy to lift and use
- Have a raw, rustic, look
- Pallet wood marked HT(heat-treated), DB(debarked), or KN(kiln-dried) are safe to use in indoor projects
How to get started?
The process that’s involved in your project will completely depend on what you want to make with the wood pallets and in what condition they are at present. If you want to cut them up for the project, complete this step first. Next, use a handheld sander to smoothen the surface, preparing for further finishing with paint, stain, and the sealer to make them resistant to moisture.
Deconstructing pallet wood may be the most difficult task as you have to pull every plank apart using a crowbar, remove the nails before you have planks that can be used. Dismantling pallet wood also has the danger of split wood. So work carefully and you will finally reach the stage when you want to know how to seal pallet wood.
Things you will need to finish and seal pallet wood
- Soap and water
- Rag
- Hammer/crowbar (for separating the pallet wood)
- Goggle and gloves
- Oscillating tools for removing nails
- Sealer/Varnish
- Brush (Soft bristle)
Before you seal pallet wood you need to prepare it. For that some essential steps are –
Step – 1

The first step is to wash the pallet wood in a well-ventilated, open area as the pallet wood may be treated with chemicals (all pallet woods are not safe for indoor use). You need clean wood for any project if you want to paint it or use it indoors. Use soap and water or bleach, to wash off dirt from the wood. Wear your gloves, goggles, and respirator to avoid inhaling chemicals and getting splinters in your hand. Scrub the wood well and wash it with a power washer if you have one. Power washers help deep-set dirt to come out from the wood grains.
Step – 2

Let the washed pallet wood dry under the sun. The hot sun will disinfect as well as dry the wood and make it ready for use.
Step – 3

Your next step will depend upon what you want to do with the wood. You could remove the nails using nail punches or oscillating tools. You can cut them into desirable pieces, and sand them to remove paints and smoothen the surface. Or, you can run them through a planer to get smooth and even edges, and to remove discolored patches.
Step – 4

Here comes the time when you need to apply the sanding sealer. The answer to how to seal pallet wood does not have any hidden secrets but it is an important step to protect the wood and to make it long-lasting. Choose an appropriate wood sealer. Give the sealer a good stir to mix it thoroughly into a smooth consistency without any sediments sitting at the bottom of the can.
Step – 5

Choosing the right brush is an important step in knowing how to seal pallet wood. Choose a brush with soft, natural bristles for getting a smoother, even layer. While applying the sealer follow the direction of the wood grain.
Step – 6

Use a rag to wipe away any excess sealer from the surface and give it time to dry.
Step -7

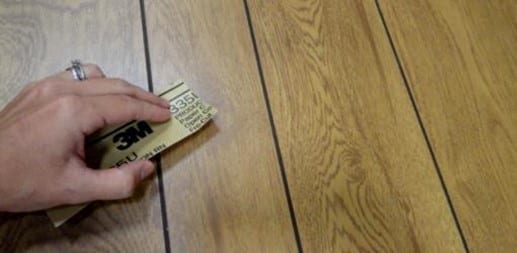
Once dry, smoothen out the pallet wood with a fine-grit sanding paper or sanding sponge (220-280 grit). This will prepare the wood for varnish. Continue sanding till the surface appears uniformly dull.
Step – 8

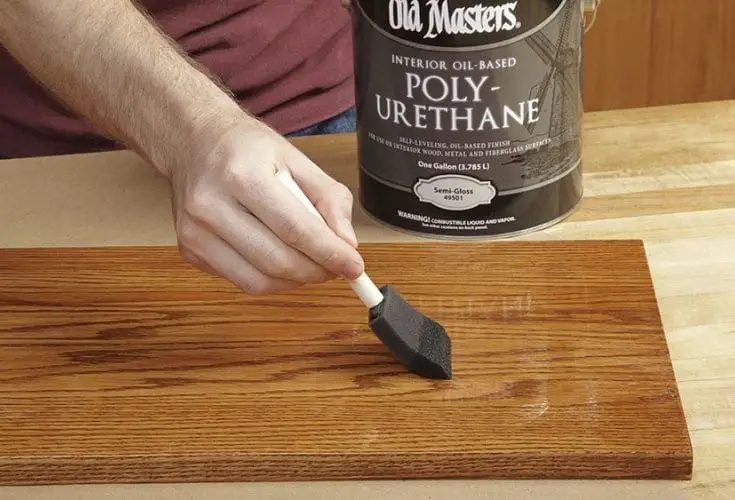
Your final step to how to seal pallet wood will be finished with the topcoat. Use a polyurethane wood varnish to seal and protect the wooden pallet. This finishing layer will give your pallet wood a super-tough coat and make it resistant to water and stains. Follow the manufacturer’s direction on the container to get the varnish ready for use. Use a foam brush or a rag to apply the varnish following the direction of the wood grain. Simply dip the rag and rub it on the wood. Let the varnish cure overnight.
Step – 9

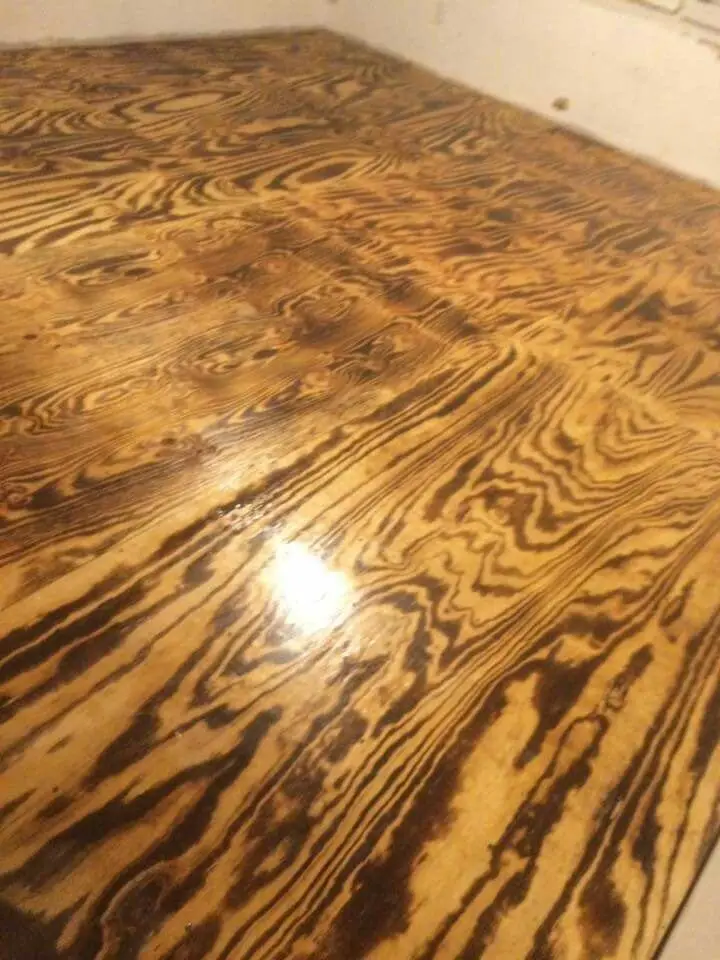
When the varnish is dry, apply another coat and let it cure. Repeat this process two or three times to seal the wood well. Not only does well-sealed wood absorb less moisture but the sealer also helps in preventing the pallet wood from warping, cracking, drying out. Never sand the finished top coat.
Now your pallet is ready to be cut, shaped, nailed, as you want to make your DIY! With the answer to how to seal pallet wood, you can choose eco-friendly pallet wood and make a variety of things with them.
