What is Spalted Wood?
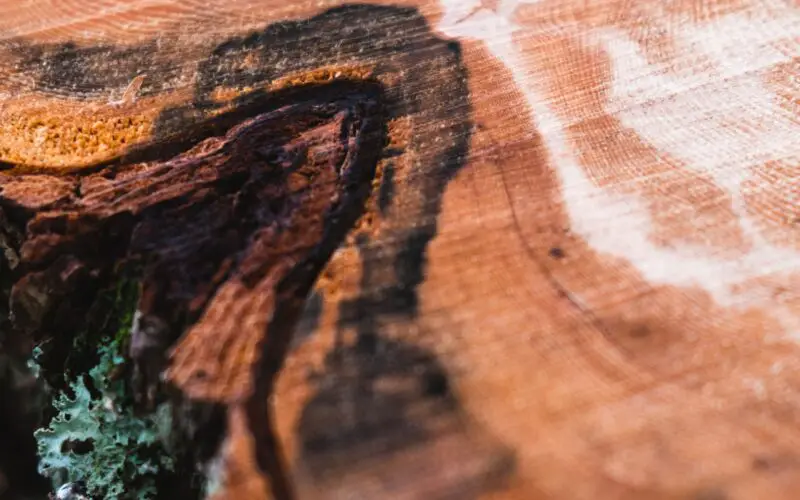
A spalted wood structure has color lines of various shades. These light and dark color lines are made by fungi that lead the wood to leave it color. The surface of the wood looks as if it contains tattoos. The wood looks painted but in fact it is not! This is what we called the spalted wood. These wooden products are very much stylish and make a good addition to your house and office furniture. They are very unique in appearance. Thus, you must learn how to spalt wood so that you can make masterpiece wooden structures.
How to spalt wood is not rocket science and you can easily learn it with few simple steps at home.
Here is a step-by-step guide to learn how to spalt wood:
Step 1: Choose the Right Wood

The first step in how to spalt wood is to decide what kind of furniture you want and then make the selection of the wood accordingly. Maple, beech, pine, and birch are white in color and they work like canvasses in your effort of how to spalt wood. Pecan, magnolia, and tulip poplar mostly have red stains. Holly usually have blue-green stains. Hardwoods like ambrosia maple or pine have a tendency to spalt rather quickly as compared to walnut and black cherry. Also, make sure that the wood is dry enough. Kiln-dried wood is an alternative to get perfectly dried wood.
Step 2: Wood is to be Moisturized

Once you have chosen the wood as per your requirements, the next step is to moisturize the wood. The water content in the wood is the factor that plays a great role in the growth of the fungi on the wood. So, to make sure that the wood is decaying at a faster pace, you need to keep the wood at a location with enough humidity. You can skip the process of moisturizing the wood if the wood you have chosen is already green or fresh. But, for this type of wood, you have to monitor that it does not dry out fast.
You should keep the wood in a place which has enough oxygen levels to encourage the growth of the fungi. You can leave the wood outside to get moisturized in the foggy conditions. But, if your place does not have foggy conditions, then you need to create a humid atmosphere for the wood inside. Avoid the places that receive sunlight. Keeping the wood in a dark humid room will get the work done at a very fast pace. Spray a bit of water on the wood to speed up the growth of the fungi.
Step 3: Let the Wood Breathe

Letting the wood breathe is very crucial to encourage the growth of the fungi. Fungi is a living being. So, like a human, it needs oxygen too to breathe. If the fungi is not provided with enough oxygen, then it may die, and the spalting will not occur. So, along with ensuring to let the wood moisturized, you must also check that it receives enough oxygen. If the fungi receives enough amount of oxygen, the wood will start to decay at a very fast pace. As a result, the fungi will spread at a faster pace over and around the wood.
Places which have medium humidity tend to have a lot of oxygen content. So, keep the wood in rainy or foggy areas. Outdoor areas are far better to place the wood as compared to indoor areas. So, try to keep the wood outside as far as possible. While letting the wood breather, you must make sure that the wood does not dry out. So, the place should have good humidity along with letting the wood breathe. Don’t let the wood near the sunny areas as it will affect the humidity and the breathing process. So, let the wood breathe adequately to increase the chances of the growth of fungi on the wood.
Step 4: You Must Feed the Fungi

Oxygen and water are good food for fungi. But, apart from these, fungi also need nutrients to grow that are not found in oxygen and water. Extra nutrition is necessary in order to make the fundi grow at a faster rate by speeding up the decay process. The ingredients that you add also prevent the fungi from eating the wood. Cellulose, leaves, sugar, fertilizer, and horse manure can be used as fungi foods. Beer contains lot of cellulose and sugar and thus makes good fungi food.
Organic matter that is at the stage of rot is ideal choice as fungi food. This can include shells or fruit juices. Nitrogen and sugar are great at promoting fungi growth, so fertilizer is a good food for fungi. Liquid foods are great choices as fungi food because they are absorbed quickly by wood.
Step 5: Store the Wood Correctly and Wait for a Few Weeks

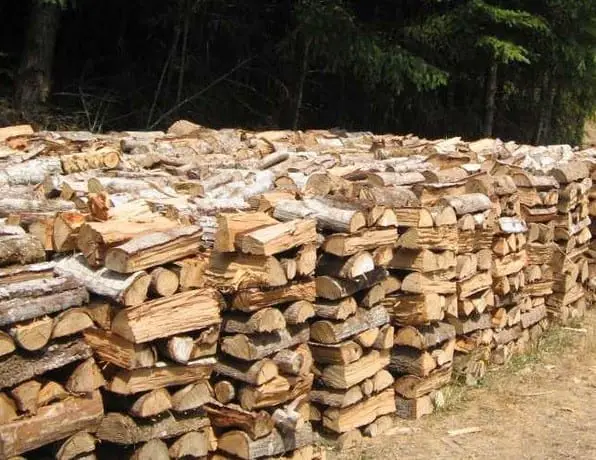
Planks and logs of wood must be stored adequately for a few time to let the fungi grow. The best thing will be to put the wood in a plastic bag with the moisture and food inside and keep it apart for a few weeks. Store the logs in an upright position for optimum growth of the fungi. Keep proper moisture during the storage process. Make sure to get rid of any pests or bugs. Let the fungi as it is for a few weeks as the fungi takes a lot of time to grow. Sometimes the fungi can take up to a few months or years to grow, so you must keep realistic expectations.
Check the wood every couple of weeks. If you do not like the spalting process, then let the wood sit for more time. The spalting process stops once you take out the wood. So, only take out the wood once you are satisfied with the pattern that you get on the wood.
